Tuesday, May 26, 2020

What I've learned: how to use Burda Magazine patterns

It's no secret that I've become quite a fan of sewing with Burda magazine patterns in the last couple of years. I first dipped my toe into the Burda pool by buying a few of their PDF patterns from the previous incarnation of their website (which was a lot better than the current one, so far). That went pretty well, as I don't need a lot of instructions and with single print-at-home PDF patterns there is no need to trace. My friend Pauline gave me a few older issues, variously in English, French and German, they were interesting and I decided to subscribe. I figured at the very least it's a nice sewing/fashion magazine. But it has turned out to be a great decision and I've sewn some real gems from the issues.
A few posts ago I mentioned that perhaps people were less interested in reading about my predominately Burda sewing and I was happy to receive lots of feedback which was in two categories. Those who sew already from Burda and are happy to see patterns made up, and those who are just interested in my sewing, whatever the pattern. I got to thinking - perhaps there is a third category - people who would like to try Burda magazine but are not sure how the patterns work.

If you are interested or just want to get an explanation of those pattern sheets, read on! Here are a few of my favorite Burda patterns.
Burda composite

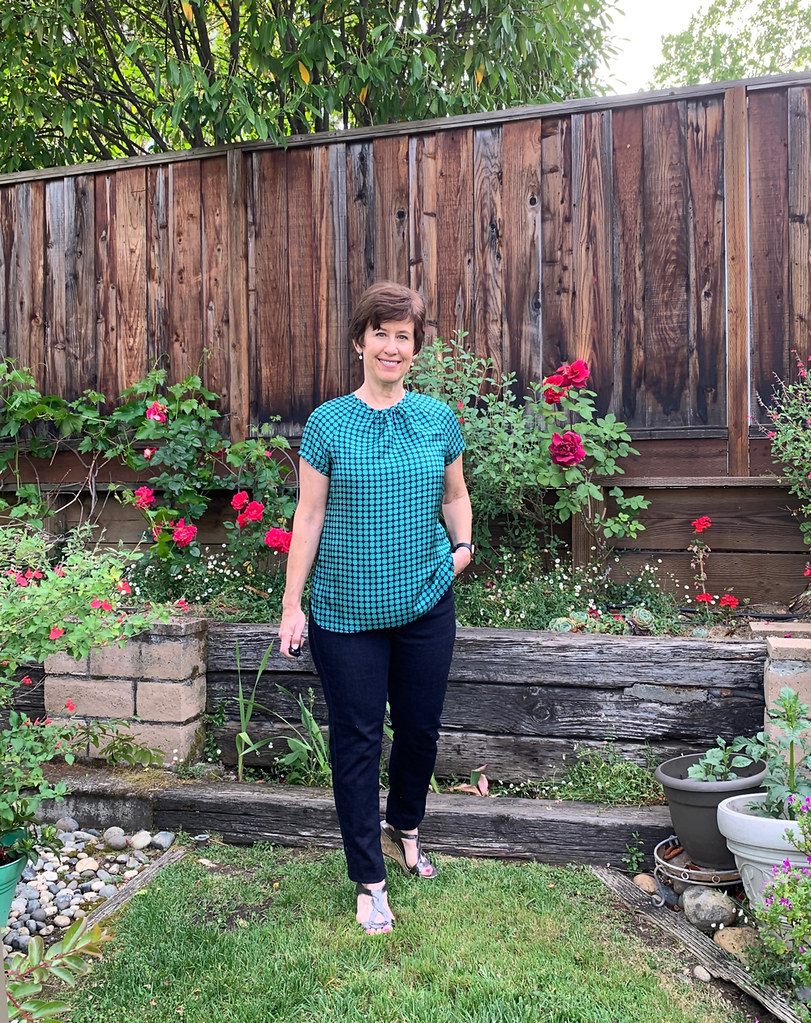
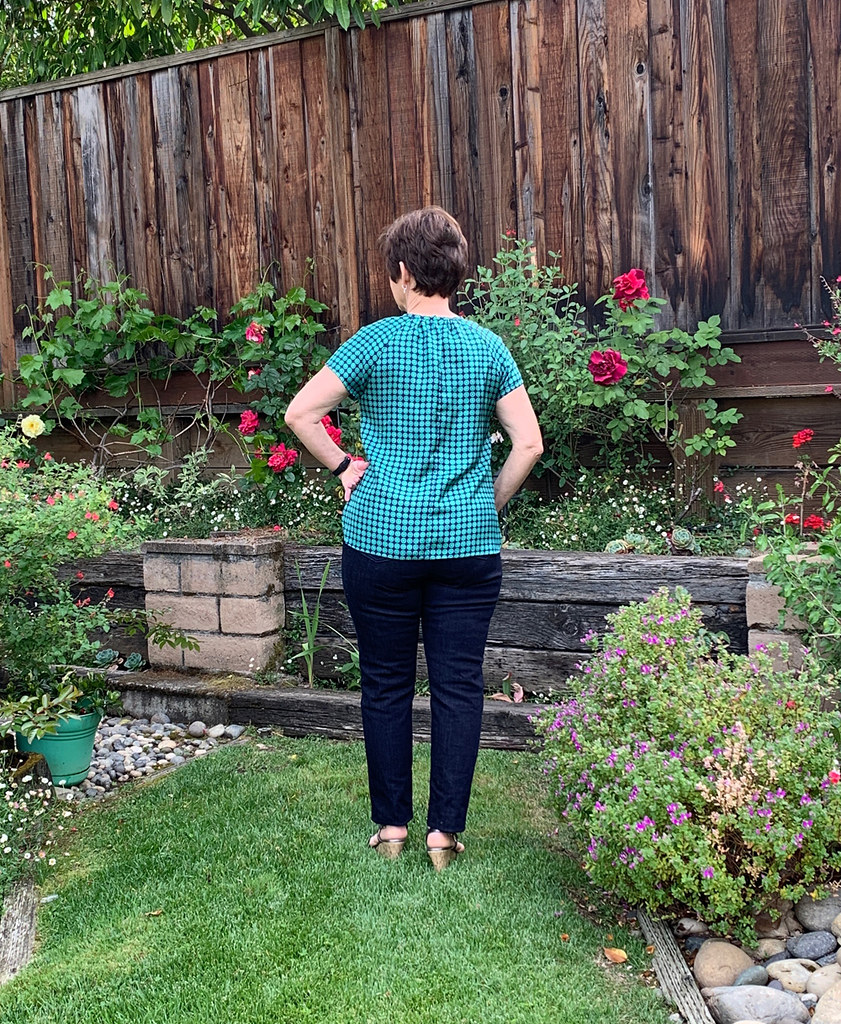
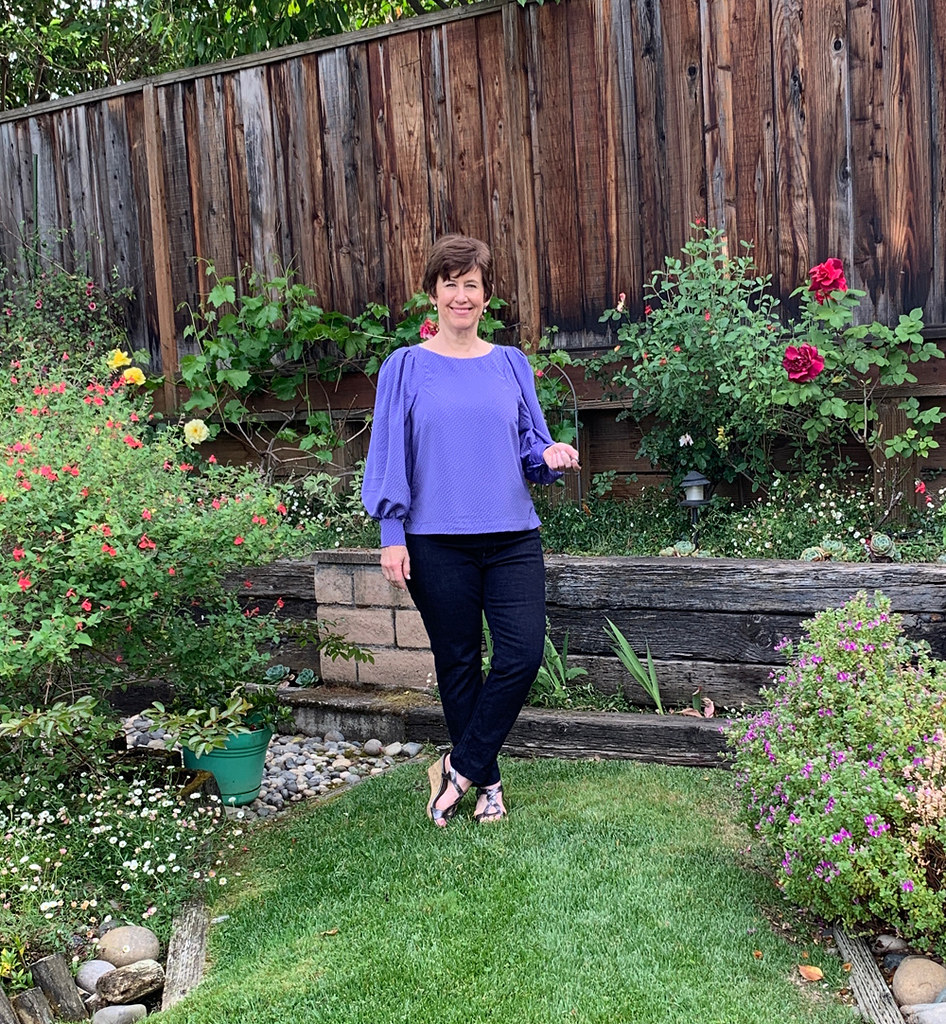
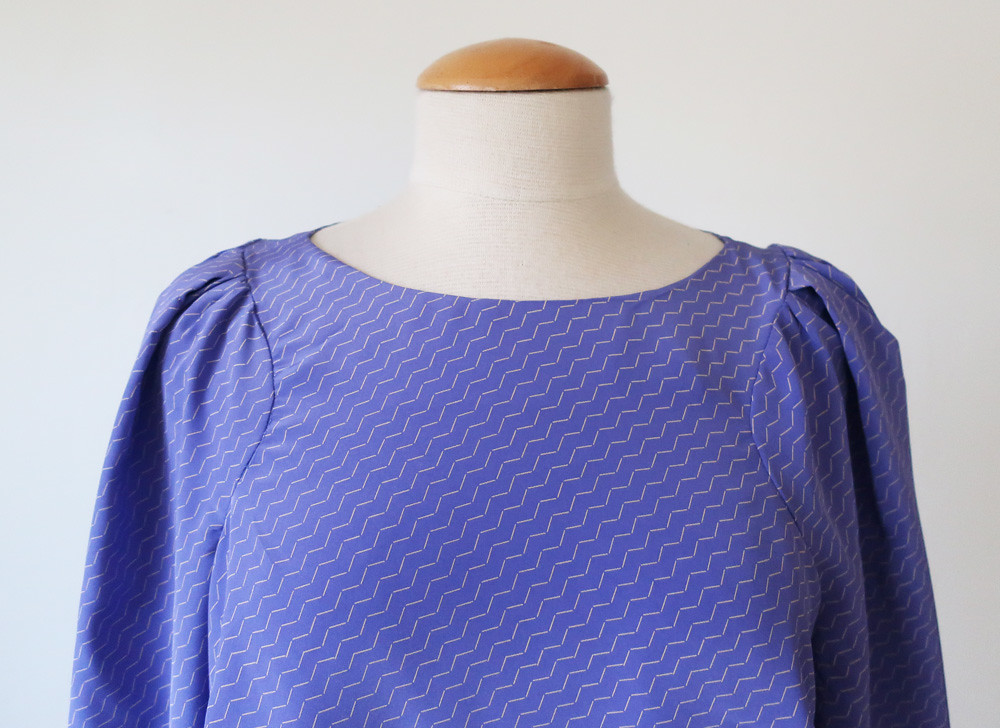
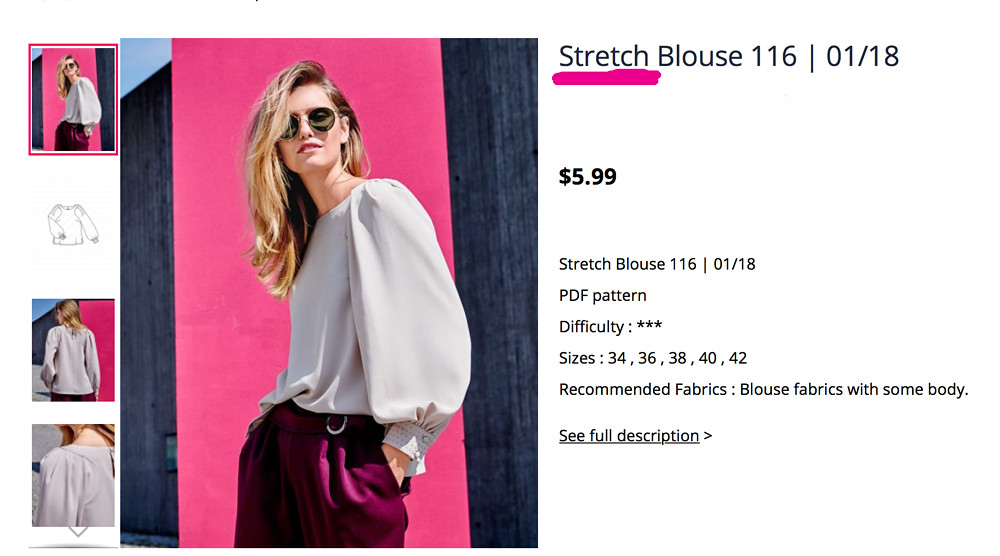
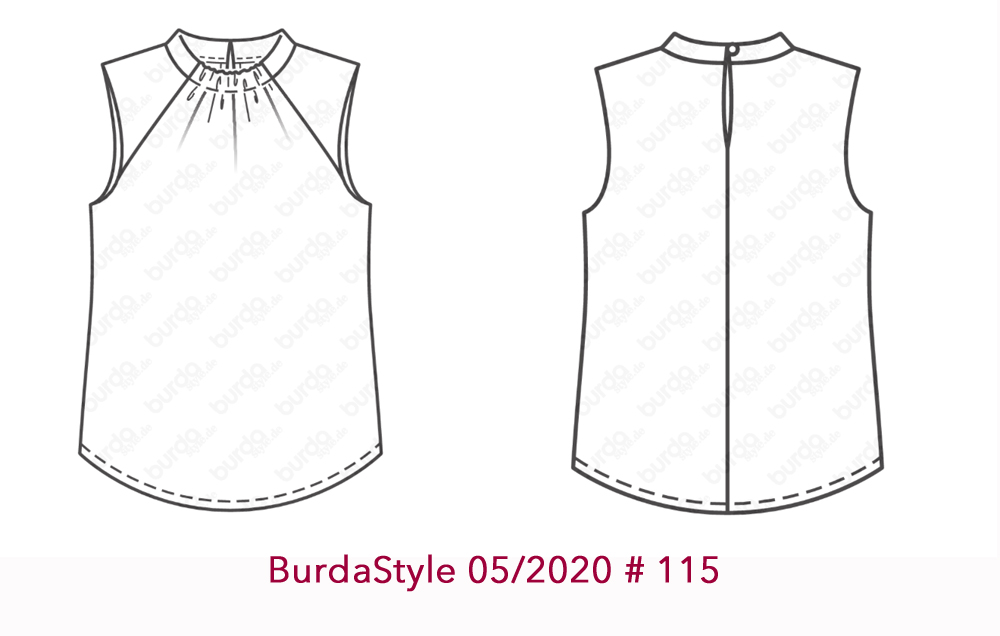
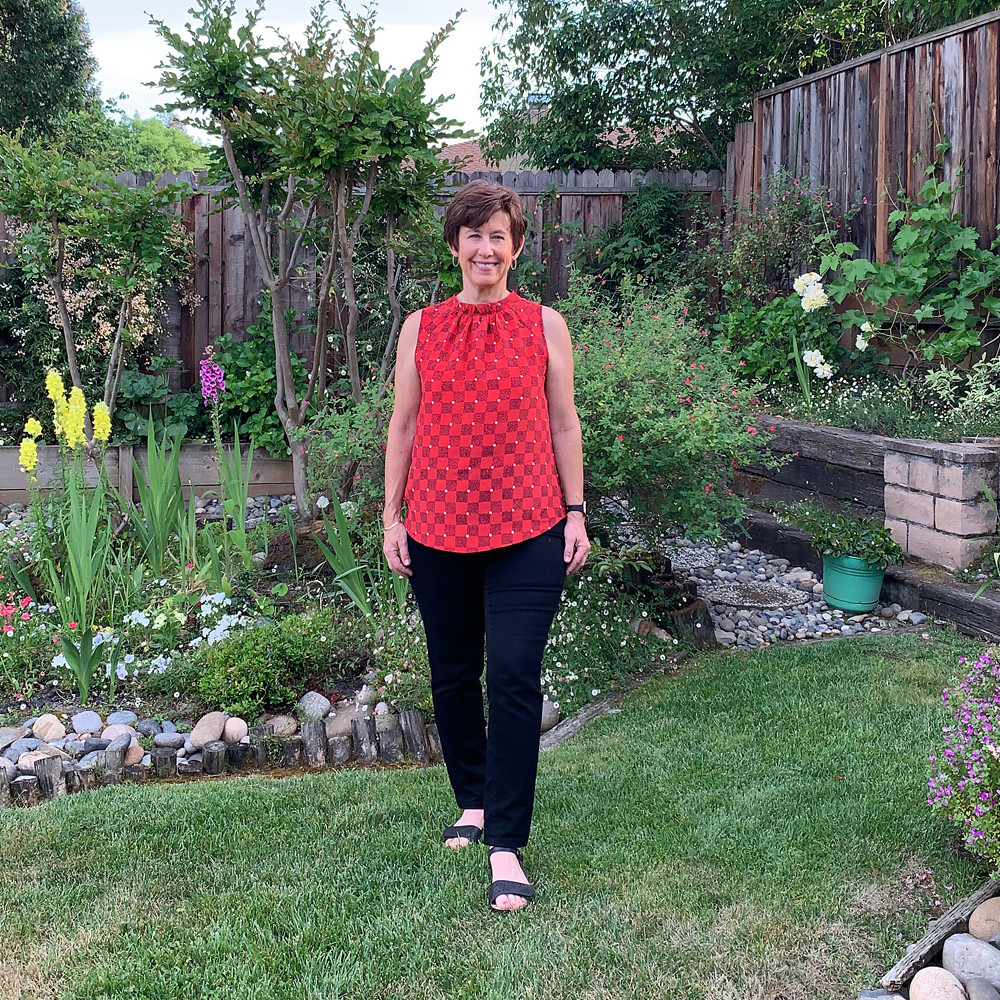
Diving in, here is the pattern I've decided to use an an example of how to find and trace. I don't know if I will get around to making it, and I like the ruffle version ( which is 104) but it might just be a bit too ruffly for me.  It's Pattern 103 from the May 2020 issue.  They generally mention having one designer pattern, I suppose from a German designer, the one in this issue is really pretty and perfect if you like the statement sleeve look.

Burda top 052020 103 top diagram


Burda 052020 magazine cover

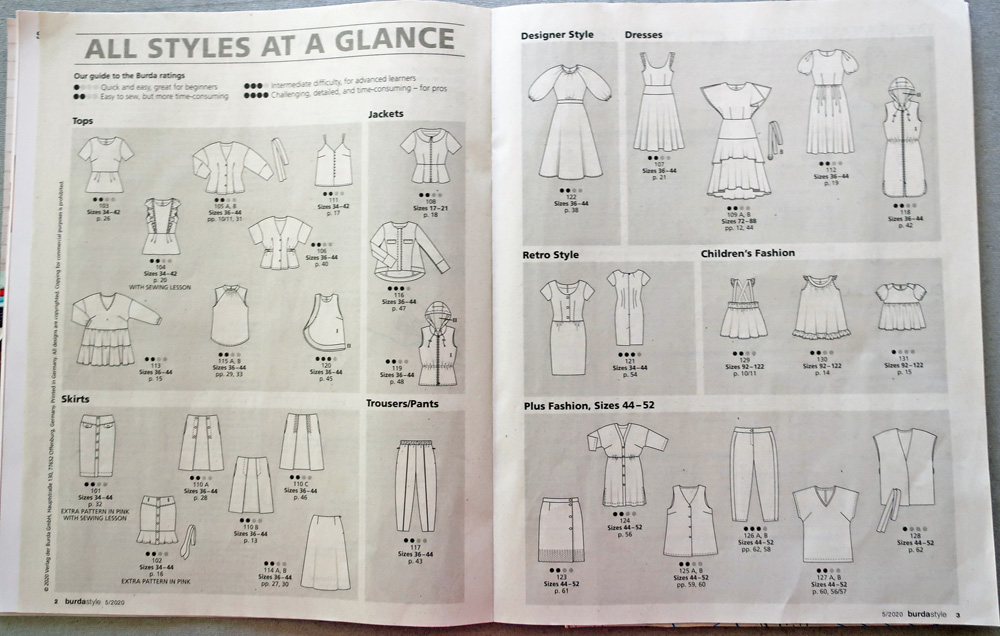
First thing I always look at is the "All Styles at a Glance" pages. It shows you the line drawing for each item, categorized by dresses, tops, pants, etc. I refer to these constantly! In fact I have the Russian end of year summary page bookmarked on my iPad and in idle moments when I want to make something I scroll through and look at various months (which I have looked at a zillion times already) and often find just what I had in mind! They also have a double page at the front which is the photos of all the patterns, but I find the line drawings so much more useful to look at. Look at all those cute dresses - when will I get time for those ?

Burda 052020 at a glance pages

Once I've decided on what to sew, then the task of tracing starts. The pattern drawings, size info, yardage and cutting, plus the instructions are then in the following pages. Yes - the instructions are sparse but after a couple of years I've realized that they are reasonable complete and if you've traced the markings they provide then they work.

Here's the detail for this pattern No. 103 Blouse. It shows front and back line drawing, tells you which pattern sheet to find it (Sheet D, red lines), and the sizes available plus tracing lines for each size. It gives you the diagram of the pattern pieces (showing grainlines and notches) and then yardage requirements. It tells you how many to cut of each pattern piece and whether on the fold. Then the instructions follow. As it happens for this pattern the cutting layout is continued on the next page in the magazine so I couldn't get it into this photo, but it's there, see the next photo.

Burda 052020 103 instructions page

Burda 052020 103 layout instr

I do find it useful to look at the cutting layout, whether or not I plan to use it because invariably - and this applies to any pattern brand - I sometimes overlook a pattern piece and realize that when I see the cutting layout.

The next step is to unfold the pattern sheet and find the Sheet D. They come as one very large sheet, with Sheet A and B on one side and Sheet C and D on the other side. They indicate a cut line in the middle and I alway cut into two sheets as shown which are a lot easier to manage.

Burda pattern sheet

Then I run a dry iron over the pattern sheet. I find paper irons so well, I iron all patterns I get, as it makes them easier to work with, and takes away all those little folds and crumples that will change the measurements.  At this point don't panic about the jumble of lines you see on the sheet.

Burda iron pattern sheet


Burda pattern sheet D info

Here's sheet D, and we'll be looking for Red pattern pieces. Each sheet has the Month/Year on the sheet which is handy as I tend to separate them from the magazine (unintentionally) and if they weren't labeled that would be a problem.

Next step is to circle all the pattern piece numbers that I'm going to trace. All the pattern piece numbers for an individual pattern are on one side of the sheet. I keep the magazine instruction sheet on my work surface and just go down the list of pattern pieces. I find it helpful to go in order, as it just works to make sure you get them all circled.

Burda pattern sheet find numbers


Burda Page circle pattern numbers

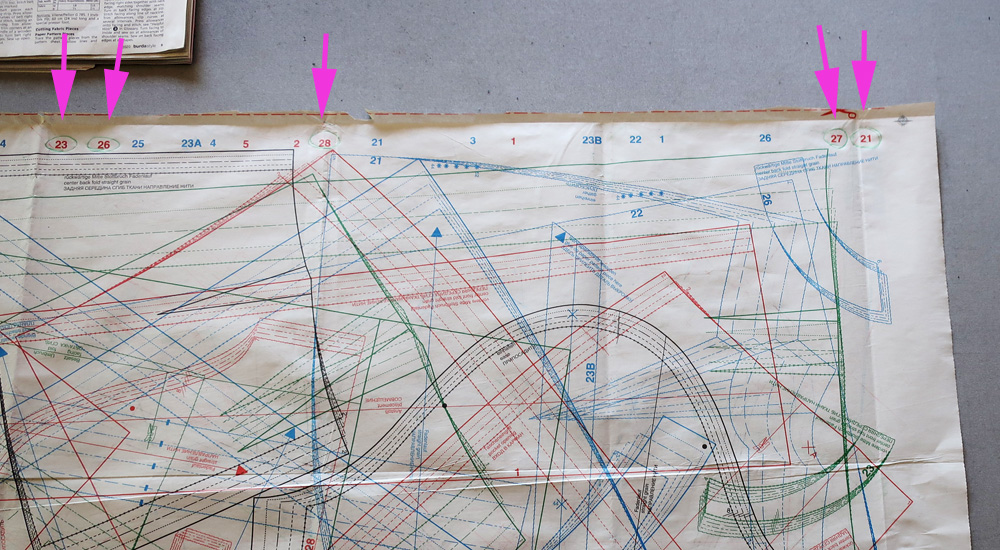
So here they are, circled and ready to find and trace. Note that on that edge of the pattern sheet there are other red numbers (I see numerals 5, 2 and 1) which indicates there is another pattern with red lines also on this sheet. It may look like a jumble at this point but there is a bit of method to the way the whole thing is printed - stay with me.

Now here's the thing that one day I realized (and Burda veterans probably laughing at me now). The pattern piece number on the edge is DIRECTLY above the pattern piece number in the sheet. So you can just go straight down until you hit the number, and then there is the pattern piece. I'm not saying it's always easy to find the whole pattern piece outline, but this really helps. Also the pattern piece number is generally along the bottom  or center fold of the pattern piece, so that's another help.  They put the number in a spot that is not along a size variation edge. Here I've outlined in yellow our pattern piece 28, with the number 28 along the bottom edge. I've also shown Blue pattern piece 3 highlighted in green, and you can see that piece is straight below the numeral 3. Puzzle - can you see where 26 and 5 are straight below their edge numbers?

Burda sheet finding piece numbers

Now let's zoom in this pattern piece 28, which happens to be the sleeve. I've shown it here on the sheet, and then outlined it yellow. After a while the pattern pieces start to jump out at you, once you get the pattern piece number located in the middle of the sheet. I find that the other colors of pattern pieces tend to recede in my mind and I am focus on the ones I am looking for.  It's a bit like doing a puzzle - which is quite the popular pastime these days, right?

Burda sleeve piece pattern sheet

I think everyone is accustomed to tracing patterns, or at least has done it a few times with an expensive pattern. It's a matter of finding the size lines and tracing. The important thing with Burda is to make sure and catch all the notch markings, although there aren't a lot.
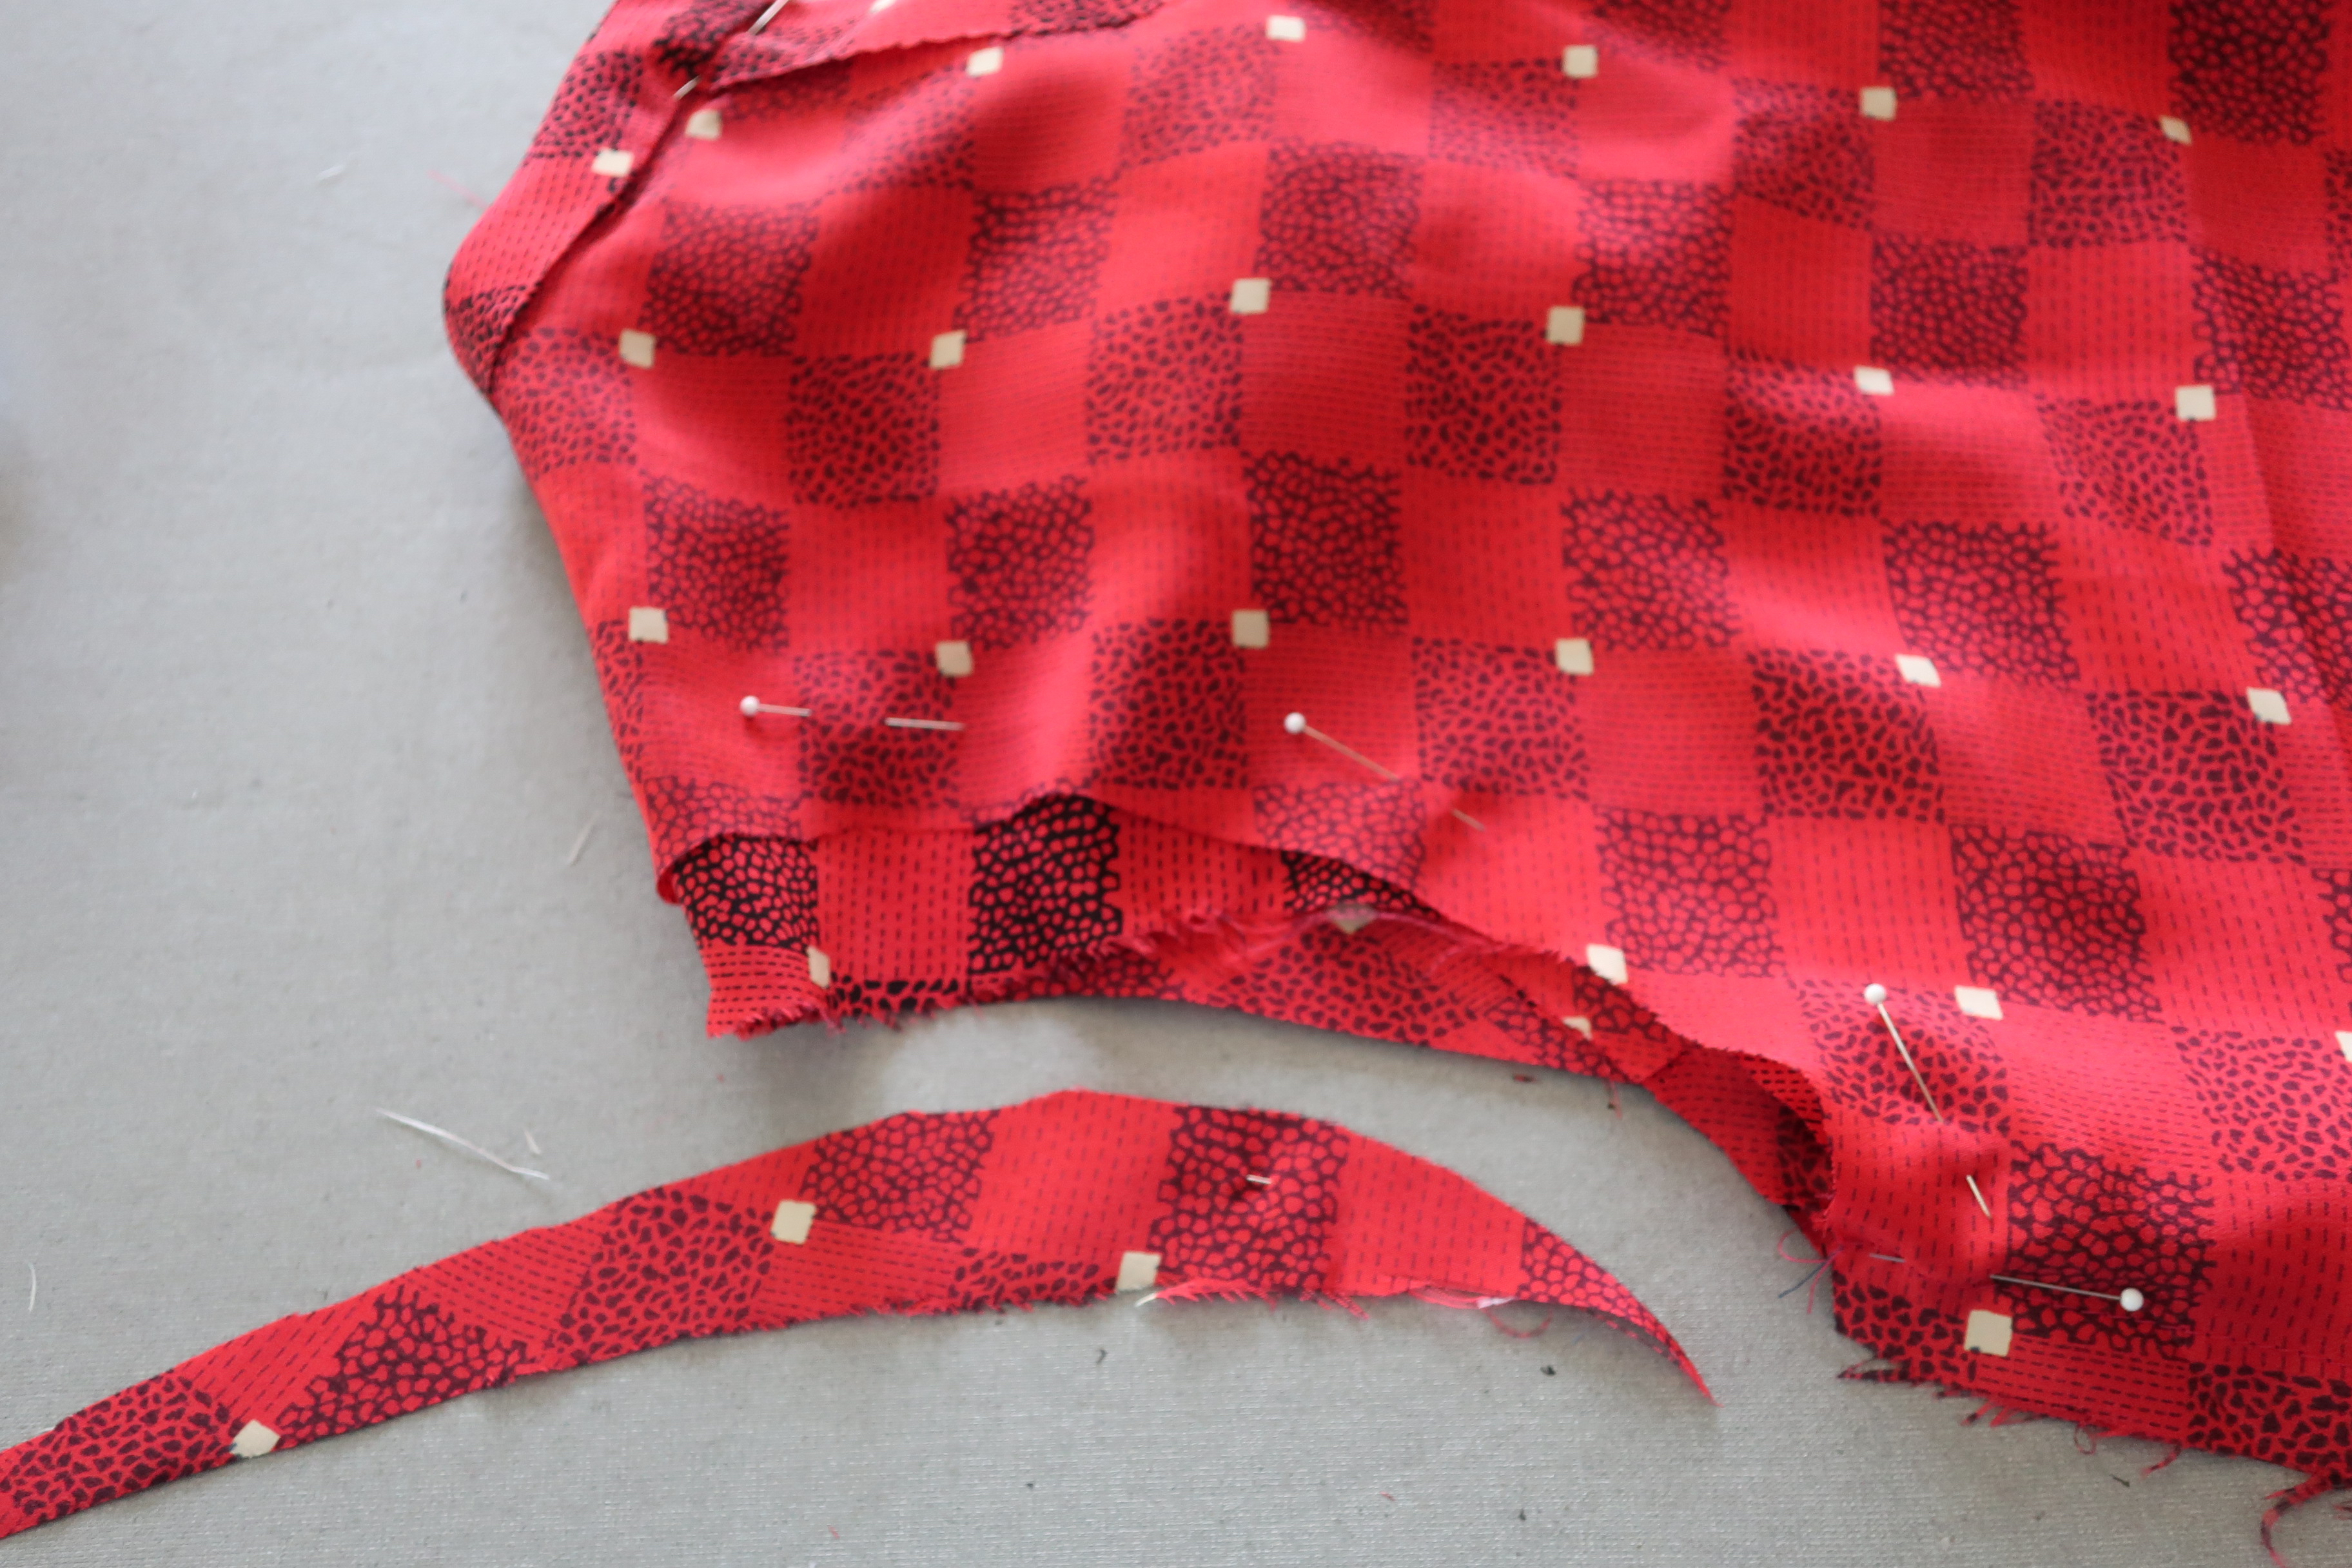
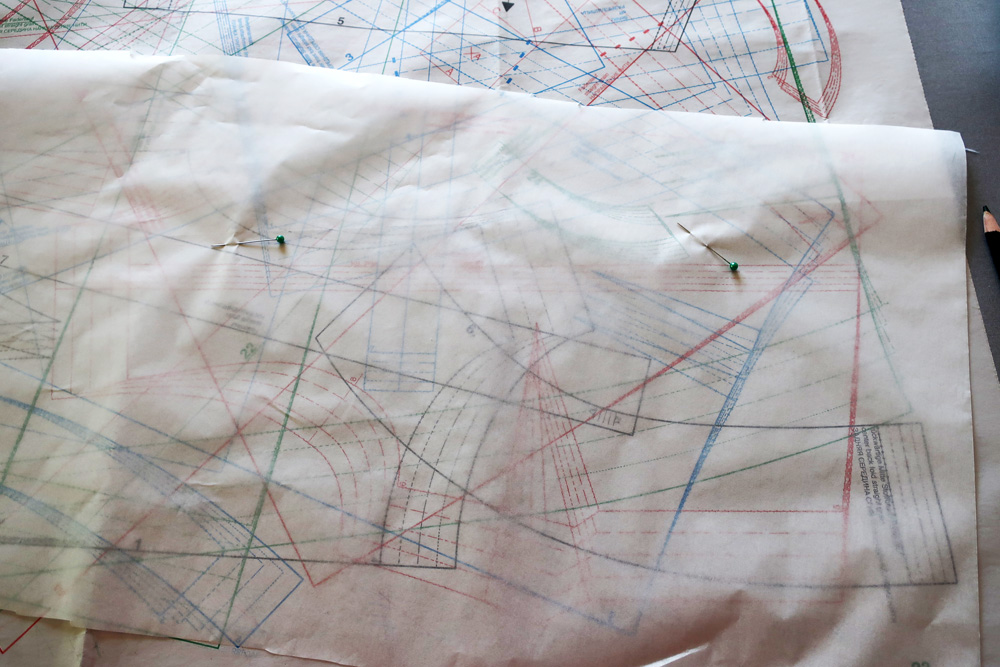
My number one tip for tracing is to pin the tracing paper to the pattern sheet, in two places. The reason for this is that it can't then shift when you are tracing and mess up all your work.


Burda pin tracing paper to pattern sheet


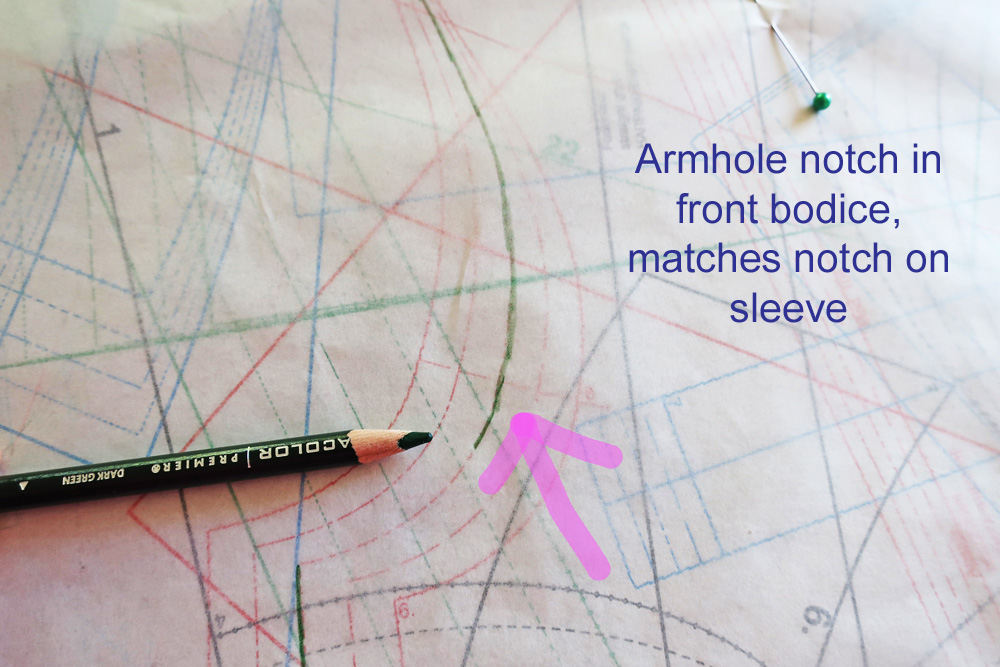
Burda is fairly minimalist in their pattern markings but they always include grain line, a notch for the front armhole/sleeve, pleats and gathers, and then some numbers which at first eluded me but now I realize are invaluable.

Here I'm tracing the front bodice, it has a single notch which matches a notch in the sleeve. Also there are tiny numbers in various places on the pattern, they are found inside the smallest size of the pattern piece. Below the pencil you can see a tiny numeral 6.

Burda front bodice notches

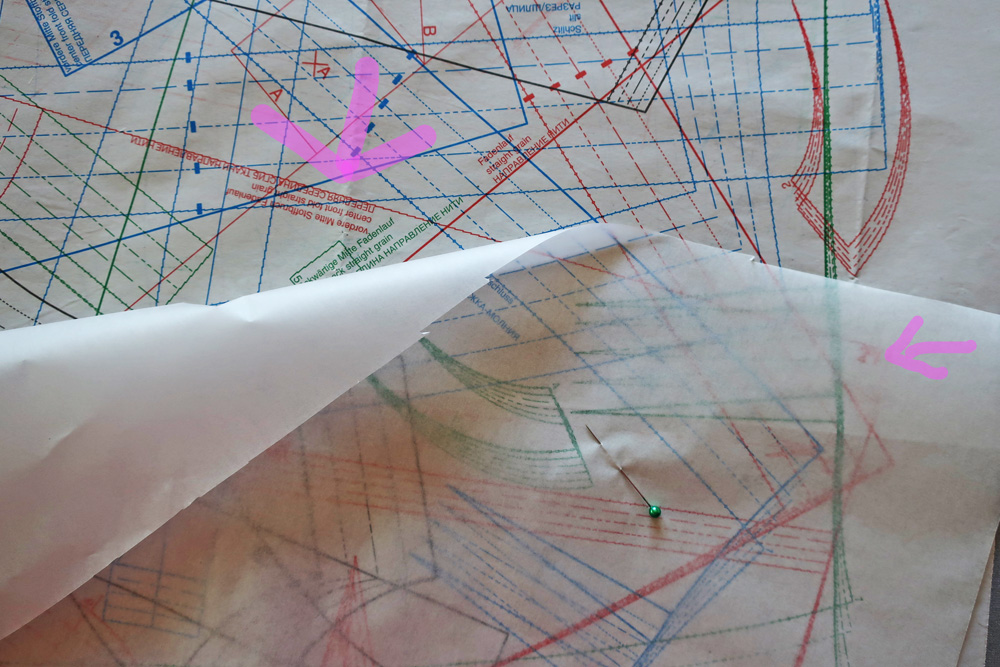
This next picture shows the importance of these little numbers, and why I always put them on my pattern pieces now. Basically they are a little connect-the-dots system! Honestly I kind of kicked myself when I realized how that worked, as I was able to sew the patterns together but this makes it so much easier to figure out which pattern piece is which and where they go. I've put some little color spots to show the system. They are indicated in the instruction page and I now find them so valuable.

Burda 052020 pattern piece overview

I also find it very helpful to use the landmark of the center front or center back/straight grain which is noted in several languages so it's easy to find that little paragraph and work out where the pattern piece is from that starting point.

Burda tracing center grainline

One last thing I forgot to photograph, is that as I trace each pattern piece I put a line through the circled edge number, so that I know I've found/traced it and don't end up duplicating my work.

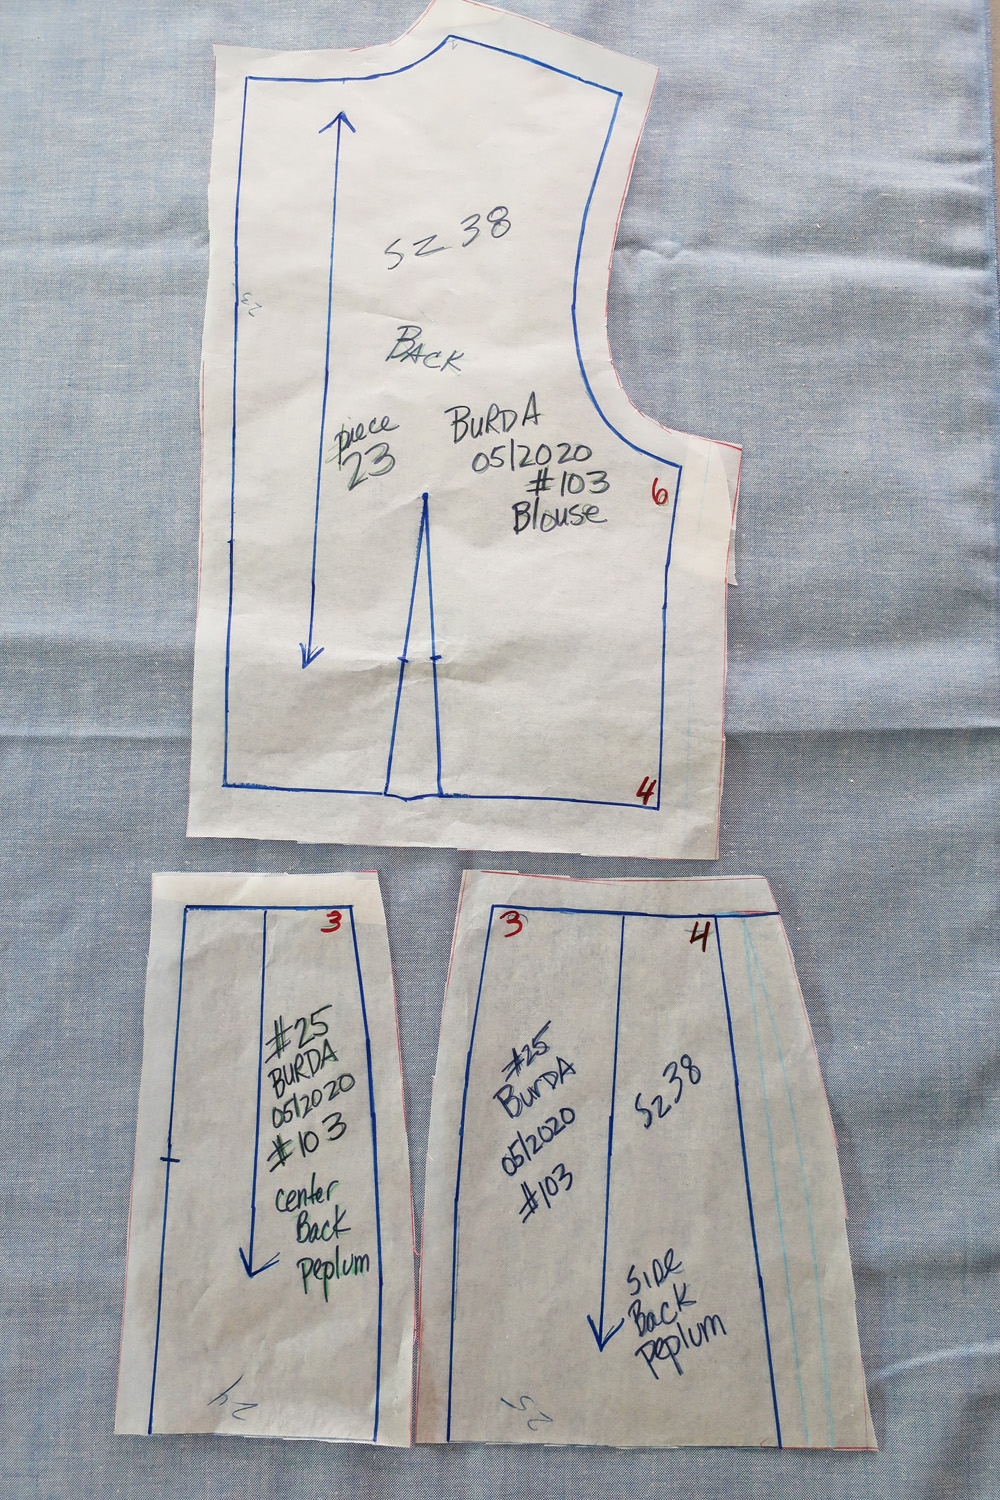
This is what I end up with. I haven't mentioned adding seam allowances - so I will talk about that plus alterations in a separate post. For each pattern piece I write the size I traced, the Piece #,  the Month and Year, and any other info I might think of. Also I mark all those little numbers which in my head I call the "join numbers". I've marked these in Sharpie markers so you could see them but usually I use colored pencils which work so well with tracing paper. Plus I end up color coding some of my subsequent alterations.

Burda finished pattern pieces

So that's the scoop on tracing a Burda magazine pattern. As I mentioned, some people might know all this info but most of it I kind of figured out as I went.  I would have been happy to have someone tell me all about how to do it :)

Up next, I have finished my denim blazer with matching jeans and looking forward to wearing it despite knowing that it is a... lot of look! I just made some Megan Nielsen Flint shorts, lengthened to be more like culottes and I they are going to be a useful addition to my wardrobe. Despite not needing anything I have succumbed to quarantine boredom and ordered some fabrics which have turned out to be lovely so I'm looking forward to sewing and wearing.

It was 102℉ here today - scorching and it's only May! Fortunately I did a lot of garden work the past two weeks because that's on hold until we cool down a bit.

I hope everyone is well and making it through these strange times. Keep on sewing and posting and I will to - it's been a wonderful distraction to have so many sewing friends around the world making beautiful things.

Happy Sewing,
Beth

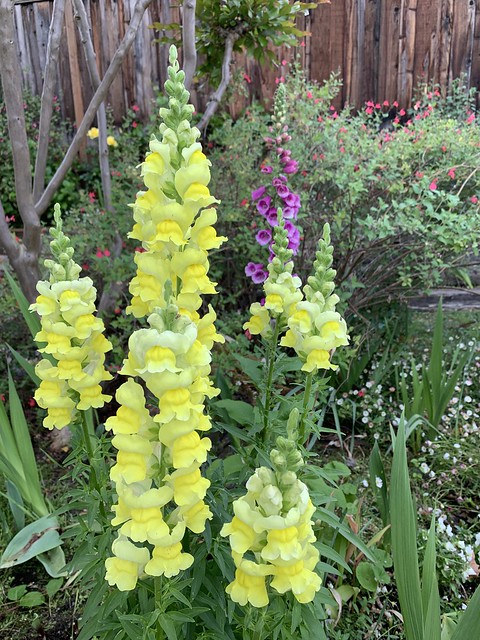
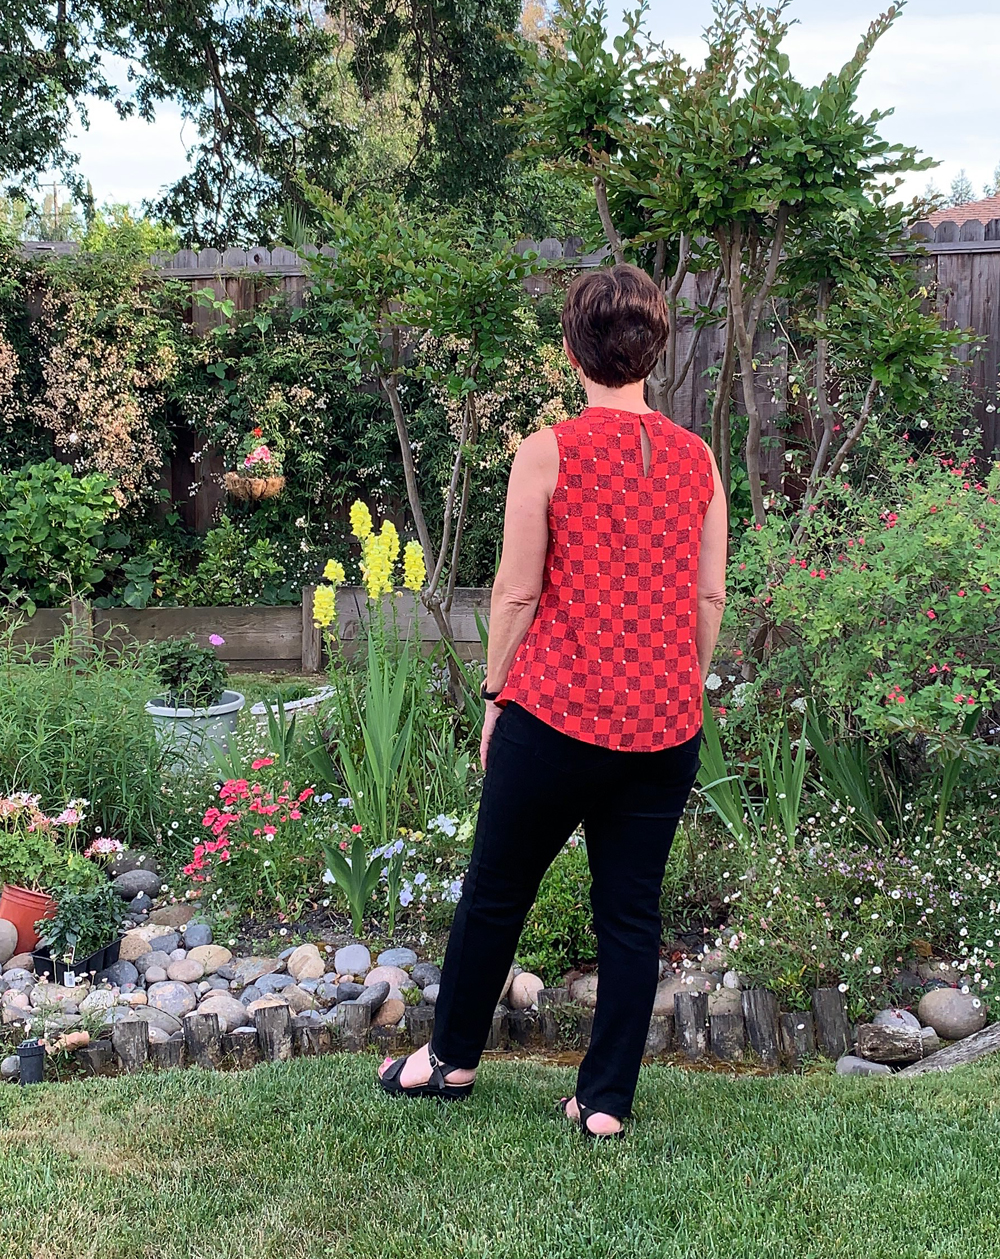
today's garden photo - the roses were gorgeous a couple of weeks ago when they put out the big spring bloom. This yellow one is next to the grape which is growing like wild this year and I will hopefully have some grapes in a few months. Plus I picked two zucchini this morning. Time to make some grilled vegetable pizza I think.


IMG_2388

Tuesday, May 19, 2020

More new tops, a New Look and a Burda

With sewing you win some and you lose some. Fortunately I don't generally end with too many things in the loser category. Although when I do then out they go. Meaning I don't try to make myself wear it just to see. Either they go to a friend that might like it, or I cut it up to use for something else. Actually it doesn't happen too often as I stick to a color range that I like so it's mostly due to trying a shape or silhouette I'm not sure about.

Thus I have a tale of two tops, one is nice and wearable, and the other will be transitioned to lining pieces or something like that.
Let's start with the good. Early in our quarantine time I happened to see this pattern somewhere, probably on eBay which I occasionally peruse when drinking coffee in the morning and scratching the proverbial online shopping itch.

This is New Look 6471, designed for wovens, with long or short sleeve options and the plain gathered neckline which I sewed, or it also has a tie neckline.

Green silk top 1

I sewed it up in this remnant of silk twill, fabric I bought at Metro Textiles in NY in 2016. Oh that seems an age ago - how I want to go back and do all the NY things again.
The fabric has a lovely sheen and I really like the colors, however it's really tightly woven, it has no give at all and is probably better suited to something less fitted around the shoulders. It's not too small but not as comfortable as other tops I have.


NL6471 pattern env

Green silk dot top closeup

I think it would be nice with a skirt, perhaps tucked in the fabric would look better. A navy blue wool pencil skirt would be just right. However I don't have any possible need or place to wear something like that!

Green silk top back

So I will revisit this pattern, it could even be sewn in a knit or a rayon challis which has more give and would I think drape a bit better. This silk fabric has a tendency to stand out from the body which ends up looking weird. On the plus side it doesn't wrinkle which I like.

Onward to top number two, which maybe looks better in these pictures than it does in real life :)
This is a Burda Magazine pattern, from the January 2018 issue, # 116. My friend Pauline made this and I loved her version.  I thought it might go well with the boucle jacket that I finished in April.

Purple poly top

But I kind of hate it, for two reasons. First, this fabric is a polyester that I had in my stash, and I just used it because the color was nice. However, it's just not suited for this top, in fact some poly fabrics are not suitable for anything, hard to sew, show every pucker etc.
It has that interesting seaming on the sleeves, but after I made it I remembered that I'm just not a fan of that neckline shape. Which is what, a boatneck? wide jewel neck?  whatever it's called I don't find it comfortable. But there is a bigger reason why this is going in the scrap pile....

lavendar burda top front1


Purple top Burda image

See that very first word in the description? STRETCH. Ok, I hadn't noticed that and as you can see in their recommended fabrics they say "blouse fabrics with some body" but no mention of stretch. I know that Pauline's version was a knit, I think a lightweight ponte, and it worked perfectly. My purple version is not comfortable at all, that seaming of the armhole makes it feel too tight even thought it isn't. I think in a knit it would be great. Also a lot easier to sew, as getting those poly sleeves into the tricky poly armholes was a nightmare. Can you tell I hate this top?

lavender burda poly top back


Purple poly top back

Pauline made her version with elbow length sleeves, with elastic at the bottom which lightens up the whole shape. As it is I think it veers into that pirate shirt territory now that I see the sleeves.

Burda tech drawing 012018 # 116
What do you think? Should I give it another try or move on?  I do like that interesting armhole shaping. You can perhaps see that it has both pleats and gathering across the shoulder which is a lot for one sleeve :)

Onward to something that I like a lot better. I've been trying out various culotte patterns with varying success -I have a specific shape in mind and not really getting there with patterns I've tried. And will probably toss that idea and make a pair of longish fitted shorts. I want something dressy but not a skirt. I'll have to ponder this idea a bit more.

Up next, not sure. I have a few things in process, I finished a cotton blazer and just cut out the matching pants so that's in the works and then I have a DKNY dress pattern which I think will be my summer favorite. I might save that for a bit later so I can sew it and wear it when we get out of the house. I did order some fabric this week which came and now I'm ready to sew for summer.

The other day I was tracing a Burda magazine pattern and thought about showing the steps to finding the pattern pieces in the big confusing mess of lines. Actually once you know the system it's not that bad. I'll take photos as I go next time and then post my method.

I hope everyone is well and I'm looking forward to seeing people in person again, which here in N. California is inching closer to reality. Although indoor meetings of large groups, activities and work doesn't seem like it will happen for a while.

Green silk top 2


Take care and Happy Sewing,
Beth

Today's garden photo, it has to be those bright yellow snapdragons which have come back bigger and better now for 3 years. I don't plant all that many yellow flowers but in the spring they seem so cheerful. Which we all need right now.

IMG_2387

Saturday, May 9, 2020

Silk top Burda 05/2020 # 115

Sewing much during this stay-at-home time?  I veer back and forth from wanting to sew up all the fabrics in my stash to then not sewing for days as I have full closets and plenty of unworn items already. The weather has taken a glorious turn here in N. Cal and I have been catching up on gardening tasks and listening to some new to me gardening podcasts (learning so much! they are not the news! plant talk instead of virus talk! very calming 🌞.  I've also been doing video sewing lessons, which are really fun, and I'm doing another live virtual class next weekend, details at the bottom of this post.

But as soon as this May issue of Burda was previewed I knew I would sew up the top #115. Rummaging in my stash I found this remaining piece of silk, previously used for a bow tie blouse.
The fabric was something I bought at ASG stash sale - and I now appreciate even more all the bargains I brought home with me from various rummage sales and squeezed into my fabric closet. They are serving me well in these times.

Red silk top4

What is the opposite of a Going Out top? Is it a staying in top? Is it a cute top I finished but can't really wear anywhere other than in the back yard to take blog photos? That will have to do for now but I think this is another winner and it will hit the rotation as soon as going out time returns.
By the way - you do have some going out tops in your wardrobe, right? The type of top that is too...something for office or work wear, maybe with a little sparkle, or a bit of skin, or just the right shape with your most perfect jeans. The top you put on for a dinner out when you don't want to wear a dress, or just want to be comfortable (thus the jeans) but still look special. I think some retailers built their brand on selling going out tops. The going out time is on pause and I think a lot of retailers will not be in business as they were before but that is a discussion for another time. (plus like a lot of you I don't really pay all that much to clothing stores). But we will always need going out tops and I have a few more patterns in the pipeline to sew.


Red silk top angle view on form

This is such a simple but clever design, as the back wraps over the top of the shoulder and makes the angled seam in the front, and the center front fullness is gathered into a slightly high round neckline.
Here's the Burda magazine example. I liked how the stripes worked out in their example so I knew my check would give a similar effect.


BurdaStyle May 2020 115 mag view


red silk top on form closeup

A closer look at the neckline. It stands away from the neck just a little bit when worn and it very comfortable. I don't like high necklines but this is just right.

When I was sewing it I had the pieces laid out on my table, just to make sure I had everything placed properly and remembered to take a picture. That's the inside of the top, so the side/back sections of the neckline have a sewn on neckband with facing, and then the front part just has the inner facing, attached with back facings after the gathering threads are pulled to the right amount.

Red silk top facings on table


Red top with jeans back


red silk top on form back seam

Now that I've made this in the check, I have to find some striped fabric in my stash. I also think it would work well in a knit. And I am pretty happy with that matching in the center back :)

Red silk top back closure

As usual, I don't put a fabric loop and button there, but instead sew a small tab and then put a snap so that it make a neat and clean finish at the back neckline.


Red silk top5

Along with black jeans this top works well with my Pauline Alice Mirambell skirt which is black cotton sateen with a border of black cotton eyelet. I have gotten so much wear out of that skirt - I guess basic black is pretty useful :)  Also where did I put that pattern? One of these day when I have time, hahahahaha, I will clean all my closets and find everything I've been looking for in my house. This hand in the hair gesture is me wondering if my self-administered haircuts are doing the trick. I've trimmed my hair twice now since the lockdown - I figure if I cut it about 1/4" all over and follow the same shape then it won't be too bad ???  Anyway - we all will have to manage. If you see me in my Giants baseball cap then you know I've had a haircutting mishap.

Tech drawing for this top. I did just change one thing - and you can probably guess if you've been reading my blog for any time.


Burda Style 05-2020-115 tech drawings
Yep - I narrowed the shoulders. Sleeveless things are always just too wide for me across the shoulders, or I don't like where the outer edge lands so I trim away some before putting on the binding. Now I have a system which is I put a top I like on my dress form, put the new one over it, mark the armhole shape, and trim away.
I trim one side, then overlay the two sides and trim the second side to match.

IMG_2800


Red silk top 7

Whew look at that dry grass already - we're fearful of another dry and dangerous summer here in CA. Although maybe that's better than snow in May? not sure.

Next weekend on 10:30 am, Sunday May 17, I will be doing another live online class via Hello Stitch, this one is called "All About Interfacing".  Here's the link to register.  You know my sewing motto - more interfacing! I think stitchers of all levels have questions about interfacing and I will talk about where and how I use it (over and above what the pattern tells you) plus tips on cutting, applying, how to choose which one for your fabric and pattern. The classes have plenty of time for live Q&A so you can share your questions and fabric examples with the group.
If you would like to have a private sewing lesson via Zoom or FaceTime, you can book on the Hello Stitch website here or email me and we will schedule a time.

Up next, I need to sew up the jeans to match my denim blazer and go full pantsuit. I might even go to the local park with my tripod and take some adventurous outside photos if a quiet corner far from everyone can be found.


Red top with jeans1


Happy Sewing and stay well,
Beth

Today's garden photo is this rose that is finally getting acclimated after several years. I'm not sure what the variety is.  I don't fuss over my roses, they have to make do with whatever location I put them in and deal with the sun/water/clay soil as best they can. Some do amazingly well and others   not so much. This one was on the edge but now is putting out these velvety blooms so it can stay for a while.

IMG_2319