Sunday, March 21, 2021

Vintage Vogue Suit, completed

Time to post this finished blazer and move on to spring projects. I started this jacket back in late November, as I was looking for a time consuming project that would keep me busy during the winter months. As it turned out my stay-at-home time increased even more, with the weather making most outdoor socialization not possible and the surge of cases here in California very serious. So it was a project for the dark days of December and to be honest, I'm not all that wild about this jacket. In fact since I have so many other jackets which are more colorful I feel like I will probably never wear it and plan to see if any of my friends would want it. 

But onward to discussing the finishing touches. If you want to see the pattern look at my first post which was back at the end of January. The pattern is a vintage Vogue designer pattern, Vogue 1987 Yves St. Laurent suit, I think released sometime in 1978. I also made the blouse in the pattern but I don't like it at all, and then made some trousers using a different pattern however they have a very similar look. 

Tweed blazer sq

If you look at my previous posts you can see that I used most of the traditional tailoring methods for this jacket, with horsehair canvas, pad stitching, hand sewn patch pockets etc. In fact the pattern instructions specify all these techniques which was one reason I decided to use them. I haven't made anything using those techniques in a long time and probably won't again. It was rather satisfying to see all those pad stitches creating a shape but I do prefer using modern fusible interfacings.


IMG_5430


I finished the jacket a few weeks ago and on a rainy day when the light was nice I stopped by a friends and she took some pictures in the park. On the whole the fit of the jacket is ok, I did make a muslin and I feel that it is the right measurements on me, but I don't care for the exaggerated and lower lapel shape, plus there is something about the hang of the sleeves on me that isn't quite right. 

IMG_3654

It needed some zing so I used this rose colored bemberg lining and with some remaining silk charmeuse from the pocket linings I made some flat piping for the edges. 

tweed blazer sleeve button

The sleeves do have a button opening but it is different from that you see on most jackets as it is a rounded end and just one button. The pattern was great to work with as it had every pattern piece for the lining, interfacing and jacket included. 

IMG_3653

I noticed on the pattern envelope it was one that came with this label, however my pattern which I got at at a Bay Area Sewists Meetup swap didn't have it in the envelope, perhaps the original owner used it on her jacket. In any case, I had a few of these Vogue designer labels but not this exact one so I ordered it on eBay. I added that welt pocket inside the front lining, it's not on the original pattern but I often add pockets in the lining of coats or jackets. 

Tweed blazer back sq

Back view, it's a more boxy shape than I've made in a while.  


Tweed jacket with black pants1


Here it is worn with a silk blouse and my Tatjana trousers made in black wool crepe. The trousers deserve their own blog post but I think that will wait until I make them in a fabric that shows up better in photos. The pattern is from my friend Delphine's pattern company, Just Patterns and this is the Tatjana trousers. It's a really great pattern and for experienced sewers it includes all the info you need but can skip the instructions, or if you are a beginner the instructions are quite thorough. 

IMG_5429

I think this is the combo of fabric and pattern that would become a slouchy and comfortable blazer, getting softer and more worn in over the years, and due to the wool tweed will probably last for ages. 
In the photo above I'm wearing it with a turtleneck sweater and black jeans, not the pleated trousers. 

Tweed blazer back of lapel

A look at that lapel crease and the upper pocket. I'm very happy with that pad stitching and the built in shaping it gives the jacket, it was a perfect combo with this nice herringbone wool fabric. 

IMG_3651

Back lining view which shows the center back pleat. I think the sleeve lining is a bit too long, as it wants to peek out when worn. I will go back and fix that. I didn't shorten the sleeves when I made the jacket (as I usually do) since I had a sneaking suspicion I would pass this one on to a friend.

Tweed jacket and pants2

Yeah baby, the 70's are back. As the expression on my face says, No thank you to the fashions of that era. Big shoulder pads and pleated trousers, not something that I think looks right on me but perhaps it might with some modifications. I've seen so many ruffles, pants shapes and dress styles from that decade reviving now - not one of the best fashion eras but perhaps a lot better than what came next, the 80's which don't deserve any repeat!

Next up some jumpsuit sewing, or actually boiler suit and/or flight suit sewing, as our Hello Stitch Studio class in April is just that. Plus I've a few silk fabrics that are just longing to be sewn up into spring tops. 

Happy Spring Sewing,
Beth

Today's garden photo - some very reliable dianthus that are blooming right now. Dianthus are also called pinks and I think they are the most sewing themed flower, with the edges looking like they have been cut with pinking shears. 

IMG_5568

Sunday, March 14, 2021

Vintage Vogue Suit part 3

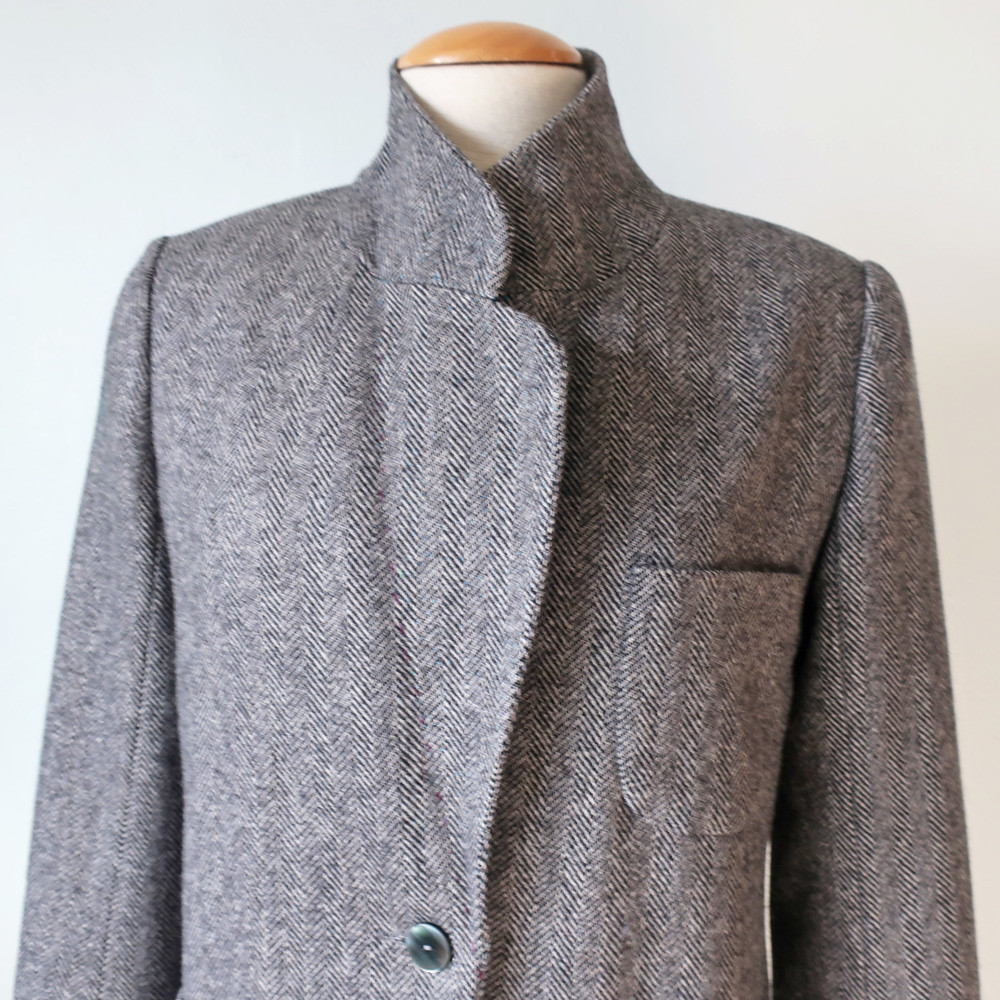
Time to finish my blog posts on this jacket - as I have sewn several other things in the interim and I want to get caught up with my sewing/blogging. The previous post covered the collar and lapel construction, with all the pad stitching and pressing details. Next up were the pockets. I don't think I've ever made a jacket with hand sewn pockets but I decided to follow the pattern instructions and give it a go. IMG_5194


The jacket had the pattern pieces for the pockets plus separate pattern pieces for the actual pocket lining. I actually traced the pattern pieces and placed them over the jacket so I could match the herringbone stripes in the fabric.

IMG_5184

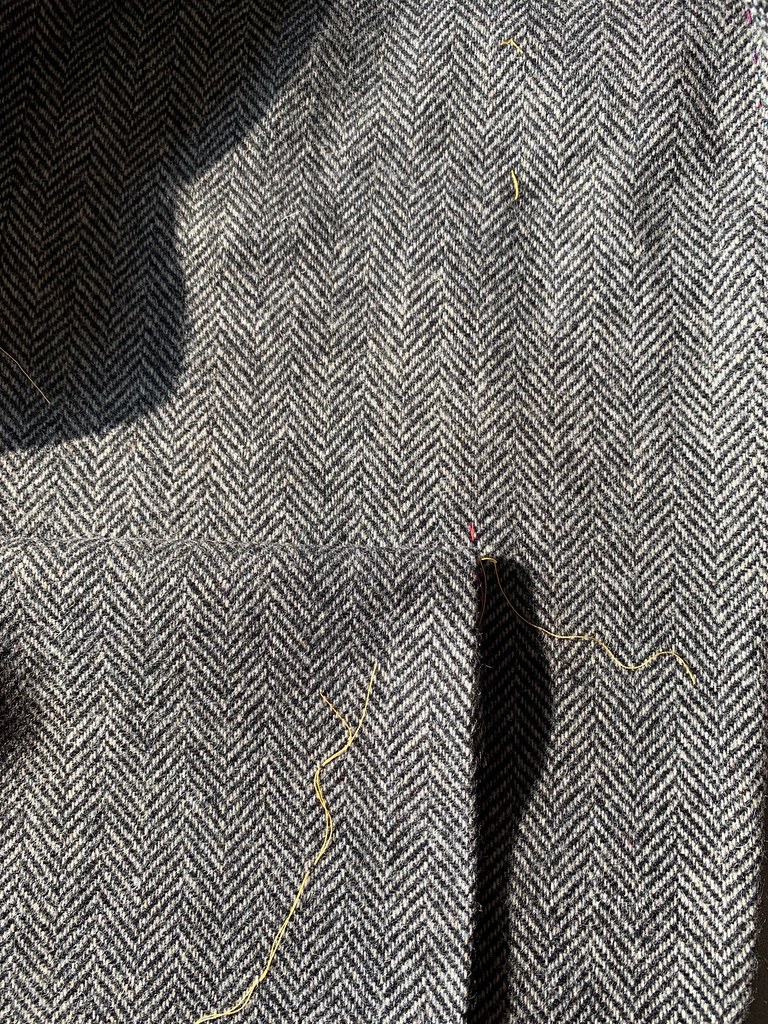
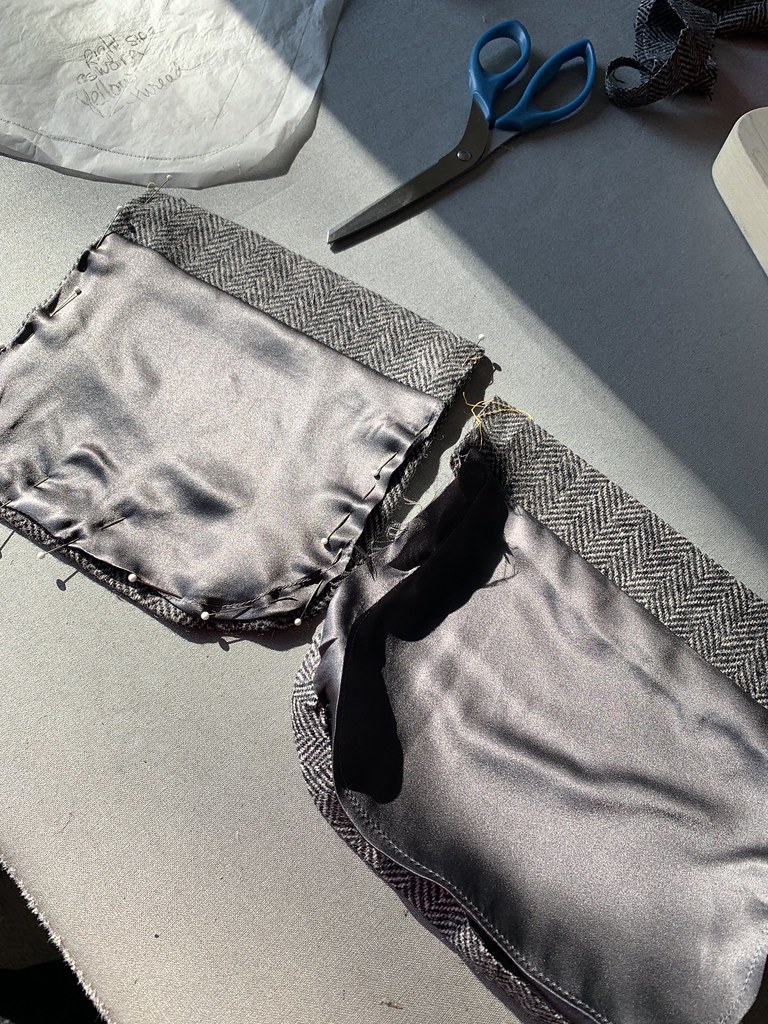
The fold line is marked by my yellow tailor's tacks, and then the left and right pockets are differentiated by the yellow and green basting threads shown on the pockets above. 
I did put some lightweight fusible interfacing on the wrong side of the pockets. It just seemed to need a little more structure so they would lay flat and not sag on the jacket front. I trimmed the fusible away in the seam allowance before applying. I made a pressing template from a manila folder, which is my go-to item to cut up and make templates. It really helped with getting the rounded corners of the pocket to press perfectly and all match. 

IMG_5185

Behind the pockets on the inside of the jacket the instructions said to stitch a rectangle of firm cotton fabric, to give the stitching at the corners of the pocket some reinforcement. That is the spot that might ultimately tear a bit on a pocket. I did baste it down a bit more than they indicated, so that I wouldn't mistakenly stitch it down with a crease when hand sewing on the pockets. 

IMG_5197

Next was applying the pocket lining. I rummaged around in the scrap bag and came up with just enough of this grey silk charmeuse to make the linings. Which was also hand sewn to the pockets. 

IMG_5193


IMG_5186 

Here's a look at my pattern matching, a detail that will be lost when the jacket is viewed as a whole but I just had to do it. 
Then the pockets are basted on, and hand stitched all around. I went around each pocket twice, plus extra reinforcement at the tops. 

IMG_5198


IMG_3563

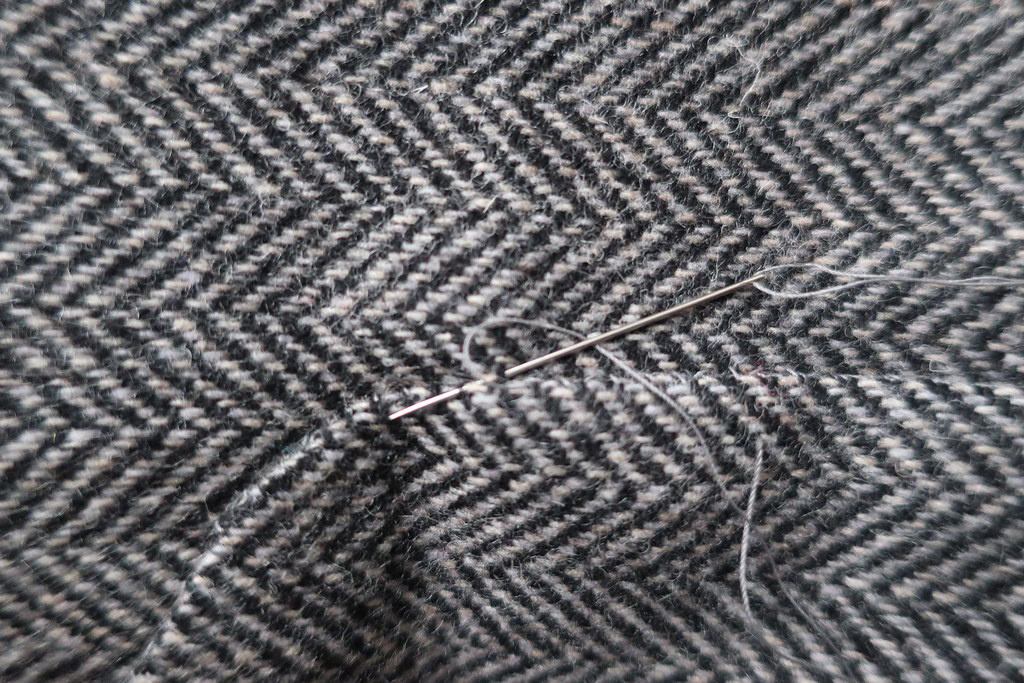
Which seemed like it took forever but was worthwhile. I found the trick was not to pull the silk thread too tight as the patch pocket needs to be secure but also almost float on top of the jacket front. 
Once the pockets were completed then the sleeves were next. 
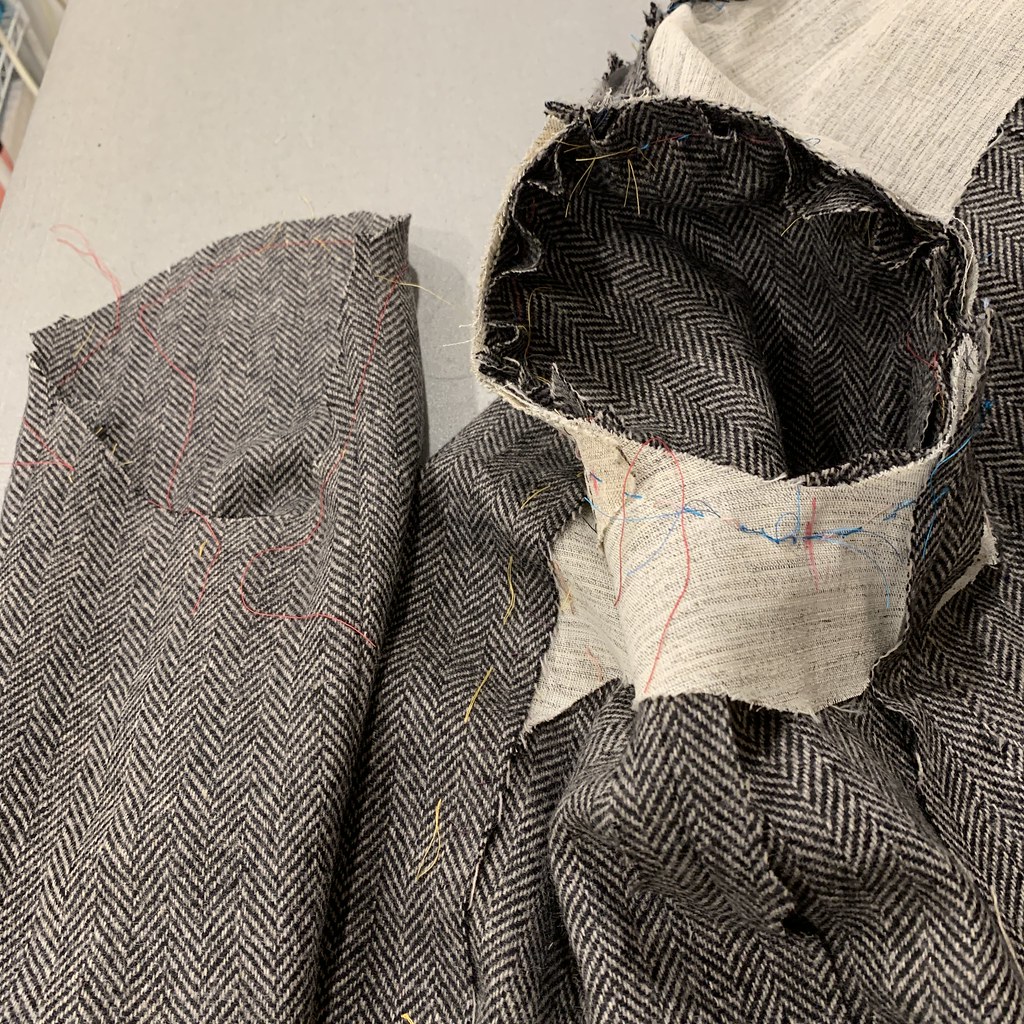
The pattern came with a specific piece for the hair canvas interfacing which goes at the sleeve hem.

IMG_5012

IMG_5014

IMG_5013

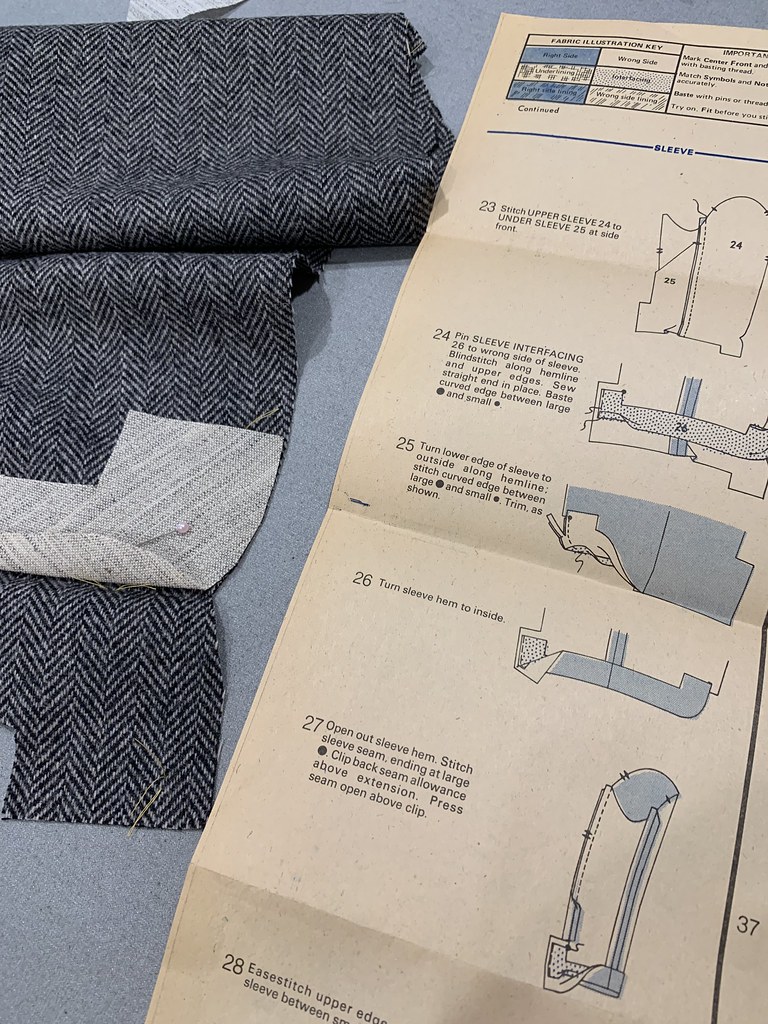
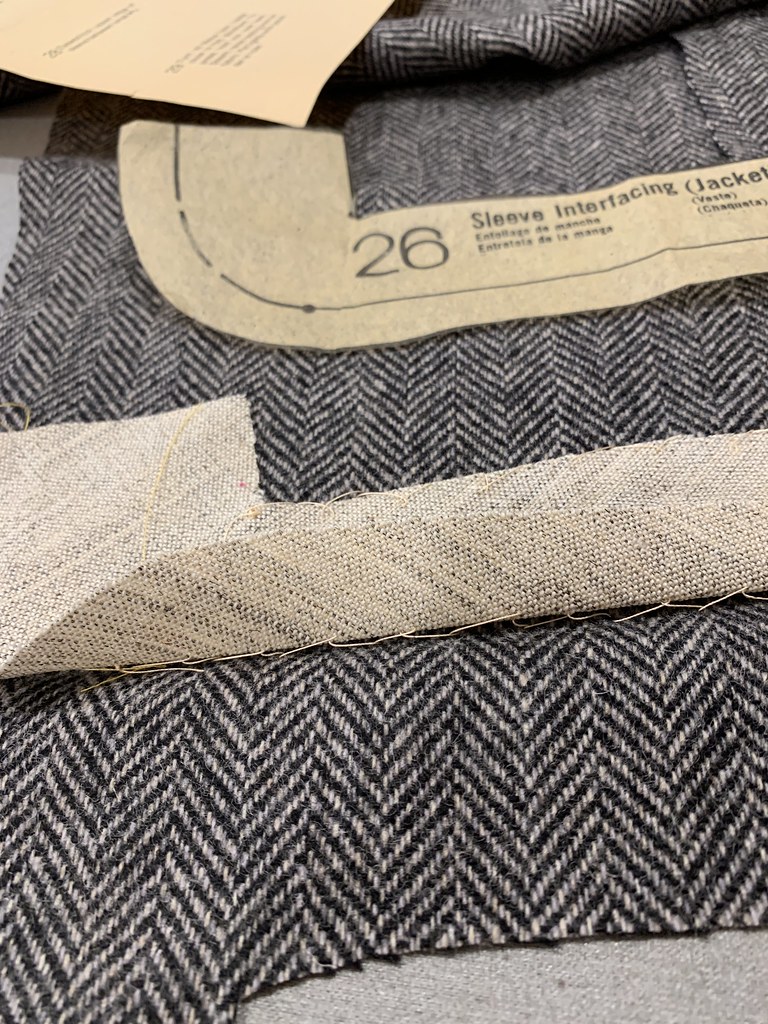
After stitching on the hair canvas, then the sleeve seams are sewn up, with the curved self-facings. 
Next up, sewing in the sleeves. 

IMG_5183

I basted in the sleeves before sewing the on the machine. As it turned out, the sleeves are the one part of the jacket where I'm not really happy with the fit. I just sewed them in according to the markings and didn't really try it on. Now I think I could have rotated the sleeve a bit forward to change how they hang, which I often do with other jackets. 
The pattern called for a 1/2" shoulder pad but it also needed a sleeve head so I added that, but didn't take a picture. 
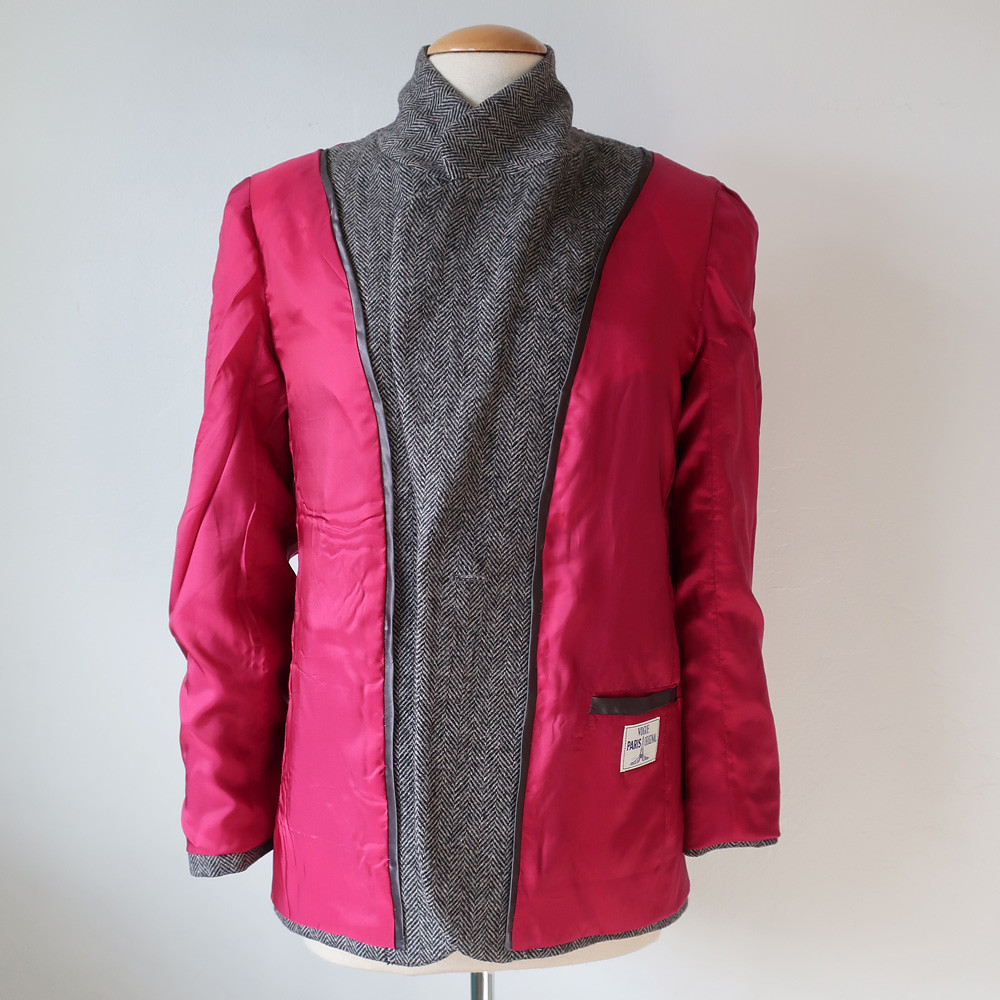
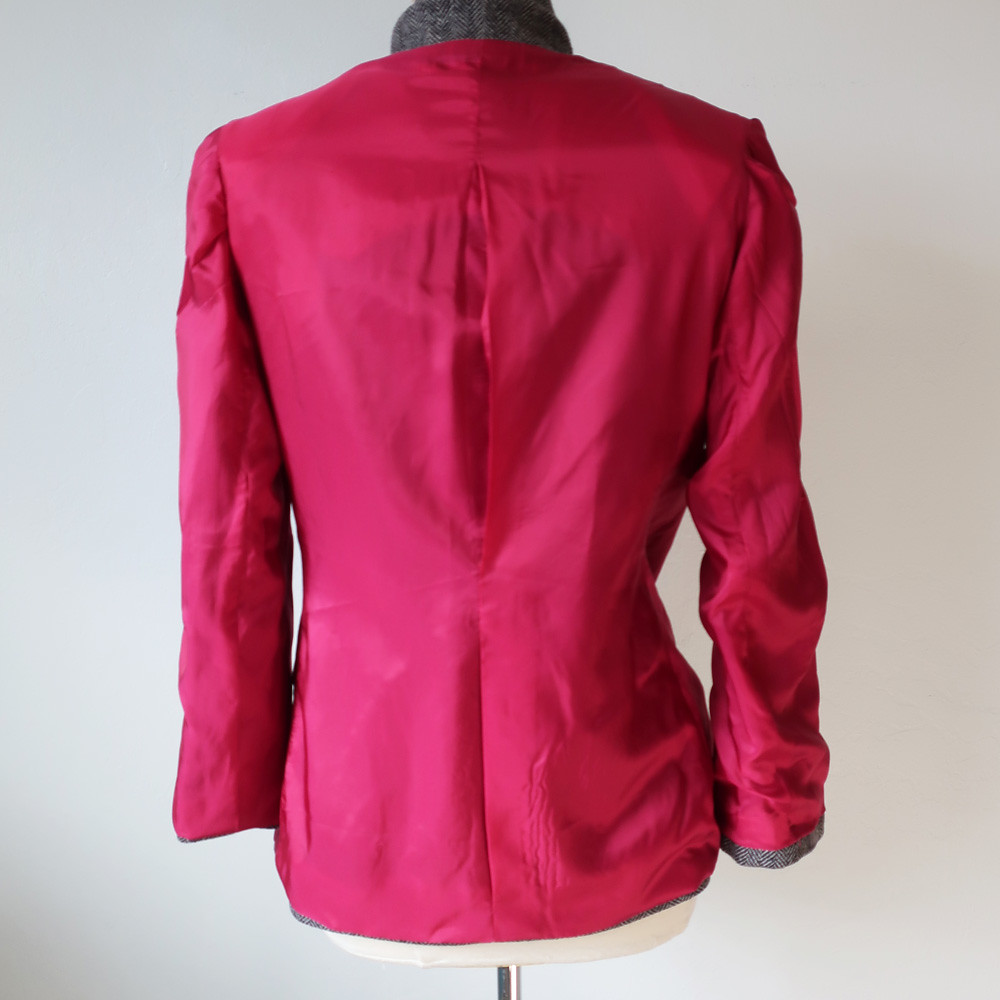
After that, it was hemming the jacket, then putting in the lining which I did in the same manner as I have in other blazers I've made. So sewing all the lining pieces together, and then hand stitching it to the the jacket facings and hem. 
Here's a look at the finished jacket - but I'll have more photos in the next post, including the lining and wearing it with my Tatjana trousers from Just Patterns

Tweed blazer sleeve side view

So that's this jacket almost completely blogged - and I'm ready to move on to other things. Which include a plaid coat that I finished as our warm weather is arriving. Another coat I'll have at the ready for next winter, when hopefully we are going out of the house!! 

Happy Sewing,
Beth

Daffodils blooming everywhere now.  

IMG_5567