Showing posts with label boucle. Show all posts

Saturday, April 11, 2020

Part 1 for Boucle jacket with statement sleeves Burda 12-2017-118

It does feel a bit odd to discuss my latest sewing project but I appreciate all the comments and emails saying you are enjoying reading about sewing when we need a distraction from our own four walls. I hope everyone is well and not going too nutty during this stay at home time. Things must be getting to me because I'm also baking (like the rest of the country). As I type I have a batch of cinnamon rolls doing their second rise and ready to pop in the oven. A request from my family, we may have watched too many episodes of the British Baking show as I'm now worried about over-proving! (ps I always find it weird when they say prove as we say proof. Also puddings? no thanks, they never look as good as any other things, particularly the steamed ones!) Now, back to sewing😊

Here's a close up view of my latest jacket project. After a winter of teaching jackets classes, and then sewing a new coat plus some other jackets I figured it was time to turn to other items. In fact I did finish two pairs of Ash jeans and some tops which should appear here one of these days. But right before my state went into forced hibernation a friend of mine gave me a whole bolt of this fabric. Couple that with my recent project of organizing my traced Burda patterns and I decided to jump into another jacket.

Pink jacket front on form collar

Turns out I had traced this pattern quite a while ago, and came across it when organizing. I think I was looking for something a bit different and ready to participate in the statement sleeve trend.Their example version is more of a military look with the gold buttons. And it almost looks like she is wearing a mask which is something we are done with soon!
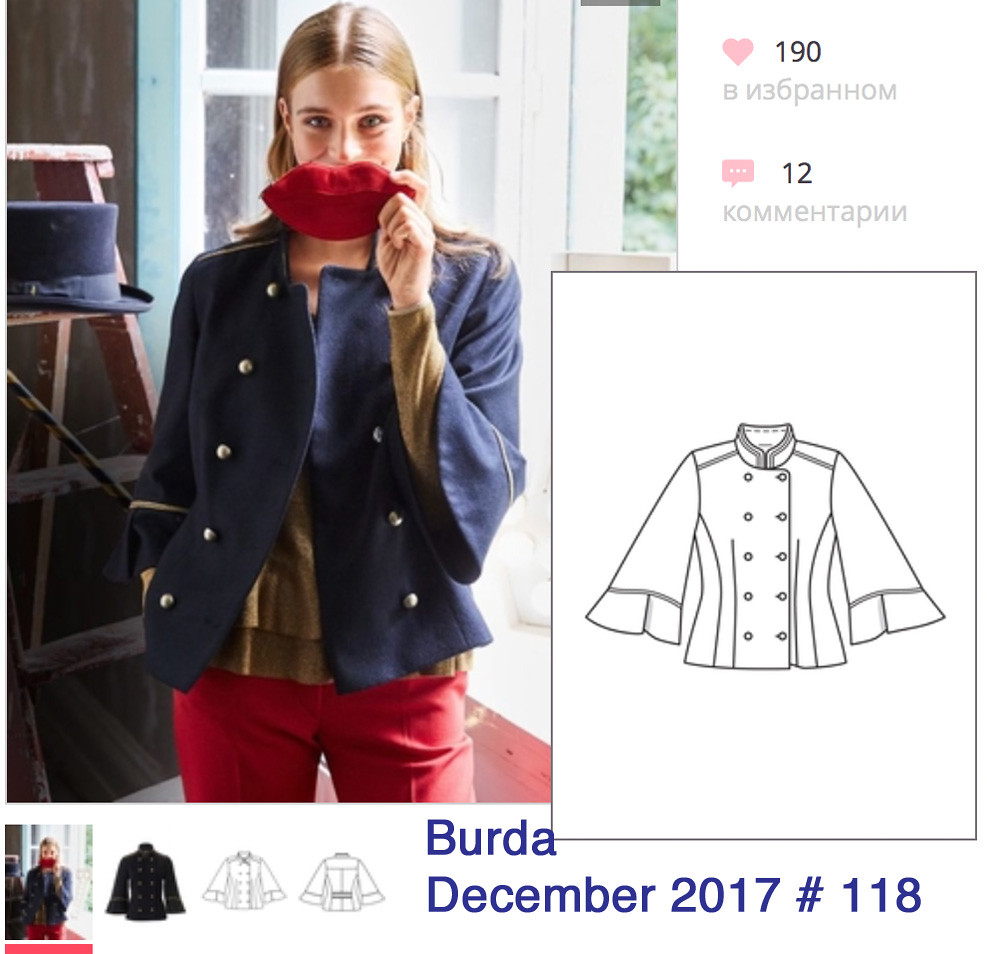
Burda jacket illustration Dec 2017 118

I did make a muslin because I really didn't want to cut into this fabric and end up disliking the shape. Even in this yucky color I liked the shape so onward with cutting out.
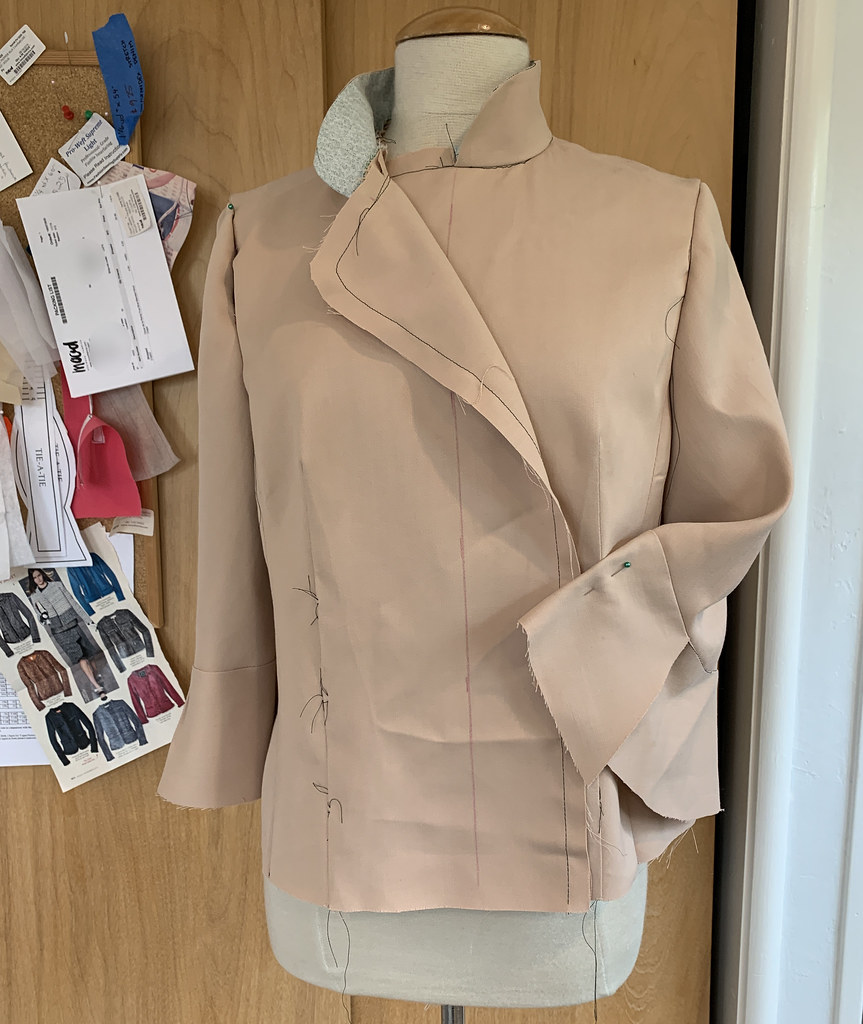
Burda jacket muslin


Pink jacket fabric sample

This fabric is very loosely woven and it seemed like it needed a bit of help to retain shape and not fall apart in wearing.

I decided to fully interface all the pieces with lightweight fusible. In this case I used the Pro-Sheer Elegance Light from Fashion Sewing Supply. Although in the front I did use the Pro-Weft Supreme Light (from the same supplier). Those are the two interfacings I use the most, plus their Pro-Sheer Elegance Couture which is perfect for silk shirts and tops.
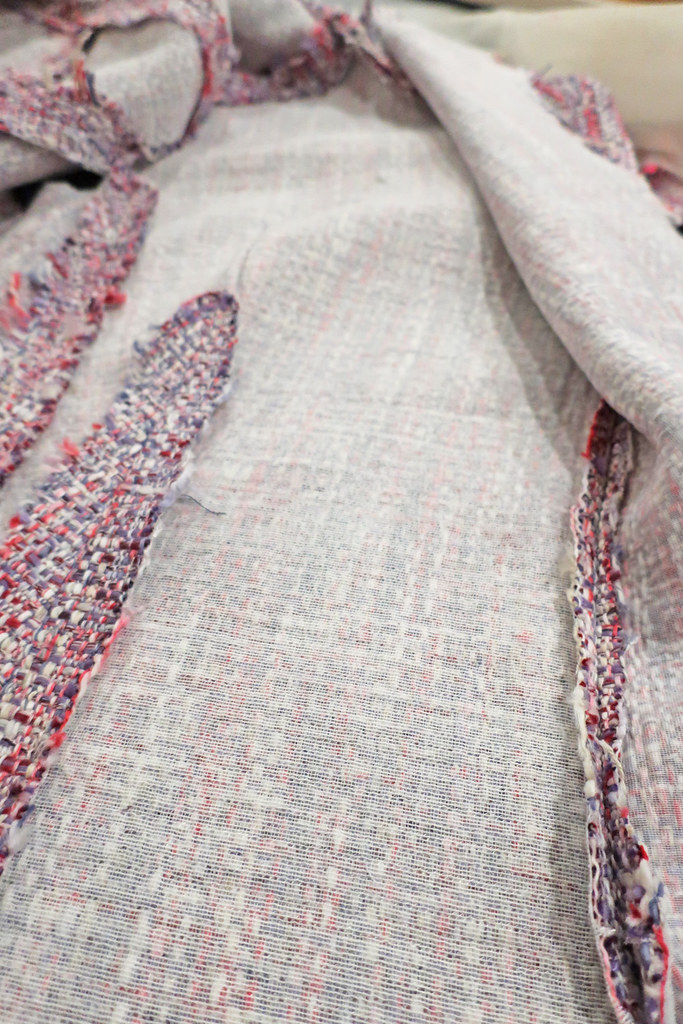

Boucle jacket interfacing

As you can see, for a lined jacket I leave all the edges raw, I don't see any point in serging the edges for things that are going to be inside the lining.  I think it adds bulk on the seam allowances which is the very spot where you are trying to reduce bulk showing on the outside.

Let's talk about those sleeves. I was sure I was sewing them correctly based on the drawing but after finishing them and looking again I realized I had overlapped them in reverse as to how they were supposed to be. So the one on the right is how I originally did it, and the one on the left is unstitched and just pinned into place before sewing. But that's how the pattern is designed. Now that I changed them to be as the pattern I'm not sure it makes any difference or is any better.
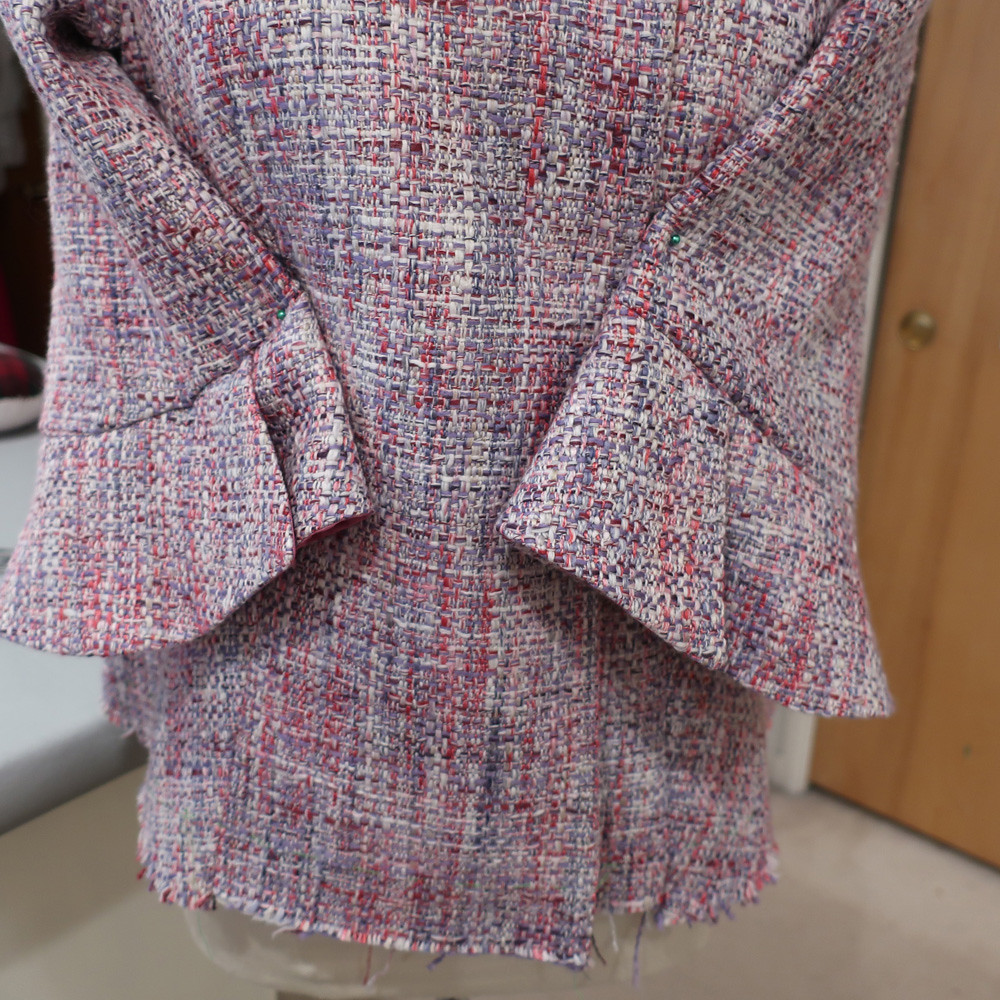
Pink jacket sleeve mistake


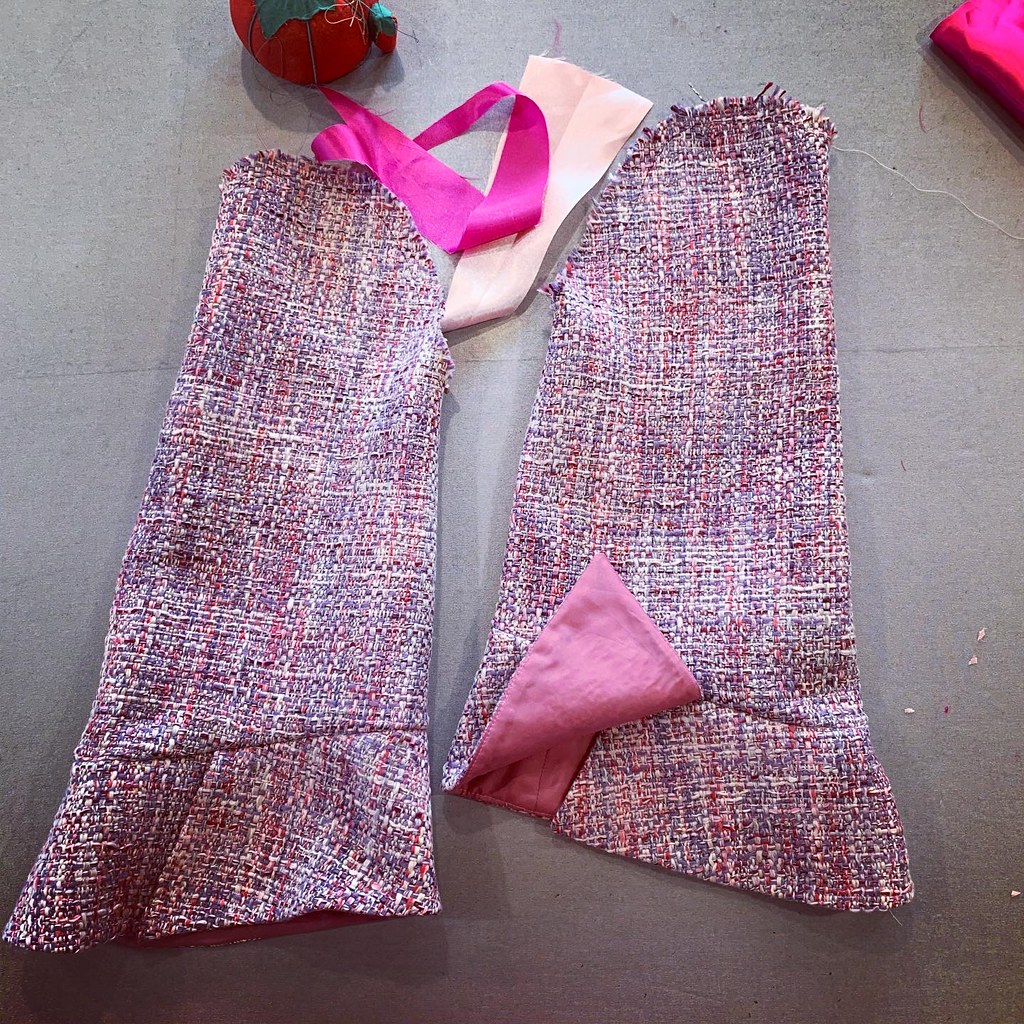
Burda pink jacket sleeves

I took this picture before I changed the overlap of the bottom piece, just to show how they are fully lined at the cuff. Those two pink scraps are examples of what I used for the jacket lining. Use what's in the stash is the motto of these days, right? I later sewed the jacket body and sleeve lining together as on a typical jacket construction, and hand stitched the bottom of the sleeve lining to the top of the cuff.
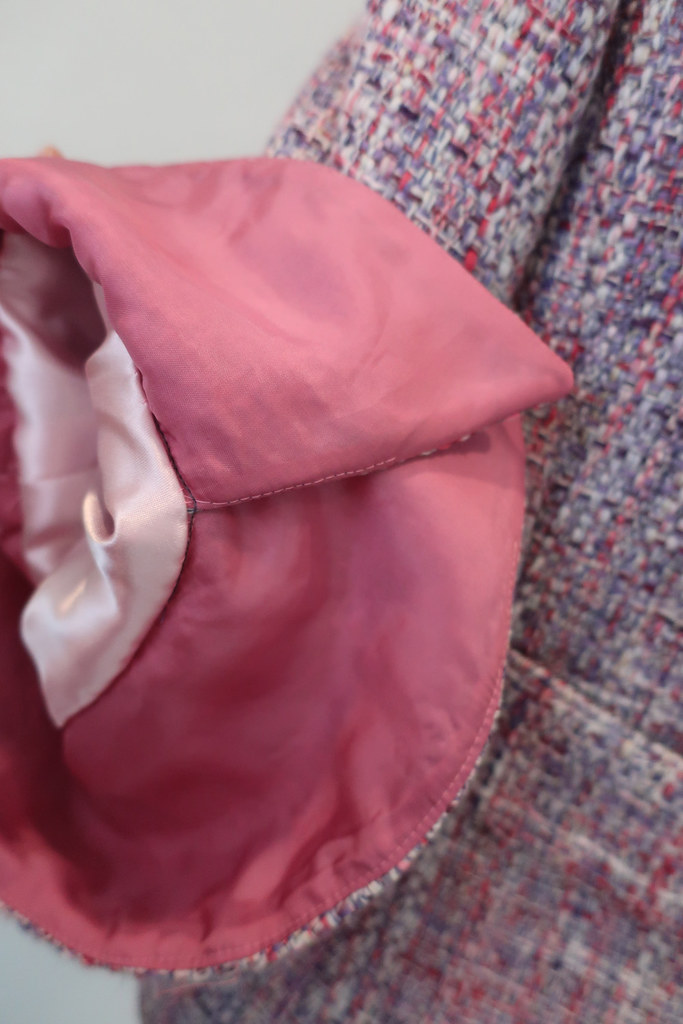
Pink jacket inside sleeves

I under stitched the cuff lining so that it would have a good edge and stay inside. This fabric is probably some kind of poly or blend but it pressed surprisingly well and resulted in nice sharp edges which I didn't expect.

More scrap usage, the back has a belt feature so I lined that with a scrap of grey bemberg. Use all the scraps!  After seeing it mentioned in their newsletter I decided to make a pouf for my sewing room with scraps and I'm kind of amazed how much I've accumulated since the lockdown - at this rate my cushion will be filled soon.

Pink jacket back belt lining

I think having this little belt band on the back gives it an extra bit of style, I was thinking of leaving it off but decided to add it and now I think it makes the back more interesting.

If you look at the first photo in this post you can see that this jacket is no longer double breasted as the pattern is designed. I generally don't like jackets that are double since I often wear things unbuttoned and then you end with with a lot of extra fabric in the front. I tried it on a few times and just came to the conclusion that I would like it better if it buttoned in the center front. In addition, I started doing some test buttonholes on scraps and they weren't great. So I decided to change the front and to achieve that just sewed the same edge about 2 inches in and cut off the extra.

Burda pink jacket test buttonholes

This resulted in a nice piece that simulated the front edge of the jacket, so I tried a variety of buttonholes on that. Due to the thickness of the fabric I just couldn't get a good machine buttonhole and decided to abandon that idea. And I was so glad that I hadn't done bound buttonholes which I would later have cut off as well!

Nail polish snaps

Large snaps seemed like a good solution so I painted them with nail polish and they blend it very well. Don't ask me the color because I am the person that pours the dregs of one bottle into another one to make a slightly lighter or darker color as led by my mood and miserly tendencies. I put 3 coats plus a clear topcoat, only on one side of the snaps as the other side which would be on the upper part of the inside jacket wouldn't show.

For the lining, I typically never use any of the lining pieces that come with a pattern, but make up my own after the item is sewn together. Here I've overlaid the front facing on the front jacket, and drawn a red line where I want the lining edge to come to.

Burda pink boucle jacket lining

Then I use the serrated wheel to make that line on the front jacket piece, add a bit more for a seam allowance, cut off the extra and use the jacket front (minus the cut away part) to make the front lining. If it's too much I trim it away when I pin the lining on.

This red coat project post shows how I drape the lining on and fine tune where it folds back and is hand stitched to the inside of the coat.

So that's a few of the details on this Burda Jacket, pattern 12-2017-118 and my next post will be the finished jacket. But here's a little peek from a sunny day about a week ago. This would be the perfect jacket to wear on Easter - however with all the news I'm just glad to say my family and friends are all healthy and I hope the same for everyone reading.
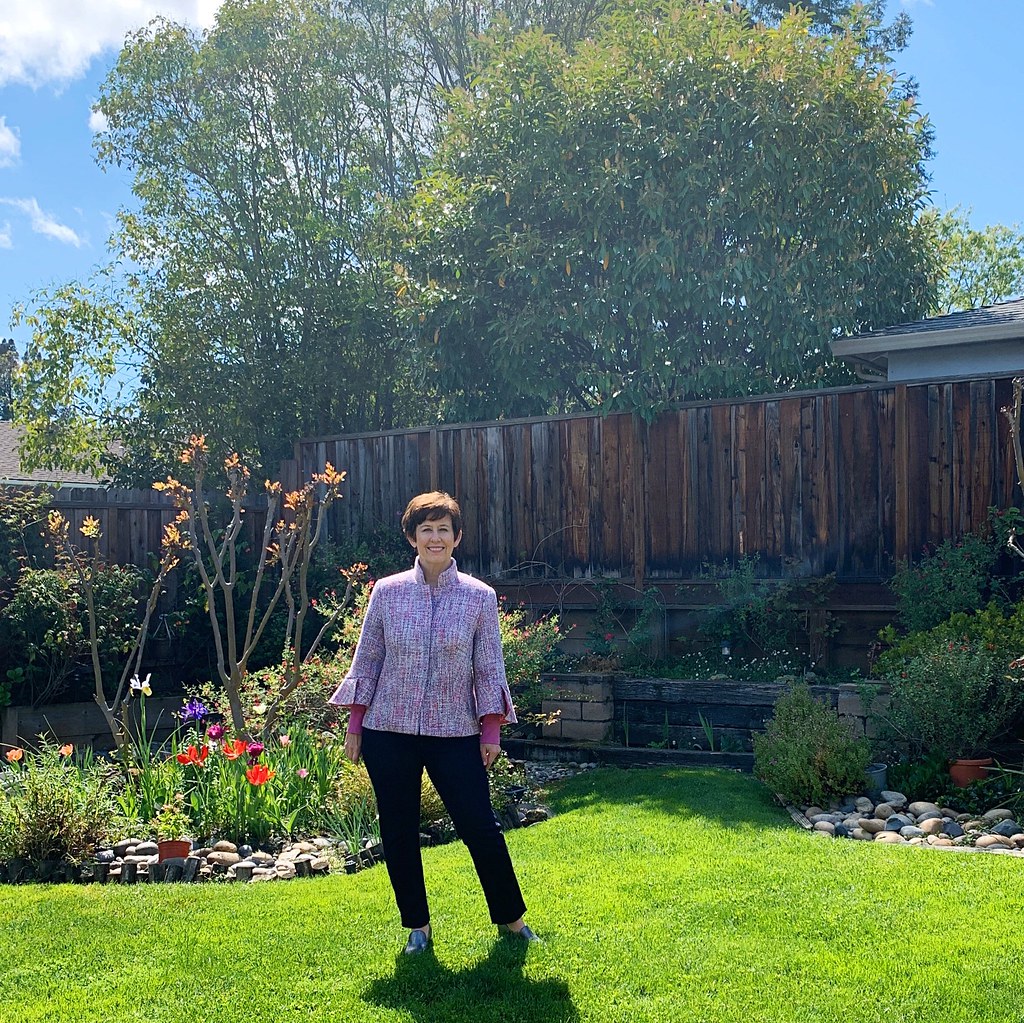

Pink boucle jacket in sunshine


Happy Sewing, Beth

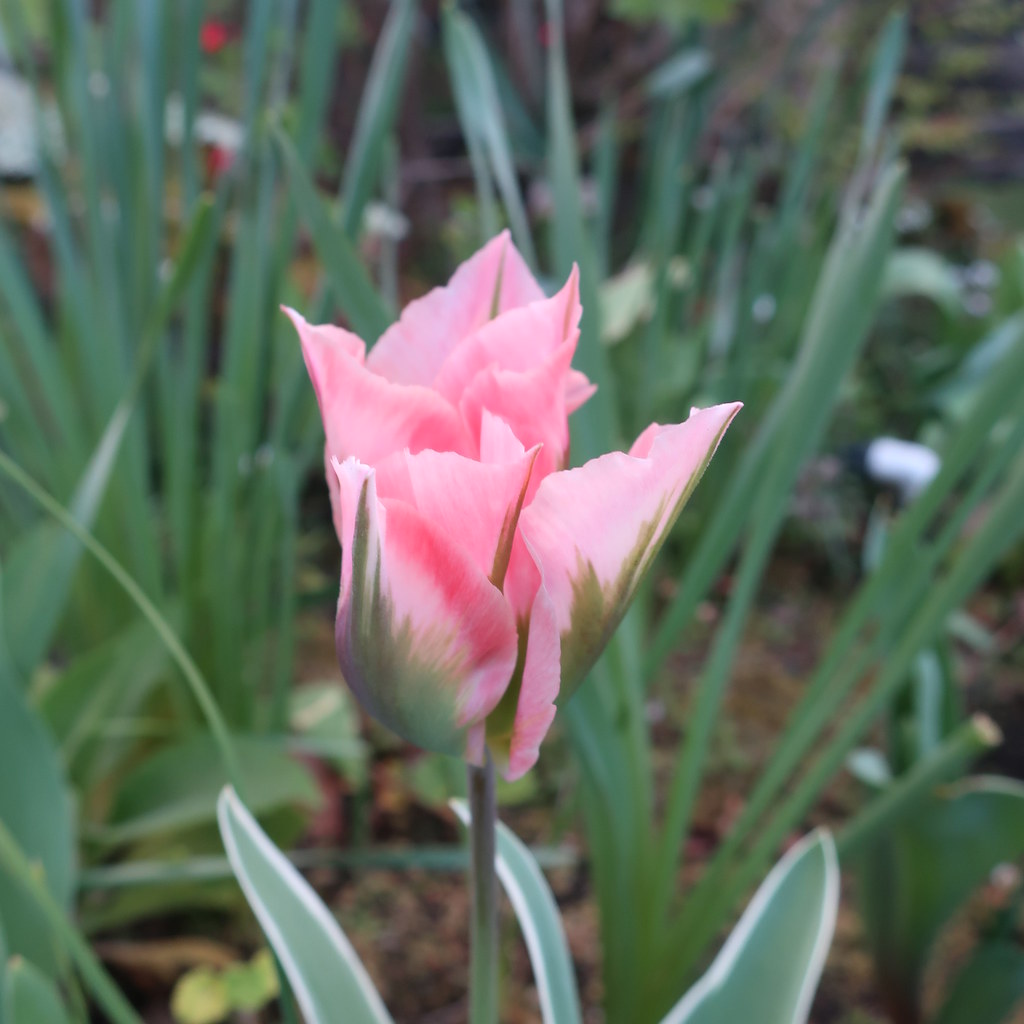
Here's today's garden photo, these stripey pink tulips were a bit of a surprise - I never remember which tulips I plant so it's always a treat to see what comes up.

IMG_2631

Wednesday, June 12, 2019

Vogue 7975 jacket in metallic boucle for a friend

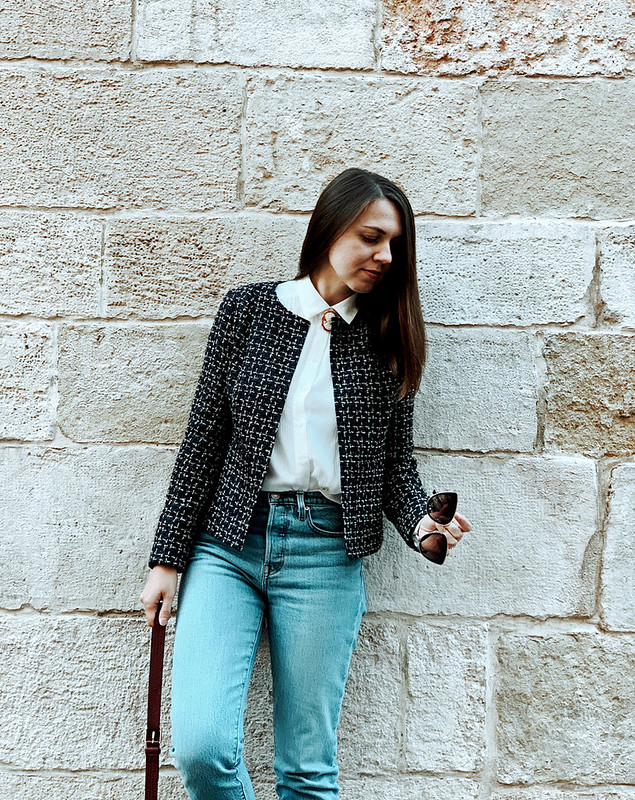
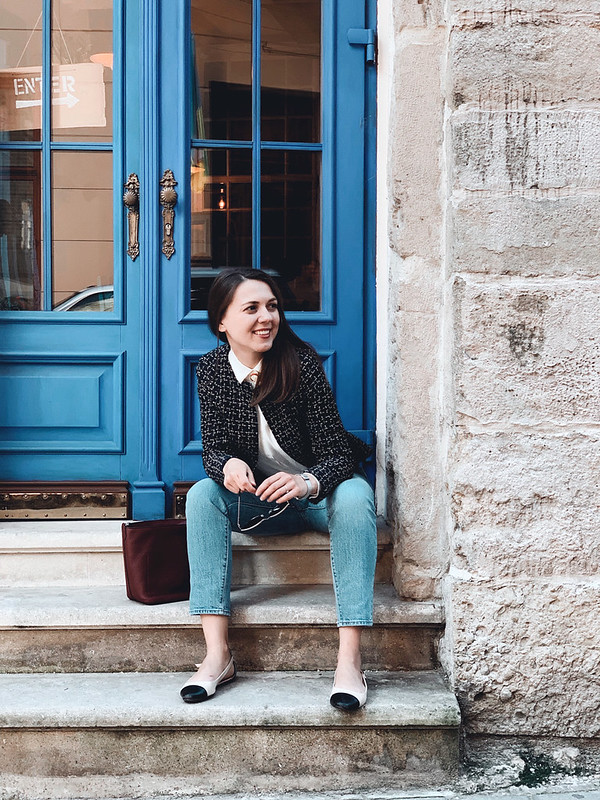
A few months ago I was in Stone Mountain Fabrics in Berkeley with my friend Halyna and we were, as always, thoroughly checking out the upstairs bargain area. We came across this metallic boucle fabric, I think it is some designer remnant (which is a lot of what they have there).  We both wanted it but I showed great restraint and did not purchase, however she couldn't resist so I gave her my advice on how much is needed to make a jacket. By the time we left the store I had said I would cut it out for her since the cutting out on this type of fabric is the trickiest part. You can guess the rest and I actually sewed it, since she was busy with other pre-vacation sewing. She's just started sewing last spring (!) and is quite amazing, and is now on her way to a fully handmade wardrobe.

H wearing plaid jacket 1

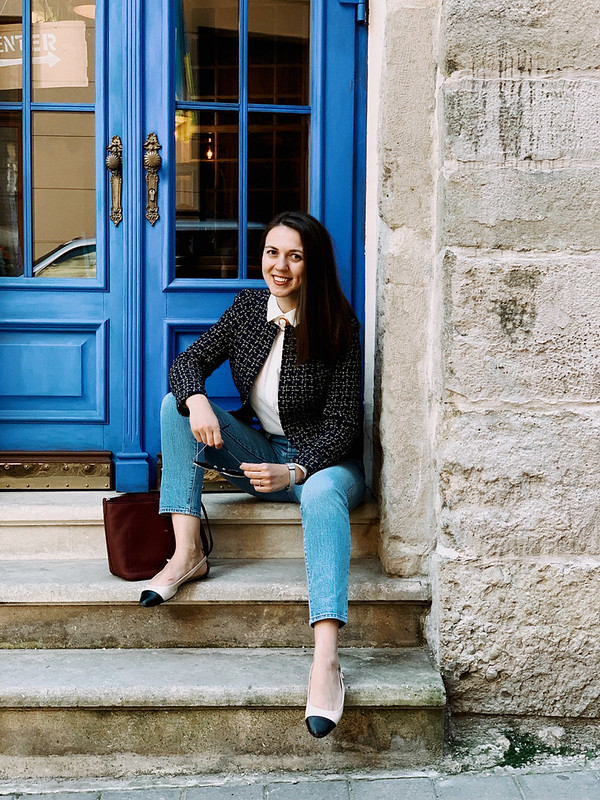
Halyna in her hometown of Lviv, Ukraine. Her instagram is @zigzagsewing

We debated about putting trim, or fringe, or even buttons but in the end decided on only simple patch pockets and no closures at all. After all with this type of jacket that fits like a cardigan I find you rarely button it up. So in this picture it is pinned closed (to show the plaid matching across the front) but in the end it had no snaps or buttons.

H plaid jacket on form front

For the pattern I used this tried and true Vogue jacket pattern. It's the same pattern I used for my own jacket a few years ago,  eek those pictures are goofy looking. And actually I rarely wear that jacket. I never seem to have quite the right shirt to wear with it.  I'm sure this pattern is still available. Recently on IG I suggested that Vogue patterns reprint some of these older (excellent) patterns that they haven't discontinued with new cover art - they would probably attract attention again.


V7975 pattern envelope


This fabric wants to unravel the minute you touch it with the scissors. I cut each piece single layer, just cut one out, mark the wrong side with a piece of blue painter's tape, then flip and cut the 2nd of the pair. Then lay it on the fabric, aligning the plaids, and cut the next adjoining piece. Until I go all around the jacket. With luck they should all match up 😉. I do start with the center front.

Cutting out plaid


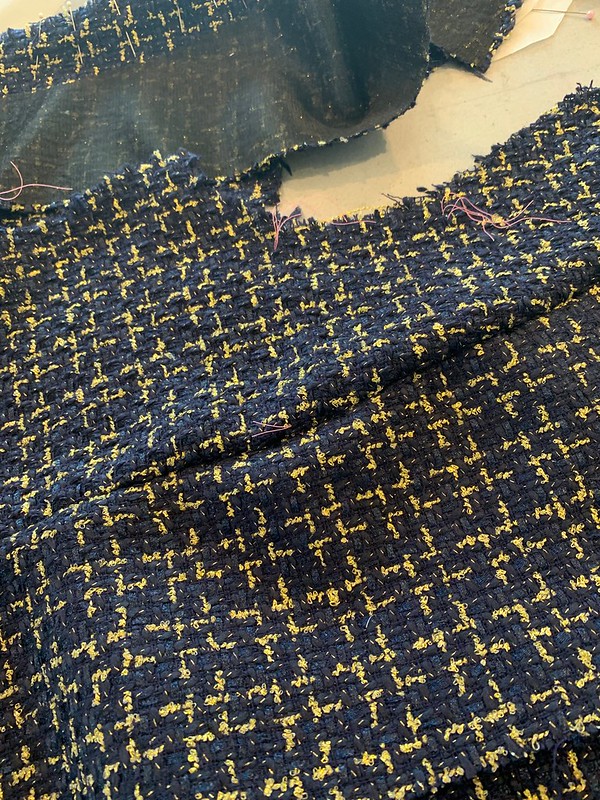
Fabric closeup

I do regret not block fusing the whole thing with lightweight interfacing before cutting out. That would have helped with the unraveling and just given this slightly delicate fabric some more strength. It wasn't intended to be a full-on hand stitched style French jacket - just the look of that style but a quicker version. This image above gives you the best view of the color, it's actually very much shades of dark blue and then that one gold weave.


H wearing plaid jacket 4

I really like it with the white shirt - will have to try that with my jacket.


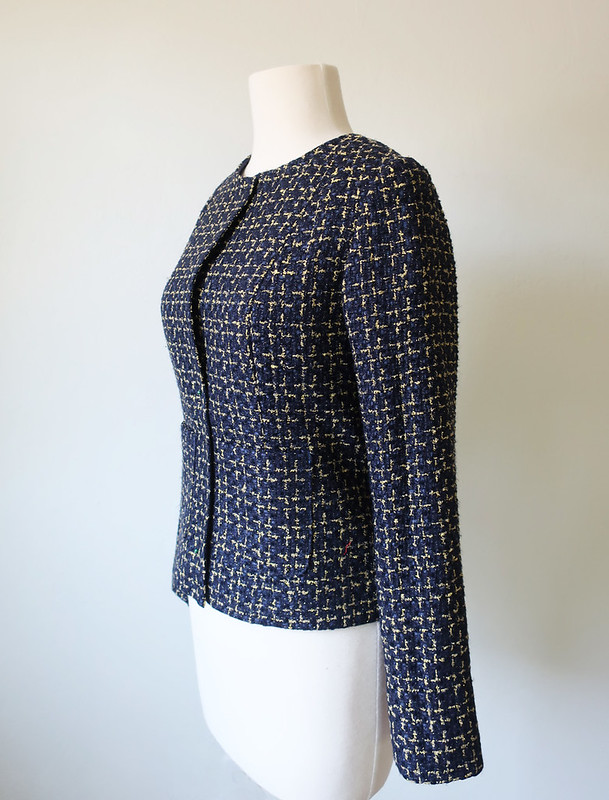
A couple of views of the sleeve. This pattern is really amazing, if you follow the notches and horizontal markings when you cut out it really matches perfectly just about everywhere, including the sleeve.

H plaid jacket side view on form

H plaid jacket side view sleeve closeup

I think we took the sleeve in to be more narrow, have a more fitted look.


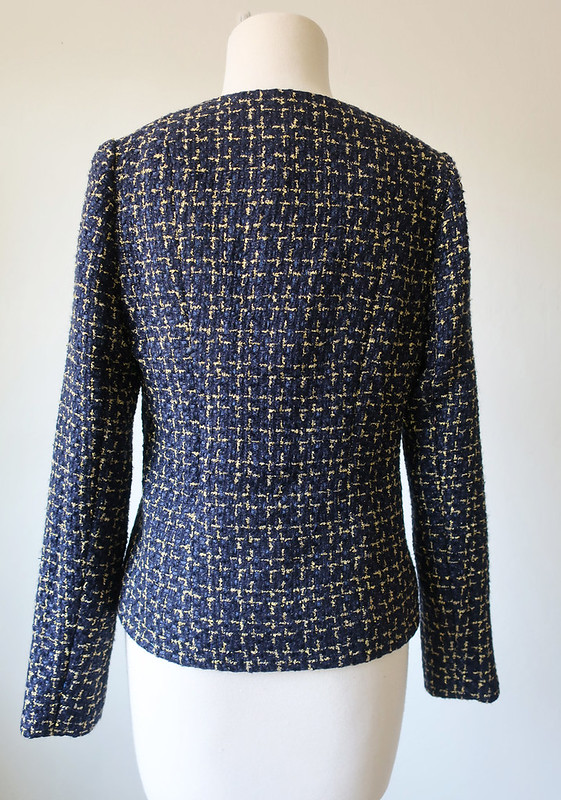
H plaid jacket back on form

I also took it in a bit at the waist area in the back, which I think threw off my plaid there a tiny bit but I can live with it.

In fabric like this there is no point is cutting notches or triangles, they just disappear in the developing edge fringe - so I mark all notches and dots with a high-contrast thread tailor's tack.

Plaid matching

In the upper part of the photo above you can see the jacket front is interfaced, I think I used the lightweight weft interfacing, but I do wish I had fused all pieces with something. In any event, it was a bit too floppy at the center front, so I went back and put another layer of interfacing there, plus some black silk organza to give it more body. That was enough.
The lining is a navy blue bemberg rayon - my favorite interfacing that I use on most everything.
I machine sewed the lining up to the edge, no facings, and then turned, trimmed and pressed.  I also understitched all around however the edged still wanted to curl a bit, I think all those various fibers that make up the boucle have a mind of their own, (not like a nice wool that presses when you want it to).

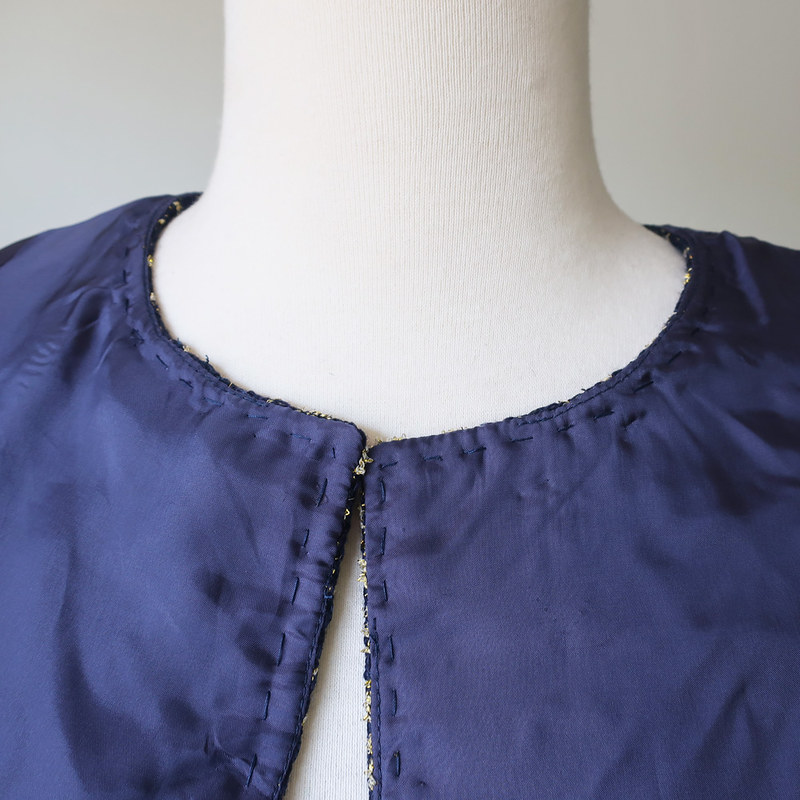
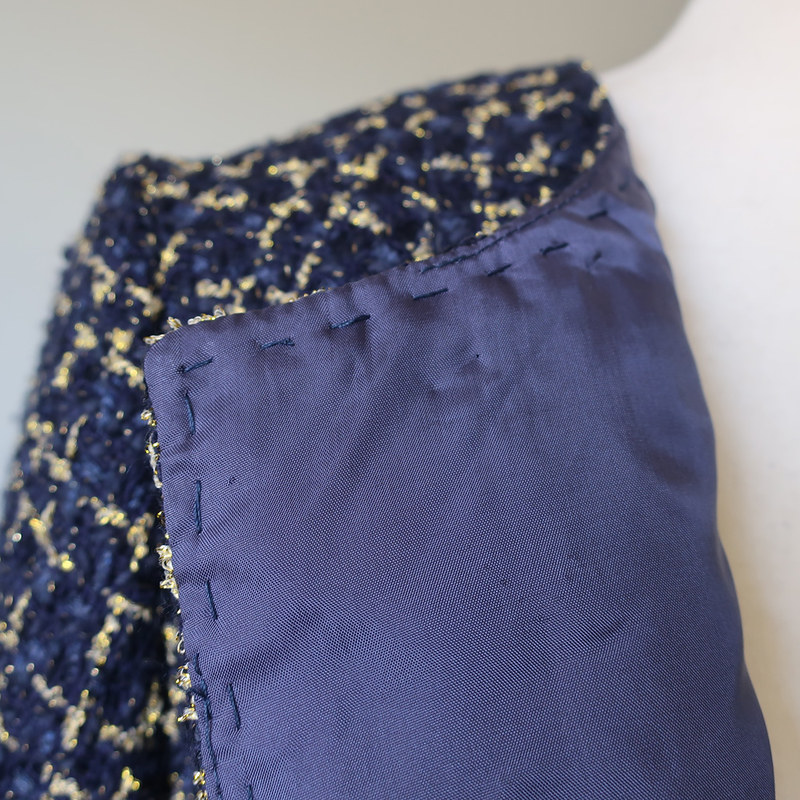
H plaid jacket inside neckline

H plaid jacket inside stitching

To counteract that problem I hand stitched inside with a running stitch that attached the lining to the seam allowances inside, about 1/4" from the edge and that was enough to keep everything flat.


H wearing plaid jacket3

H wearing plaid jacket 2

So that's the latest on my unselfish sewing, which is not over! I am just about to make a new tunic top for my mom as she has a big birthday coming up and requested a new outfit for the party. Which is not until July so I have plenty of time.

I have sewed up all my various samples and examples for upcoming classes at Hello Stitch Studio and will start soon on the Jasika Blazer. There are just 2 spots left in that class which is Sept. 13-15. Although you can sew any jacket pattern that suits you - I'm going to show all kinds of sewing tips that apply to jacket sewing generally. Yesterday I finished a version of the Myosotis dress, that pattern is ideal for all kinds of hacks and can be really versatile (class is on July 14). All the classes can be found here.

Otherwise I've just finished a real pattern puzzle of a dress from the Burda April issue - that one had a LOT of stuff I want to make - just add them to my ever-growing list of summer wishes.

But now it's time to go for an evening swim - third day in a row that we are having triple-digit weather in my corner of the bay area.

Happy Sewing, Beth

This time of year there are so many flower photos to choose from, although things are looking a bit limp by around 7pm. Lots and lots of extra hand watering required. So stand there with the hose and daydream about all the patterns I want to make :)

And we have dahlias already! A benefit of living in a mile climate I guess, this one is already about 3 feet tall. Actually I usually take up the dahlia tubers in the fall, not because of the cold but because they tend to rot in the soil with the rain. Then I replant when see small sprouts growing on the tubers. But this one escaped me and actually started growing in late February so it had a head start on everything.

IMG_0640