After a winter filled with silk and velvet dresses for my sewing clients it was time for a change. Taking a cue from one of my favorite sewing blogs The Selfish Seamstress I pulled out a piece of beautiful wool houndstooth and made Simplicity 2812 just for me.

While winter is almost over, I hope to get some wear out of this jacket now and next fall. Whenever I make a tailored wool garment I always get it about 80% completed and then I can't wait to be FINISHED, so the last few bits, lining and hemming did drag on. For no good reason I put a sliver of royal blue piping in the front lining. Color obsessed as I am I felt it needed the zing, even if hidden.
(sometimes I use red satin pocket linings just for fun.)

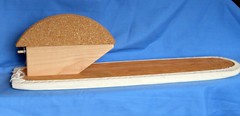
Working on a wool jacket requires pulling out the pressing and shaping tools. I like using these old school items - I have had this sleeve board with the interchangeble parts for a while. I am not sure what the components are called, but the pointed wood piece is ideal for pressing open graded seams on collars and the jacket front.


These are my other high tech tools, a pair of wooden "bricks" which I think my dad cut and sanded long ago from some 1" x 3" boards. Technically they are called clappers, and after a seam is steam pressed open you clap the board on it and press for a good few seconds, allowing the steam to really get in the fibers and give that wool some muscle memory.

Here is a close up of the front jacket and facing seam, graded with the facing piece cut closer than the jacket piece, allowing the turned seam to lay flat and reduce bulk. Next step is to press open on the sleeve board point, and then finally press jacket front flat. Pressing the seam open prior to the flat press creates a sharper turn.

Inside the sleeve cap I put a sleeve head, made of a 1.75" x 10" bias cut of a woven wool, pressing over 1/2" lengthwise and then hand stitching it very loosely right at the seam allowance, and then pushing it out toward the sleeve cap. This cushions the top of the sleeve cap and creates a smooth sleeve both front and back.

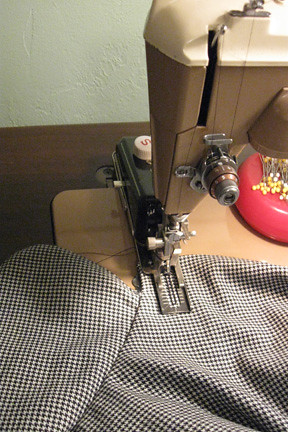
For the buttonholes I have my fantastic Singer attachment which creates consistent, strong buttonholes with rounded ends.
This jacket turned out OK. Maybe I am not crazy about the collar. The style is not the issue, but the itchy quotient is high. I had thought about making the stand collar version and putting black velveteen on the inside, which may have been better in the long run - but this ruffled collar lured me in.

So on the remaining chilly days that require a turtleneck sweater I will be wearing my jacket and wishing for spring.
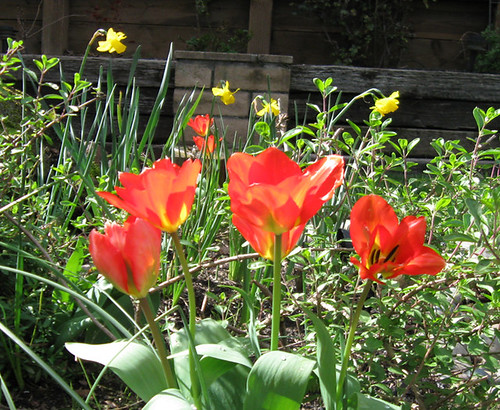
and here is a SunnyGal garden photo - first tulips of the year.


I love the jacket - and the ruffle collar and the little piece of royal blue satin (?) on the inside. It all looks great! Cathy (BakeEatLove, www.TheTruffelKit.com/blog).
ReplyDeleteBeautifully made coat, very nice!
ReplyDeleteReally lovely, especially the details!
ReplyDeleteThat's gorgeous! I too love the details. I haven't seen a clapper in years. I knew of some people who didn't just press with it but really bashed their wool with it to get a sharp detail!
ReplyDelete