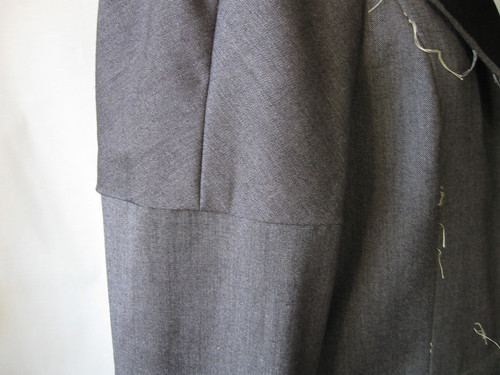
The next step was to attach the sleeves and that is where the quirks (problems) really appeared. The sleeve is composed of 2 pieces, the jacket continues at the shoulder creating the upper portion, and then a lower portion is sewn on, with a pleat effect at the upper arm. It looked good on paper, but in real life was a droopy mess. Following the pattern instruction I tacked it at the seamlines but that did not do enough to keep the shape called for in the technical drawing (or the pattern photo for that matter).
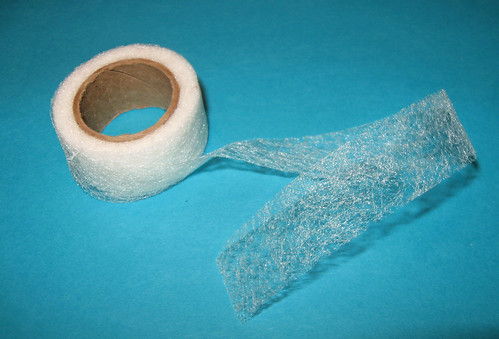
I tried hand stitching it under the folded edge but it there still was pulling and it didn't look right at all. The answer to so many of my sewing dilemmas: Stitch Witchery
Do you use this? I find it invaluable, particularly in tailoring, often where I might hand stitch I find that a little strip of Stitch Witchery is a good problem solver. Note: I rarely use it directly on the fabric where there is no interfacing because it may show on the other side, but for example on lapel facings where two fabrics which are interfaced meet, that is where I might use it to save time and hand sewing (much as I enjoy that).
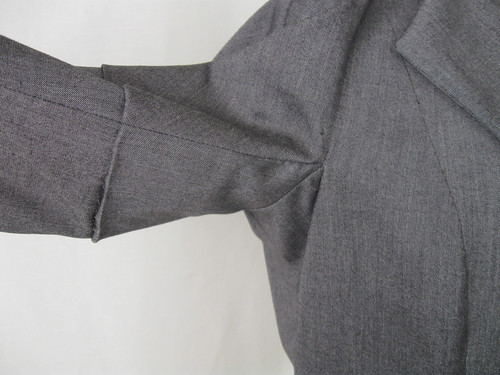
I turned the jacket inside out and put a small strip of the stitch witchery inside that fold. That made the fold stay creased and flat so it didn't droop as in the first photo above. Then I hand stitched around the entire circumference of the sleeve, just about 1/4" in from the fold to attach the upper sleeve to the lower portion. In this photo below I am holding the sleeve up so you can just see some of those stitches. So actually a combination of stitch witchery and hand sewing, but as long as it saved the look of the jacket I am happy.
And viola, an acceptable sleeve, although much less "3-dimensional' than it looks on the pattern photo where they use Trickery? Photoshop? Hot glue? Who knows what they do to get the photo illustrations for the patterns...but I have my suspicions.
Next up is my method of sleeve and lining hemming, I was going to continue now but I have to run, so I will post that tomorrow.
And if anyone is still thinking they might want to try this pattern (even though there are so many others calling to us) here is a look at the lining, same pesky pattern pieces with the underarm gusset and corners to reinforce.
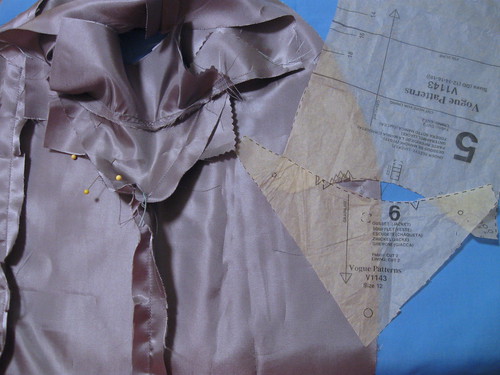
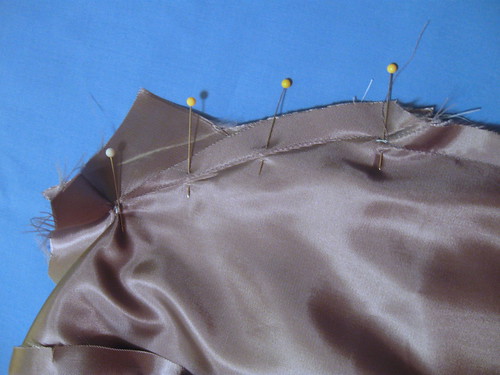
Happy almost Halloween sewing, Beth




Oh,oh! This is too complicated! And you are a very resourceful person. If it would have been me, I´d still be pulling my hair out of frustration. Cannot wait to see it modelled by you!
ReplyDeleteIt's still looking like a great jacket...
ReplyDeleteOh looking good...
ReplyDeleteIt looks fantastic! If it were me, I probably would have tried sewing the lower sleeve inside to the lining, to get that two separate sleeves look. Your solution is very clever!
ReplyDeleteI appreciate all the details you are providing because I was interested in sewing this jacket. What has stopped me is the difficulty in choosing a fabric light enough to look good with all the layers, but that could still be tailored/interfaced in the lapel area. Your fabric choice was similar to the type I was considering. Did you use interfacing on the lapels or is the dark color the wrong side of the fabric?
ReplyDeleteThanks so much for posting this -- I just bought this pattern at Vogue's OOP sale, and it's pretty intimidating. Your version looks great!
ReplyDelete