
You might think that is such a small part of the overall project but I had my camera handy when I was doing them and realized there are quite a few steps I do so here goes.
I am kind of fussy about welt pockets, flapped or not, and have been known to make more than just two pocket flaps so I could get a very nicely matching pair. This time I had all kinds of mishaps, nothing tragic but more funny so you get to see a couple of my mistakes which fortunately were things I could correct.
I will start with the end result and work my way back. Here is the finished pocket with welts and flap
looking ok by my standards. I wanted to show the inside on the left. I just leave the edges raw or pink them but no other treatment, as they will be enclosed in the lining. Sometimes I round the bottom edge and sometimes not.
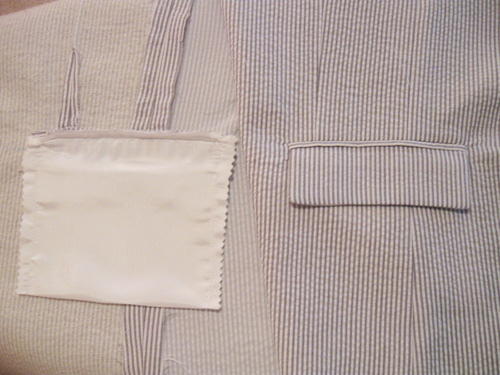
In my previous post I showed how I outline the pocket in a thread trace, so it is visible on the right side of the jacket front.
Then I make the pocket flaps. I have found the key to good pocket flaps is interfacing, on both sides. Outside garment fabric and also on the reverse (lining side). I use the same interfacing as the side jacket front which is Pro-sheer Elegance.
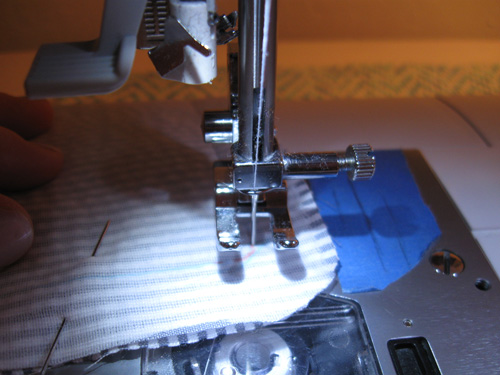
Once I have applied the interfacing it is time to sew the flaps. I have no problem with drawing the stitch line on garment, using a light pencil or chalk. It helps to get the curve just right, and it shows up well on the white interfacing.

Time to sew, and I lift the presser foot when going around those tight corners, turning the flap just a few degrees with every other stitch, because it is very difficult to turn that corner at without doing that. Also I use a very small stitch length here, which is anothe reason to draw the line, because I want to do it just once! with no unpicking.
Time to trim. The seam allowance is trimmed down to about 1/4 inch for this lightweight cotton. If it were a wool jacket then I would grade the seam allowances.
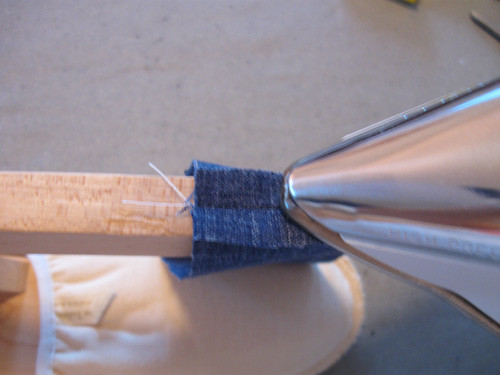
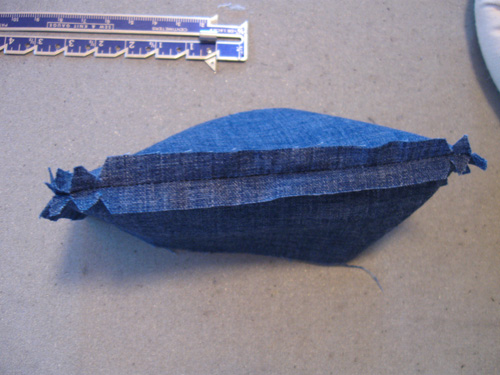
Now time to press. And I forgot to take pictures so I made a sample pocket flap from some scrap fabric to show this step.
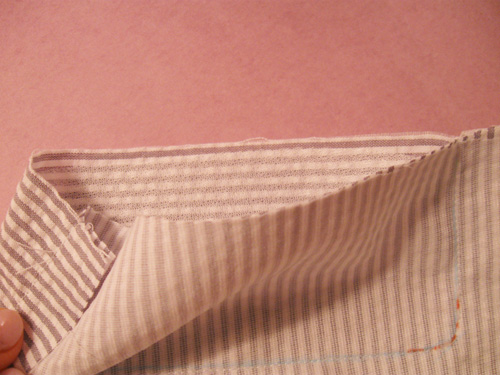
First I cut small pie shape wedges at the corners, so that when the flap is turned right side out the little wedges close up and fill in that curve. Carefully so as not to cut into the stitching.

Then the seam allowance is pressed open on the pointy part of the clapper. Press all the way around, this is the key to sharp edges.
When it is all pressed it should look like this:
Then you can turn it right side out and give it a good press.
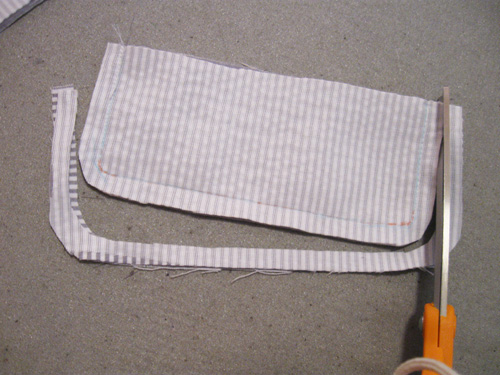
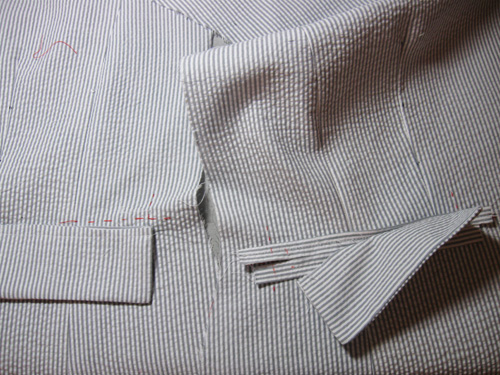
And now for my pocket flap flubs. I was being economical (miserly) with fabric and I cut out the pocket flap with the stripes going same direction as the jacket front but for the underside I used some scraps and the strip was going horizontally.
I interfaced everything and sewed them together. And this is what I did. Not sure if you can see in this photo but I have sewn them so the interfacing would be on the visible on the outside of the flap lining. Oops, cut apart and re-sew. Yes, I did both flaps this way.
Flub # 2: after I sorted that out and re-sewed, pressed etc I sewed the welts and the pocket flaps on the jacket front. Luckily I caught this one after only one side was done. Here I have halfway removed the flap on the right but took a pic for evidence. I have the stripes going the wrong way. I suppose it could have worked but to me it looked off, not how I had intended so the one on the left shows how it should look. And now does. So glad I caught that one before I had finished off that pocket!
I blame these flubs on TV watching while sewing, which I often do. I started watching Call the Midwife only late last year so I never saw the first season but the last few weeks my local PBS has rebroadcast Season 1, and I have been catching those first episodes. It is a rare show that I actually causes me to put down what I am doing and just watch some scenes. (also the costuming - fantastic attention to detail).
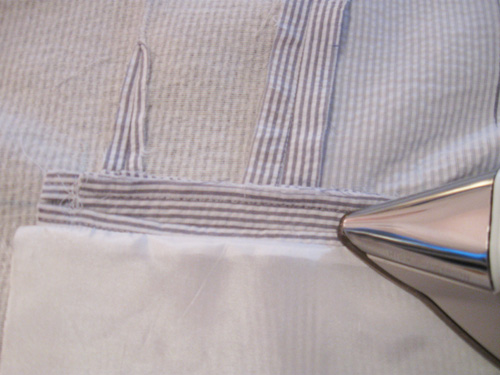
Ok, last pocket picture. Sew the pocket lining to the bottom welt first, then press down. Otherwise it is enclosed in the pocket and you can't quite get the crisp press that you can before it is all sewn closed.
That's all for pockets and flaps. After the welt pockets are done I always feel like it is easy sailing from here on out.
This Saturday is the event at Britex Fabrics in San Francisco to celebrate their new 4th floor workspace. so that is where I will be, talking about my sewing style and how it has grown and evolved. So I hope to see you there if you are in the bay area, and please introduce yourself, it would be great to meet you!
Beth
Today's SunnyGal garden photo is a small hydrangea that is overshadowed by the big mophead one next to it, but this year is putting out a few more dainty blooms.


Again such a useful post Beth. One to come back too. I am laughing at you watching call the midwife. I do watch it myself but some of the scenes make me feel faint! So...bloody...and that's from someone who's parents were doctors and is married to one! Haha
ReplyDeleteI'm loving your seersucker jacket, so chic. And perfect for a long, hot summer! Thanks for your Welt notes, very helpful. I just sewed my first welt pocket for a vintage coat, but the fabric was so thick it presented some real challenges.
ReplyDeleteThank you, Beth! Next time I´ll use your method...whenever I tried to make flaps, they turn out quite irregular, I think your way is very professinal!
ReplyDeleteThank you for this post! It is very helpful! I also love your fabric choice!
ReplyDeleteBeth, Thank you for sharing the details of your lovely jacket. Yes, as Merche said, your way is very professional. I still have a hard time getting the curved edge of the flap smooth. Even when I cut the pie wedges. I guess I need to practice, practice this technique. Thanks again. Cennetta
ReplyDelete