However a few commenters gave some suggestions for this pattern category of not new but not vintage, such as OBG (oldie but goodie) and late-model (as in recent but not new cars) I like them both so I will now have a couple of names for these types of patterns. Good thing too as I have a few that might make an appearance this summer in my sewing.
Back to the sewing details for this jacket which appeared in my previous post. I happened to be in the mood to take pictures as I sewed for this one, mostly because it was such an interesting pattern and I thought some of you might like to see it.
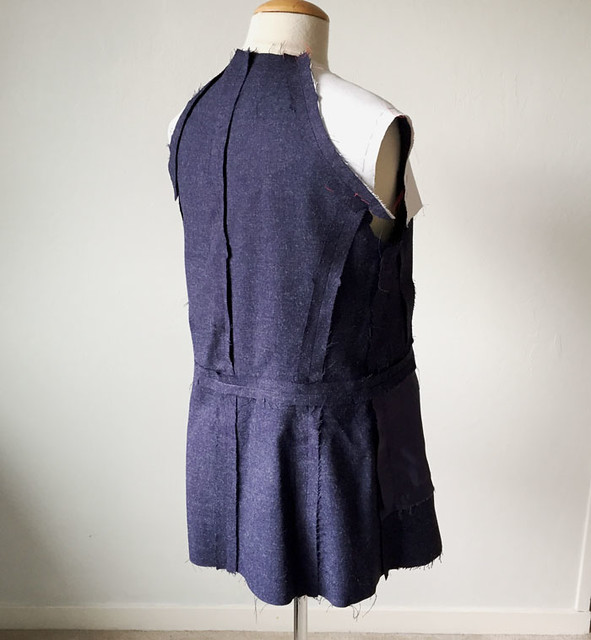
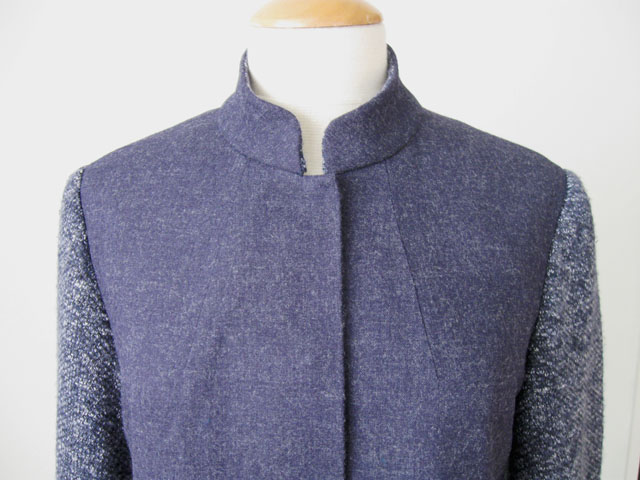
Here's the jacket on the dress form. The pattern envelope and tech drawing are pictured in that previous post so you can see the seaming and dart detail.
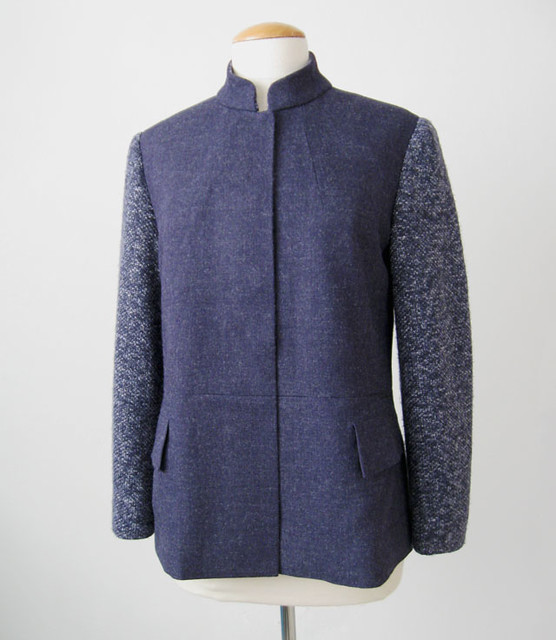
Of course every new pattern starts with fitting. I looked over the pattern, did some flat pattern measure as well as scrutinized the finished garment measurements printed on the pattern (thank you Vogue patterns - my editorial comment: this is a detail that sets the Big 4/5 printed patterns on a higher level than a lot of other patterns).
I made a muslin of just the jacket minus the sleeves, to see the fit and also where the seams landed on me. Vogue size 12 is almost always a good fit for me in jackets and this one was as well. Note that this style has NO shoulder seam and the front wraps around to the back so options for fitting are somewhat limited by that design detail.
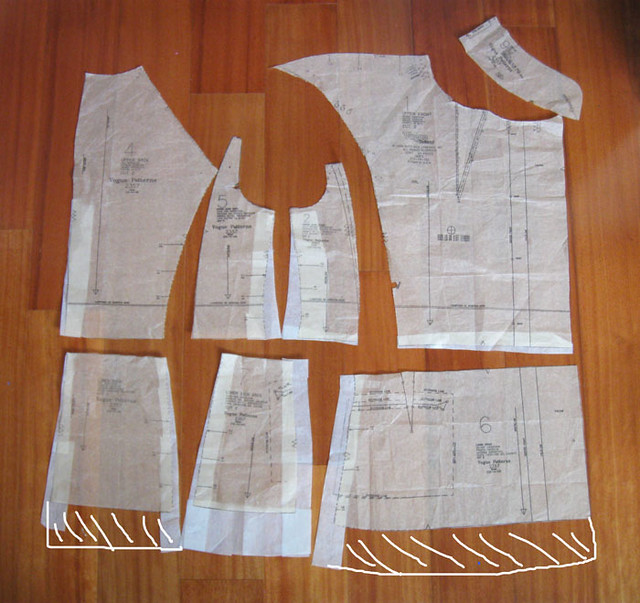
Here are the pattern pieces laid out on the floor. You can see where I add paper to the various seams, some places tweaking the fit just a 1/4' or so, and other places (like the hip circumference) I generally have to add about 2-3 inches in total on a size 12. This pattern also has the side seams shifted below the waist, so that was kind of tricky - the pocket crosses over the side seam, wrapping around the body. Although on my final version it did not. I added about 2 extra inches to the hemline - this pattern has a faced hem (which I changed) so I added the 2 inches for hem allowance. I just put little tabs to remind me to add the extra length and then mark with chalk on my actual fabric. If you ever have a really full skirt and you want to lengthen it the same method saves you lots of taping of extra paper onto the pattern. You just have to remember to mark the extra length your fabric from the very first piece! That's why I add the paper tabs - as a visual reminder to do so.
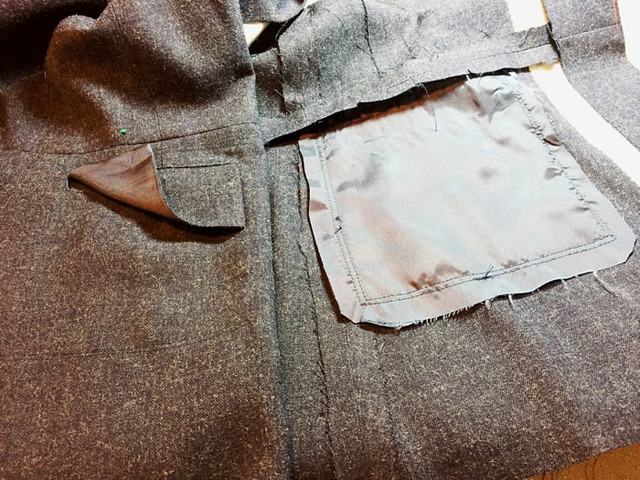
Since I had done the muslin the jacket sewed together pretty quickly. The pocket was titled "the invisible patch pocket!" but it was basically a patch pocket sewn on the inside of the jacket with a flap to cover the faced opening. The pocket bag is stitched to the jacket front although on this fabric you can't see the stitching. (also my camera made it look grey not blue in some of these photos).
Here's the more interesting detail. Since there is no shoulder seam the front curves over the shoulder and then attaches to the back via a diagonal seam. The had a pattern piece for making the shoulder stabilization piece, which you can see here in white. It is not meant to be fusible, actually maybe a lightweight hair canvas or something similar would be just right. I used a woven canvas that I had which seemed to match with weight and shape of the wool, and then I added a layer of fusible Pro-weft just to give it a bit more body. The pattern instructions had you hand stitch this into the jacket along just a few areas, you can see the running stitches. I really liked this level of detail and the result where this support piece is kind of floating inside the jacket. Note that the pattern called for a boiled wool or similar type of fabric so I was adapting a bit due to my fabric choice of this tweedy wool.
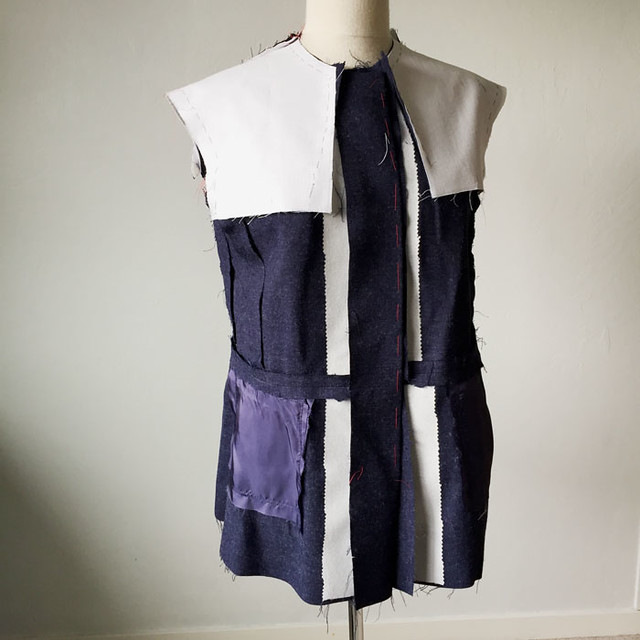
Once I got it mostly assembled and started working on the sleeves I decided that the shoulders were too wide for me, so I moved the top of sleeve in a good 3/4". And even now that it is finished I think it is just a bit too wide across the shoulder. So it bugs me a little but maybe not enough to crack it open and do some surgery in that area. Since I was working with this sweater knit for the sleeves I hand basted in both sleeves and tried it on just to see how they looked and fell on the body. (note those funky corner bits that are left after sewing all the diagonal seams - I always think this type of pattern piece is a trap for beginning sewers - at least it was when I was beginning and it took a while to intuit how the seams were supposed to go together, sticking out at the ends like that)
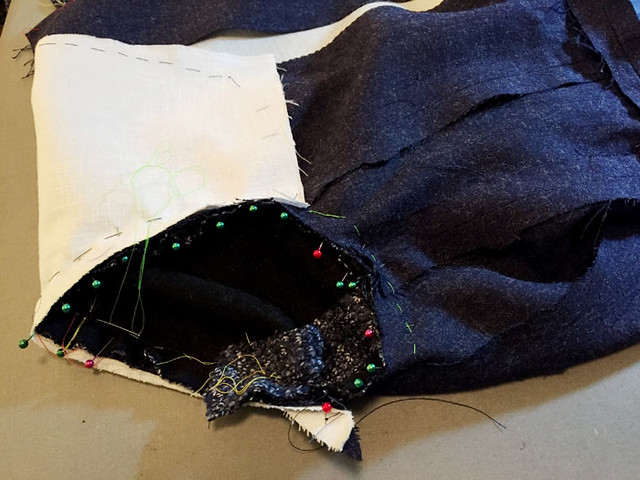
And that random impulse purchase of neon green thread paid off - so easy to see this as basting thread :)
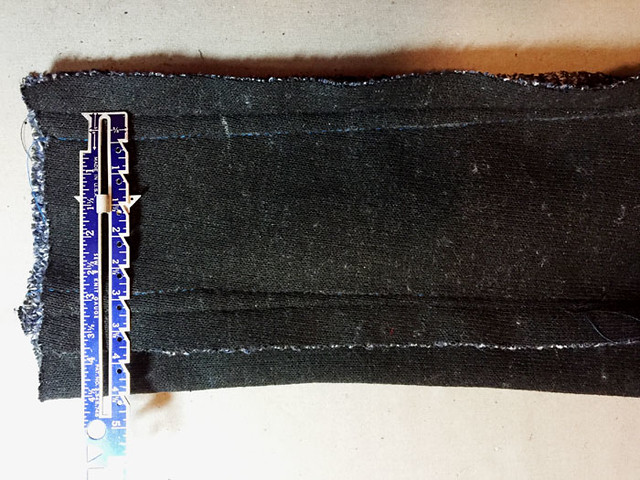
A couple more fit adjustments once the jacket was stitched together. I decided the sleeves were too wide at the wrist, so tapered them in, quite a bit as seen here. About 2 inches in total. Proportion is so important to me and if something just doesn't look right I have to baste in an adjustment and see how it looks. Sometimes doing that proves that it was fine from the beginning but sometimes the smallest adjustment will make all the difference.
Back to the jacket body - once it was sewn up I realized that I added more than necessary to the hip circumference (which is no surprise - I always err on the side of fit insurance since you can take away but not add, right?)
Here are the two seams on either side of the center back jacket, below the waist seam. I took out about 1 inch at the hemline tapering to zero at the waist seam.
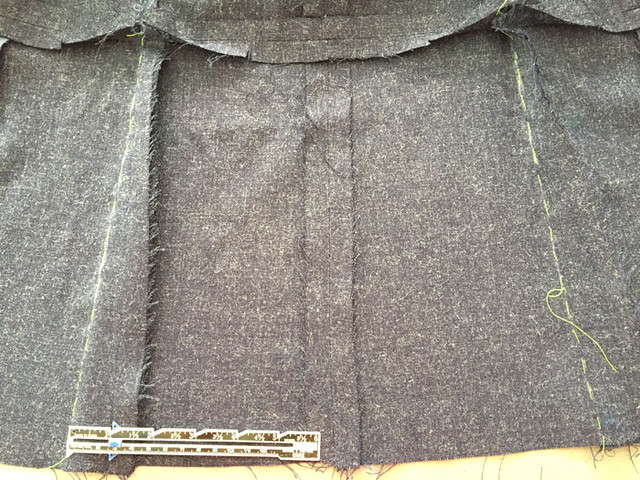
Yep, it's a lot of put on, pin, take off, baste, check again, mark with chalk and then stitch. And then press! But usually on a garment I just have one or two areas to fine tune once it is sewn together so that's not too bad. And the result means a jacket that I like versus one that I am not comfortable with.
I just love those darts and the shape of this - and am still amazed that I found the sleeve fabric. Which I have about 1 yard remaining. Enough to make a knit tee but perhaps too matchy...
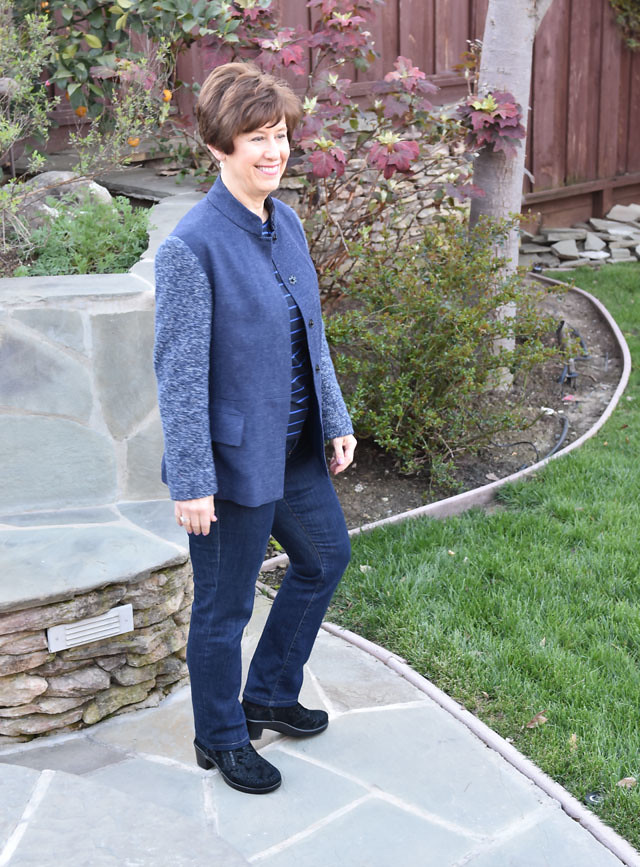
Since I completed this I have been wearing it a lot - you know how it goes when you finish something that can be worn with a lot of different things (meaning jeans). Although today it was shorts weather - seriously - spring has sprung - which means we will probably get some big storm around Easter but until then we are all pulling weeds and thinking about putting in the tomato plants!
Happy Daylight Savings time sewing. I hope all is well in the northeast with the storm and that your spring arrives soon too.
Beth
I always plant tulip bulbs in a rush and buy too many, so after putting them in the flower bed I have some remaining that I end up sticking in whatever bare patch of ground I can find. Including in the retaining wall. Thus this cute little purple tulip among the pansies.


Love this jacket, Beth. I like Arnold Schwarzenegger's term for an oldie but goodie from one of his latest films, "Old, but not obsolete."
ReplyDeleteSharply done as ever Beth. I can see you getting loads of wear out of this one.
ReplyDeleteWonderful job. Classic, I'd say. Looks great on you!
ReplyDeleteI really like this jacket on you. Thanks for all the interior goings on! Those invisible patch pockets had piqued my interest. I think of "vintage" when it's a recognizable style from a certain decade, but the last 20years or so haven't defined themselves as much as other decades. Maybe that adds to the limbo some of these patterns find themselves in. I'm not sure exactly. But it's a good point you bring up.
ReplyDeleteLove the jacket and the sewing details. Classic but with a twist. My Mother would have called it "chic". Would a little bit of a sleeve head fill out that shoulder without making you look like a linebacker? I have narrow sloping shoulders and I like to use a strip of polar fleece in that spot.
ReplyDeleteVery interesting and helpful to read about your process... Thank you!
ReplyDeleteGorgeous jacket, I particularly like the contrasting sleeve, something I have never thought of. I'm with you with your vintage definition, isn't 90s fashion just second -hand!
ReplyDeleteThanks for sharing the details!
ReplyDeleteI wonder if making a matching t-shirt would trick the eye into seeing the jacket as vest? Worth testing in the mirror ...