Back to sewing: I recently made a coat for a sewing client using a familiar fabric. When she brought the project over I had to laugh, and then said "a coat?" Eek, I already had one bout with this fabric in a different color way when I made myself a Chanel-ish jacket a couple of years ago. So plaid...yup. Although in its favor this is an even plaid so it does make matching slightly less painful.
Let's start with that plaid matching. Not sure if you can see due to the dark color that this pattern is a shoulder princess seamed style, which I think is very pretty and nice to fit, it gives a very feminine look although it does mean more seams to match.
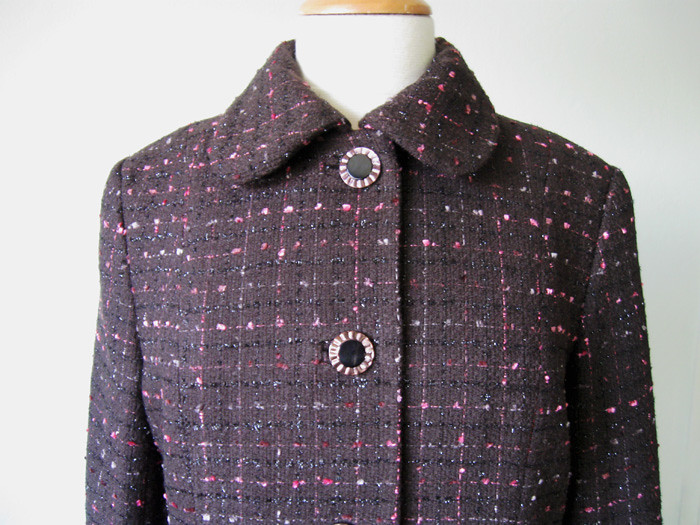
I'm really happy with the way it turned out, including the sleeves where the pink lines continue across nicely. This is both due to careful matching when cutting out and but also to a well designed pattern with a good sleeve.
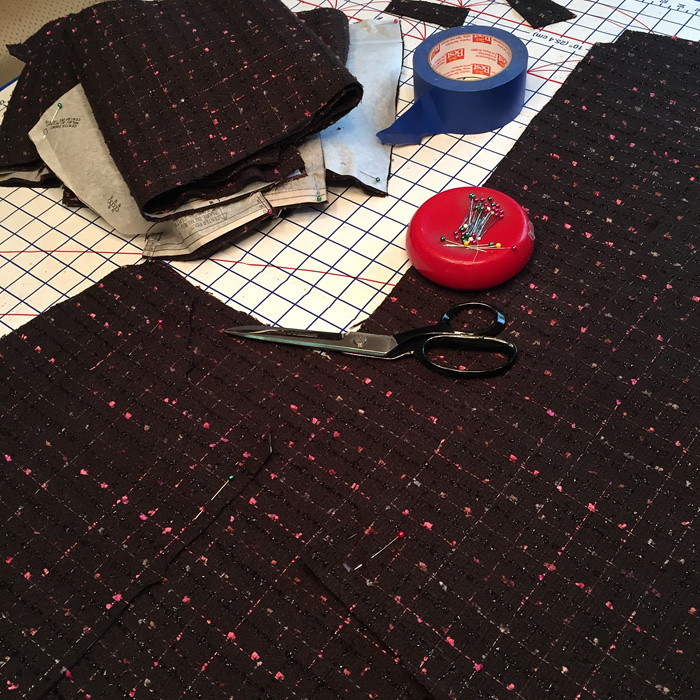
It's difficult to see in this photo but for a plaid I like to cut out one piece and then flip it over and use the cut out piece as a template to pattern match the plaid for its mirror image. So you can see the under sleeve pinned onto the fabric all lined up. And my trusty roll of blue painters tape. Every piece gets marked on the wrong size with a piece of tape as I cut out because I hate to realize later that I have lost the plot in terms of right and wrong side. Even if the sides are indistinguishable I live in fear that a finished garment will have a color difference in one piece due to being wrong side out. And this fabric is impossible to tell one side from the other but my mind is calmer when all pieces are marked :) and I can just sew on autopilot without thinking about that detail.
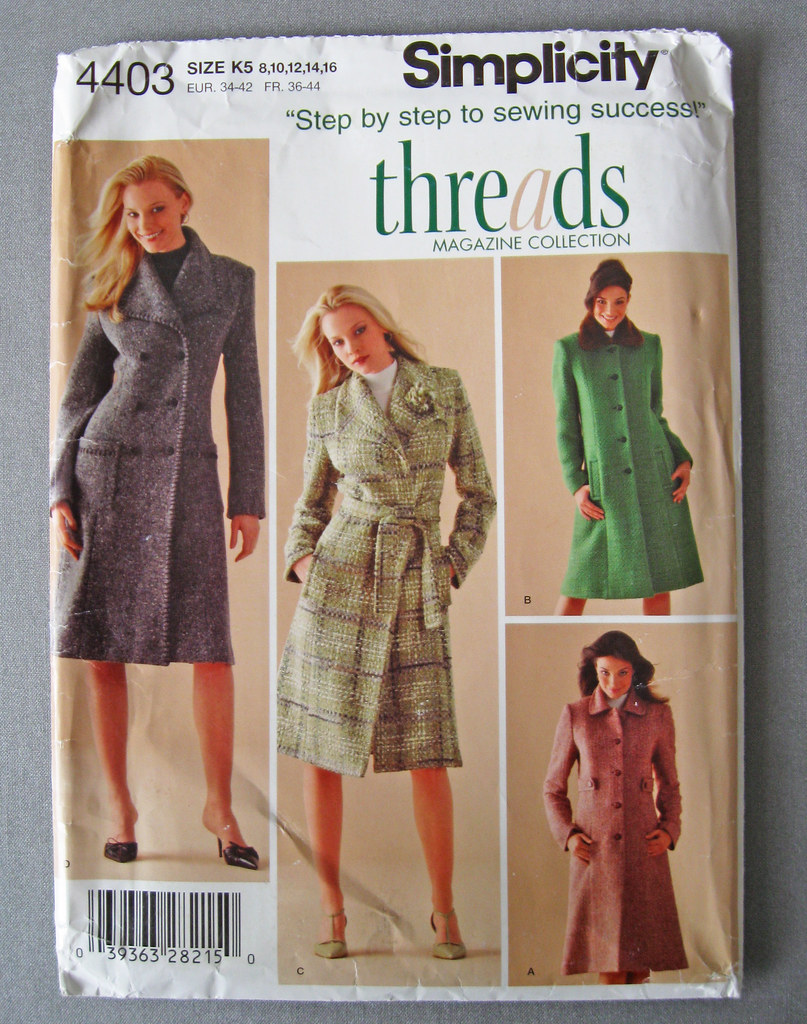
Here's the pattern envelope. I think it is from 2005 or so. There are 17 versions on Pattern Review and lots of really good and different variations that people have sewn over the subsequent years. Perhaps coat patterns don't change as much as other garments because this actual coat looks very contemporary to me. The giveaway that ages this pattern photo are the shoes on the model on the left in the grey coat. Can you imagine walking in those and trying to keep them on your feet?
Back to the topic of interfacing. Since this fabric does not have a lot of body and is kind of dressy due to the slight sparkle of the fibers, I suggested that I do it in a soft tailoring style, kind of like a boucle jacket but coat length. It's the type of coat that can be close fitting, it will be worn over a dress or a silk blouse, so not needing to have ease to accommodate winter layers.
With that in mind I started with silk organza for the coat center fronts, stitched in by machine. I suppose I could have used a fusible but I liked the feeling of the silk organza combined with the boucle.
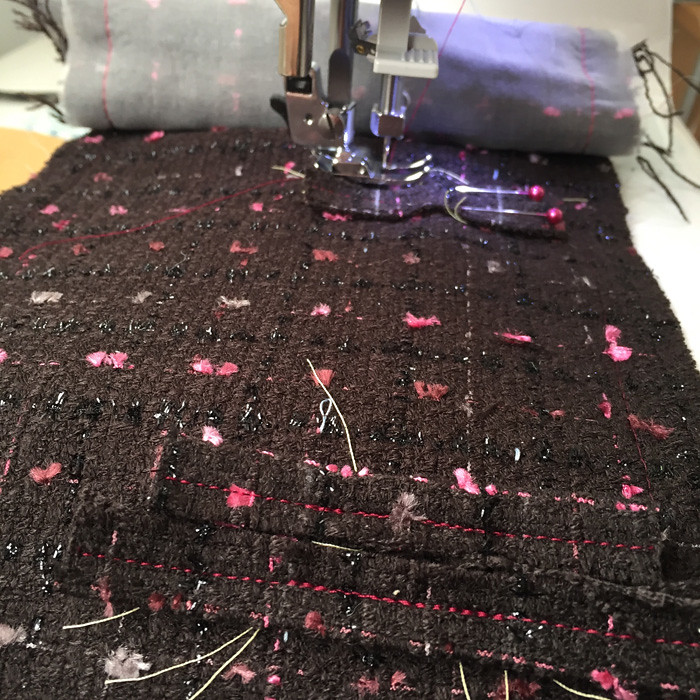
You can see the whiskery threads of my tailor's tacks, in pale green and then the stitching of the buttonhole welts in a dark red. My contact lens/eyeglass prescription is off the charts (seriously folks, the proverbial coke bottle eyeglasses*) so I always use a thread that I can easily see. In a fabric like this the stitches will never show and it makes sewing and seeing so much easier.
Once the bound buttonholes are done I baste them shut and even though there is a lot left to do it is downhill from here. Until a project is about 80% finished, then the finish line seems interminable.
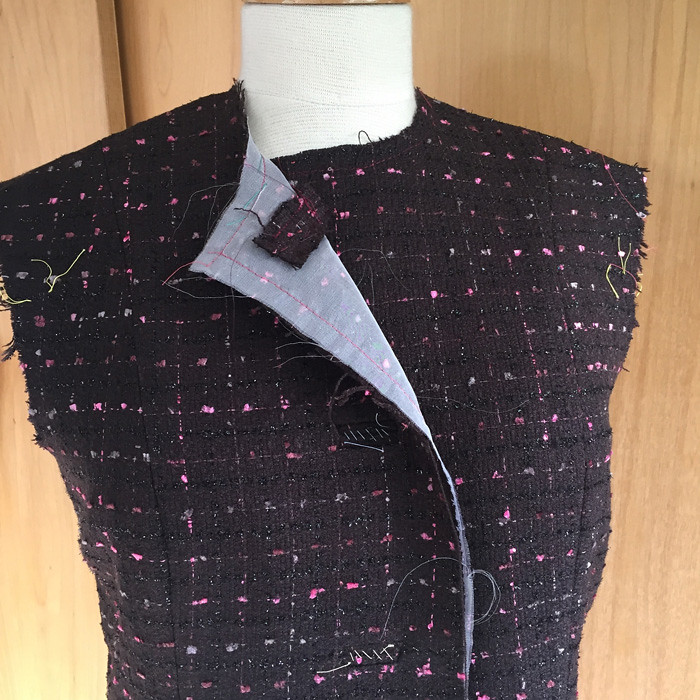
Let's pause here and mention how un-ravelly this fabric is. Annoying as anything. Big long strands want to come off with every shift of the pattern pieces. Threads everywhere. OK grumbling over for now. Although I decided I need to buy a new vacuum this week because I have killed my current one by feeding it a steady diet of stray pins and long threads. Oh well, I got about 10 years out of it.
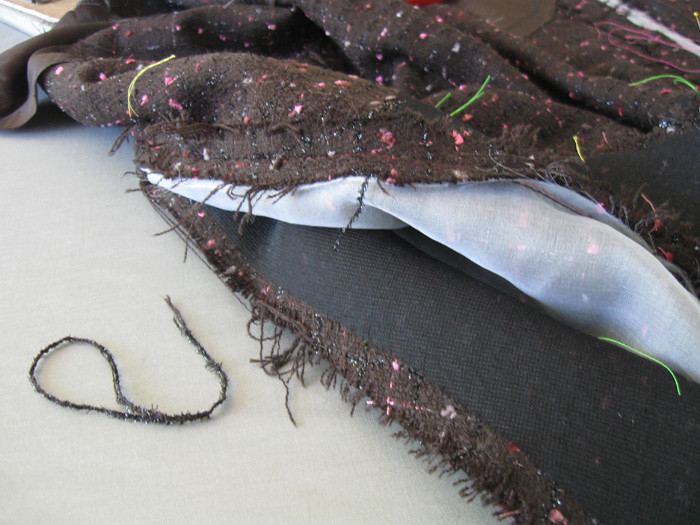
The collar has both silk organza on the upper collar and then fusible on the lower. Front facings also have lightweight fusible (ProSheer Elegance) as well as the upper part of the side front panel. I think across the back also, in the shape of a back stay I put the fusible. It helps when the sections that marry together, such as the upper part of the front princess seam, and then the shoulder area area are all interfaced or otherwise changed to have the same drape and weight so the coat seems to hang better. Also the sleeve has some weft interfacing across the upper part, and then a bias wool sleeve head.
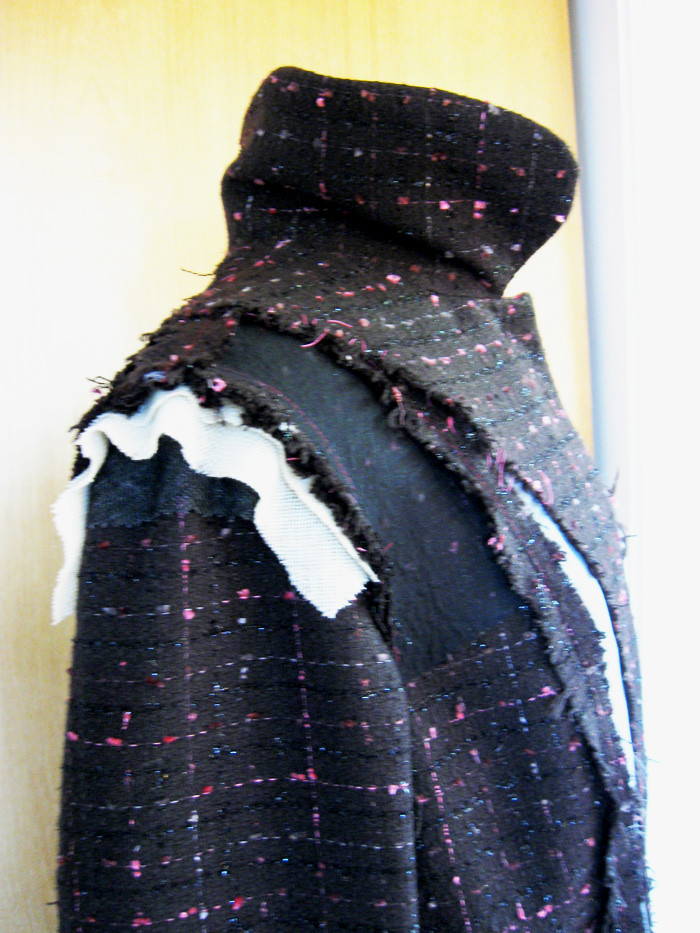
I don't know what this is showing, maybe the fusible on the facing. And some of my favorite tools.
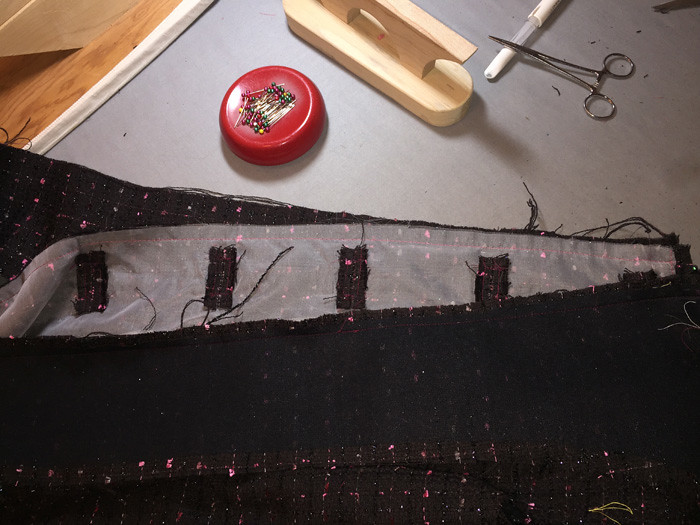
So this is the unlovely look at the inside of the coat. I always kind of laugh to see how the guts look before they are covered up by a pretty lining. I did change the pockets to be on the side seams instead of the princess seams which I don't think looks right. Just my preference. And I did check on the pocket placement on the muslin, the owner of this coat is quite tall and it's nice to have the pockets in just the right place.

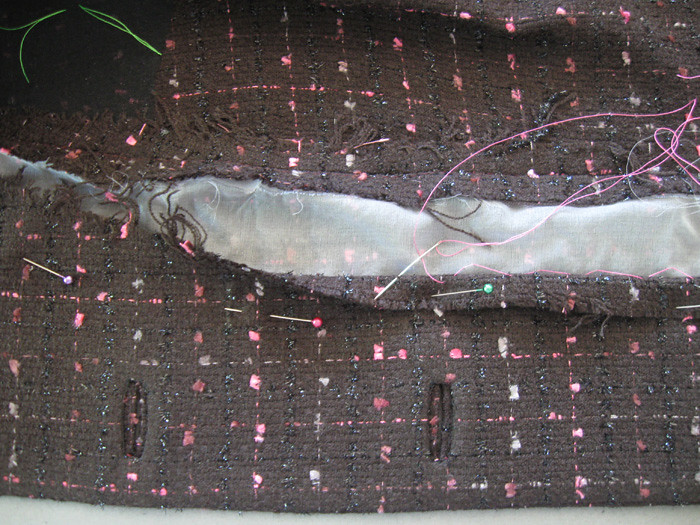
One last finishing detail, you know I just about never bag the lining - I just like the control that sewing the lining in by hand provides. Plus it behaves better and the coat front is more sleek retaining its shape and not pulling anywhere. However to get that result the front facing must be stitched down to the coat front piece. Shown here in pink silk thread, using catch stitches which are secure but also have a bit of give.
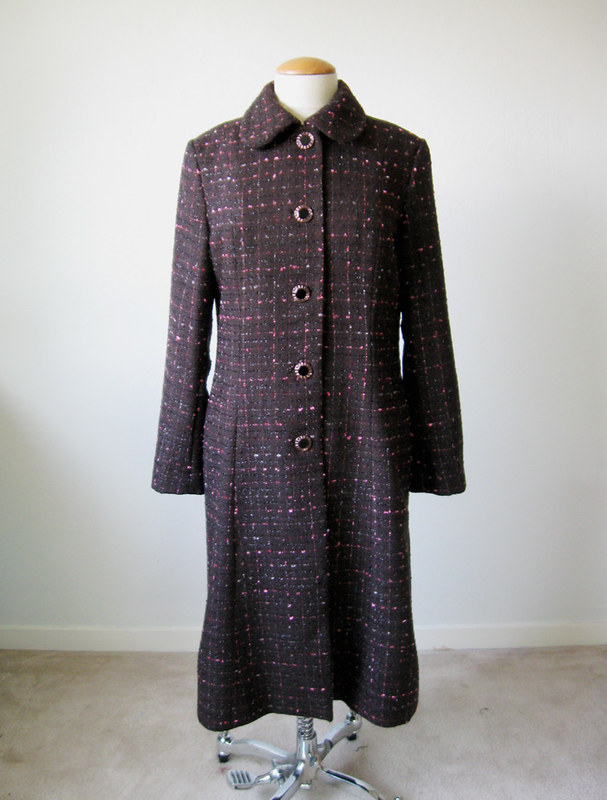
I'm sorry but I only took a couple of pictures once the coat was finished and none on the owner. My dress form is a bit too small for the coat plus the skirt is slightly a-line so it hangs off a bit but you get the idea. Wouldn't this look great with a salmon pink or coral color dress underneath?
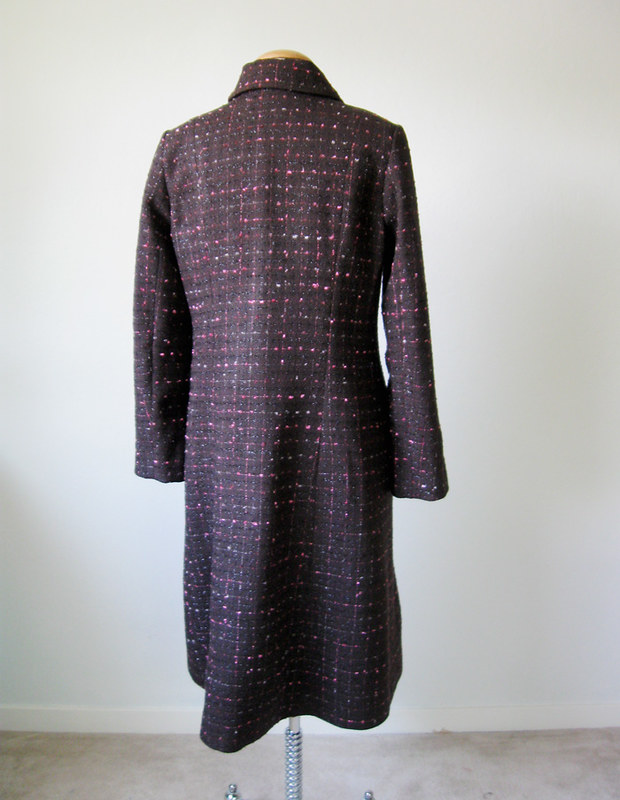
The lining is a chocolate brown Ambiance rayon.
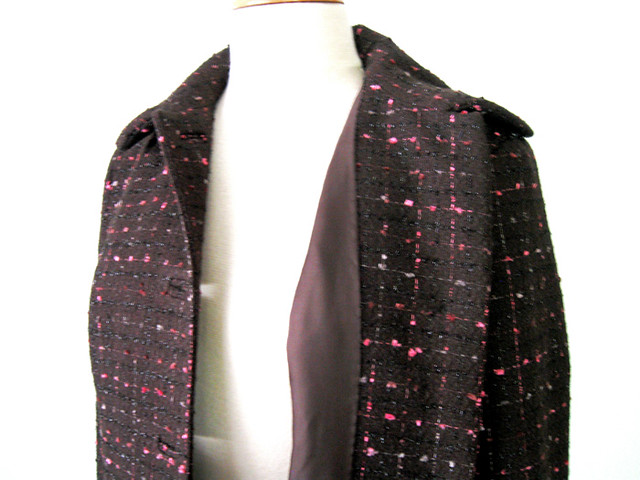
Now time to admire those buttons - I tried so many selections from the wall of buttons at Stone Mountain and these were the one and only that looked good with this fabric. Not good but great! The copper color complemented the coat fabric and they were a bit glossy, kind of like this coat. Score! Stone Mountain's wall of buttons never fails me.
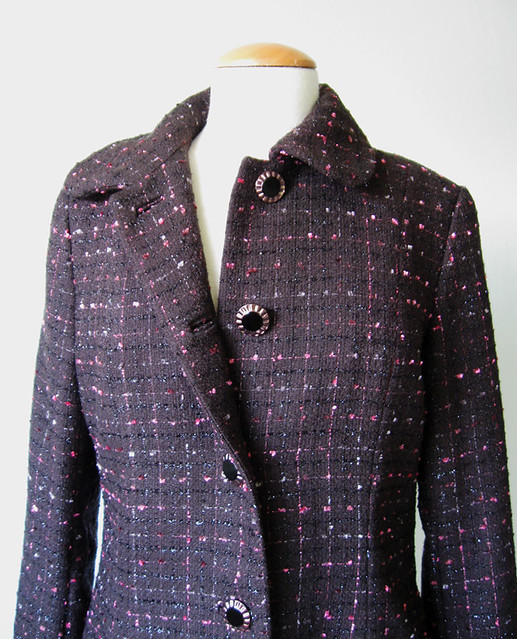
So that's the scoop on this slightly out of season boucle coat. However living in the bay area the owner can pop over to San Francisco for a night out and have a coat that is hopefully just right for our fickle sunny one minute and foggy the next weather.
Up next I am finishing another shift dress for myself that strikes me as an homage to the Summer of Love, plus some steps out of my comfort zone and a foray into shirt dresses.
Last weekend's Shift dress class at Hello Stitch was great - I'm really enjoying hanging out there and meeting lots of new stitchers.
For July we are repeating classes on sewing tunic tops and skirts plus just added a button-down shirt class. By that I mean button front, collared shirt - so pick your pattern and join us!
Happy weekend sewing,
Beth
* footnote: my reference above to coke-bottle eyeglasses is something that was often said when I was a kid, that someone's glasses were like coke bottles, meaning that the lenses were so thick they were like the glass at the bottom of coke bottle. Being that there are not many glass coke bottles and improvements in eyeglass lenses to make them thinner I guess this phrase is on the way out. Do you think in a few years we will still say dial the phone? Officially on a tangent now...I still have an old dial phone in the garage which I kept for when the big quake happens and the cordless phones are all useless. However now the home phone is digital so I guess the dial phone is useless. Drat.
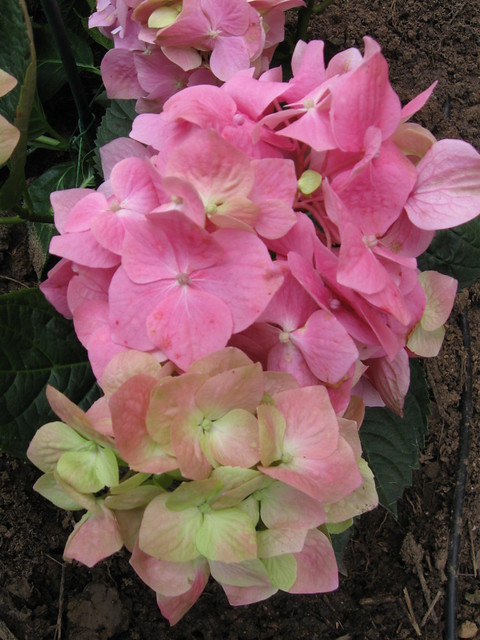
For today's garden photo - it's hydrangea time. I planted a couple of new ones this spring, so I hope to have a rainbow of different shades. We're expecting 100˚F here on Sunday, I'm cooking, and of course my thermostat decided to croak today, but I replaced it and hopefully all will be well and truly Air Conditioned on Sunday at dinnertime!


I really love the coat and how informative your blogpots are. This one I am keeping just because of that tip for matching plaid!
ReplyDeleteHello. What a beautiful coat. I am going to make me a coat later this summer. Do you know of a good website to purchase buttons? I want very special buttons for the coat :) Your tips and instructions will be such a great help to me when making my coat.
ReplyDeleteBeautiful coat. Very classy. Great job & thanks for the tips.
ReplyDeleteVery beautiful coat. The buttons are perfect.
ReplyDeleteI had a large piece of boucle that I sewed up into a (not so successful) jacket, but with the still sizable leftover piece I made a vest, and I learned my lesson with the jacket: the first thing I did when I got the vest cut out was to serge all the way around every piece. That really eliminated the fraying.
ReplyDeleteIt's beautiful.
ReplyDeleteI did bound buttonholes once and they turned out well. The windows in the facings, not so much. Any tips/tricks? Videos/posts?? Another coat is definitely in my future for fall.
re: bound buttonholes, I actually don't do the "windows" method, I slice the facing and hand sew it to the back of the buttonhole. Gives a lot more control and you don't need to be concerned about where the window is. I'll have to show that next time I do some.
DeleteWell I'll be darned.
DeleteI'll be watching for it!
Lovely coat. Thanks for sharing all the interfacing details!
ReplyDeleteIt's a beautiful coat. Yes, the buttons are spectacularly perfect with the fabric. Your lesson on interfacing is really helpful.
ReplyDeleteThis is so lovely! Boucle is a pain to work with as it unravels if you look at it too hard but golly it is beautiful once done. Great post!
ReplyDeleteBeautiful.
ReplyDeleteWow what a coat! I didn't realize it was so long until I got to the last few pics. Would you ever consider writing a post on how you match the pattern across the front of a jacket or shirt? I always seem to bungle that!
ReplyDeleteThe coat is beautiful with everything just right! This is what you sew best and it's awesome to see how you do it!
ReplyDeleteGorgeous coat Beth. Many thanks for all your fantastic photos showing the inside before the lining is sewn on.
ReplyDeleteLove this coat. It's so elegant and gorgeous. You did a great job as always.
ReplyDeleteAmazing coat -thanks for all your great tips & photos
ReplyDeletewhat a stunning coat! I absolutely love it.. and I'm with you, I prefer hand stitching over bagging too, it always turns out a lot neater :)
ReplyDeleteEverything you make is so beautifully finished. Thank you so much for all the helpful tips. I am learning so much from you.
ReplyDelete