
So here are some recent posts on the Craftsy blog. It always interests me which ones get a lot of comments, and which ones get pinned or shared more than others. I can never tell which will have the most readers before I do them, which probably keeps me on my toes!
Craftsy Sewing Blog Posts
➜ Note that I don't write the titles, nor the little excerpt that introduces the post. Well, sometimes I do, the "floppy facings" title I will take credit for...after all, that's what they are, sometimes.
Links to the post appear below each one in blue.
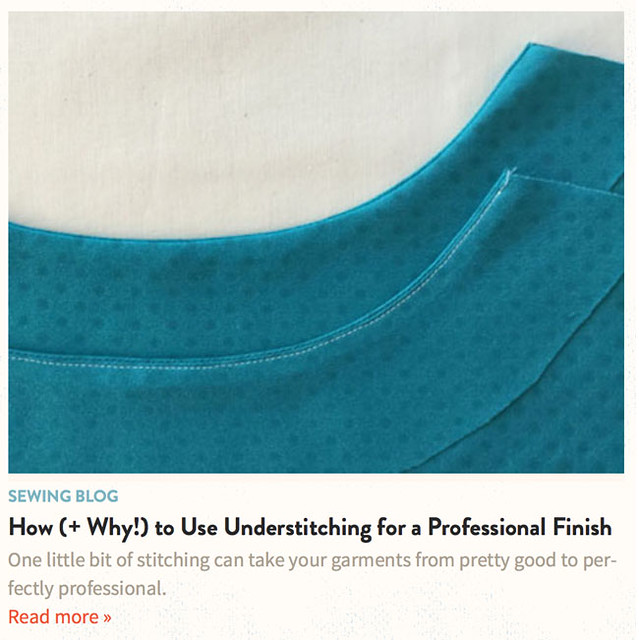
How and why to Understitch
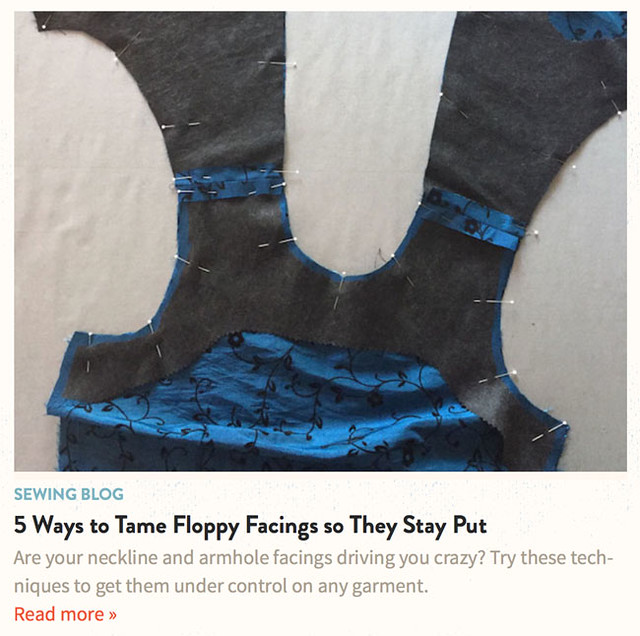
Tame Floppy Facings
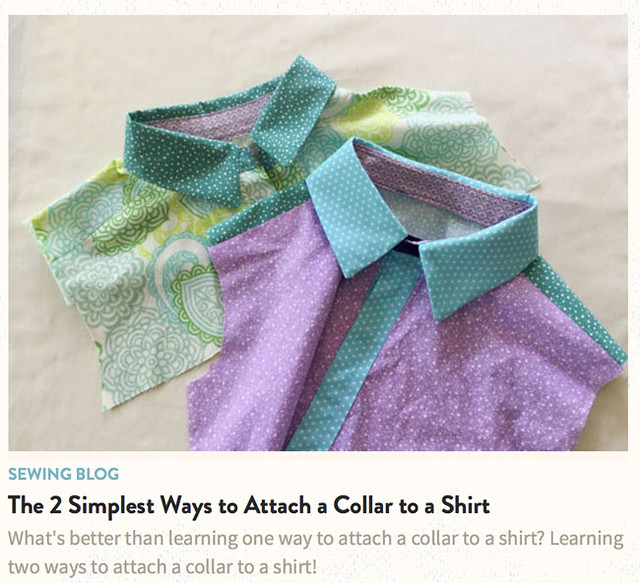
2 Ways to attach a collar to a shirt
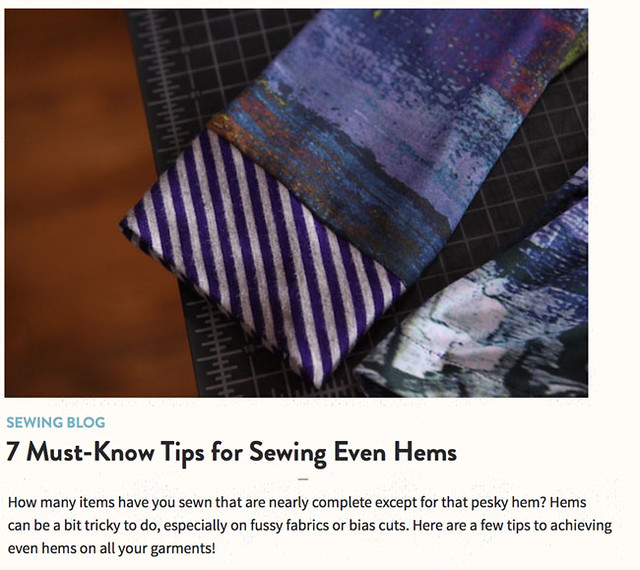
Tips for sewing even hems
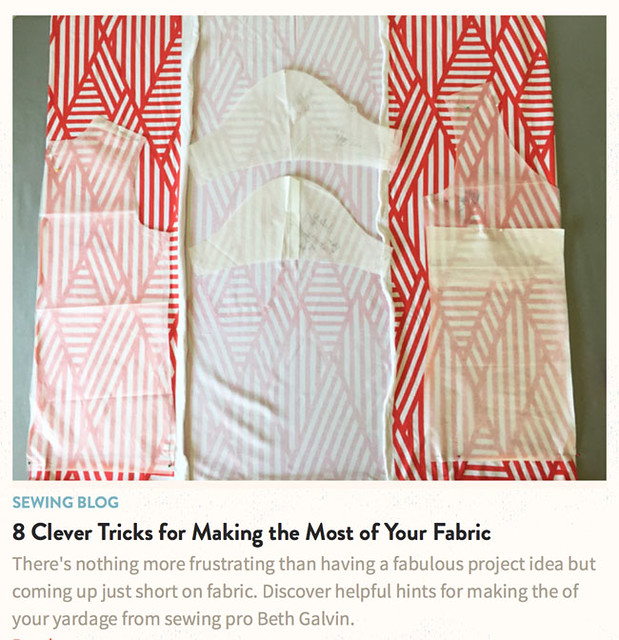
Make the most of your fabric
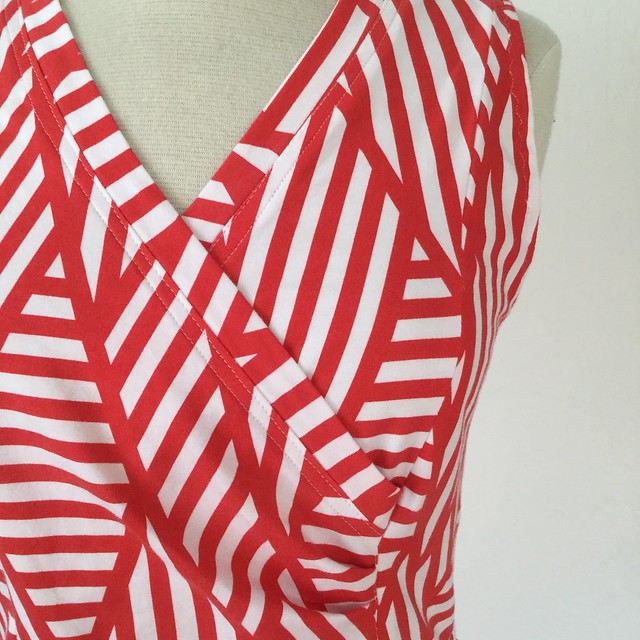
I used that white/red knit fabric just to stage the photo above of cutting out a knit top - and then promptly put it back in the fabric cupboard. Then I was working on some things for my upcoming classes, and it turned out to be the perfect fabric for one of my upcoming classes. So here's a sneak peek of a finished item, which I sewed as an example for my upcoming Knit Dresses class at Hello Stitch.
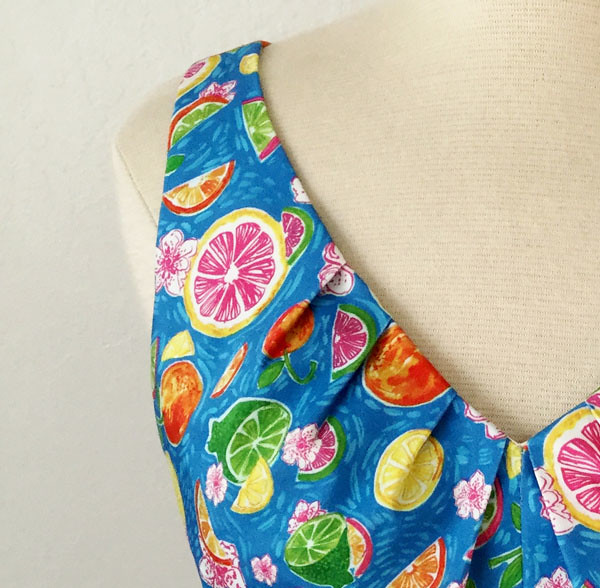
And another finished object, using this fantastic citrus print sateen I found at Mood fabrics. Just a peek, and I will post it soon. Can you guess the pattern I used? Hint - a repeat, of course.
Upcoming in September and October I have some fun classes at Hello Stitch - well, they are fun for me to get deep into the details of jacket making, shirts, knit tops etc!
The leaves are actually falling already however today is the first day in about five days that the temperature was below 100˚F here (yes it was 113˚F one day, eek!) and so it doesn't seem like fall. And I am NOT about to start fall sewing. So stay tuned for as many summer items as I can squeeze in.
Happy Sewing,
Beth
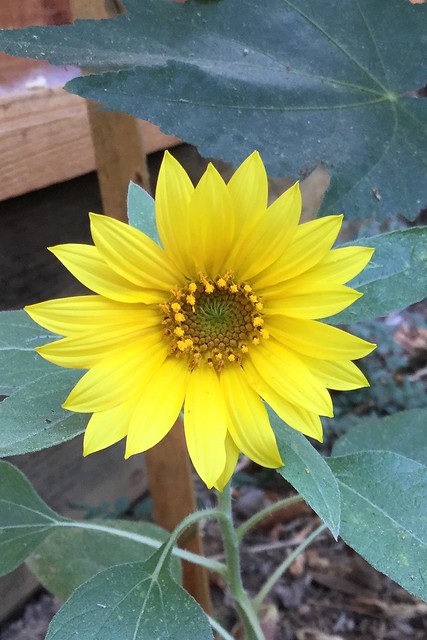
Today's garden photo - this little sunflower was a volunteer that popped up in a not so sunny spot.


I've been keeping up with your terrific Craftsy posts over the summer, Beth. Very good tips. If, by chance, you need any suggestions, here's one -- my sewing nemesis -- a neatly finished zipper top, particularly on a dress back. It just looks too bulky and doesn't lie neatly in line with the neckline edge. I'm not sure why I have such a problem, particularly with invisible zippers. Just a suggestion!
ReplyDeleteThanks for the tutorial links, I'm just about to attach a shirt collar and think I'll give your second method a go!
ReplyDeleteooh looks like some good stuff here!
ReplyDeleteWonderful information! I will definitely check them out, I am curious about even hems. Also, your sneak peek dresses are awesome!
ReplyDeleteWill have to try your collar method number 2 - I always find my collar stand curves just look a bit crummy when one piece is topstiched down. It makes more sense to me to have the part over the collar topstitched as it's far less visible, being hidden behind the neck! Thanks for the tip!
ReplyDeleteThank you for sharing informative post, Beth. I am inspired by these works.
ReplyDeleteTHANK YOU SO MUCH for linking to your tutorial on collars. They have been confusing me for 25 years, so much so, that I avoid them like the plague. Part of my confusion was not being able to keep the pieces straight, the other, apparently was from not realizing that there are two methods for the same type of collar! So helpful of you to use different fabrics for each pattern piece! I will be bookmarking your tutorial!
ReplyDelete