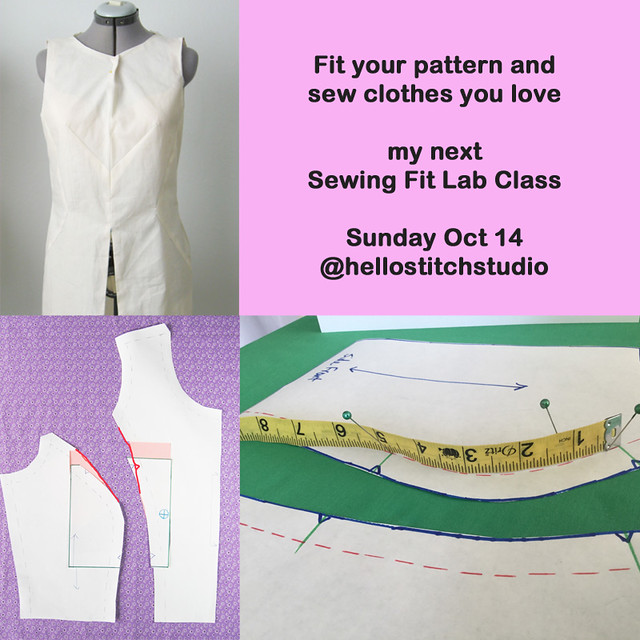
I'm teaching a Pattern Fitting Class on Sunday 10/14 at Hello Stitch in Berkeley and there are a couple of spots available. Last time for this year for the Fit Class so if you want to get your holiday pattern fitted I hope you can join us. (register for the Class + Fit Lab option to custom fit your pattern in the afternoon session).
Ok, so what's the pattern today? It's this Vogue 8784 wrap dress. This is a true wrap dress, the front crosses over and the waist tie goes through the opening in the side seam. I like the variations, which are collar or no collar, cap sleeve or regular sleeve which you could make any length, and then two skirt options. Note that this pattern is designed for woven fabrics. It is meant to be fully lined and that is what I'm doing although I could easily see modifying it for a lightweight version (would only need to create a front facing for the bodice and skirt.
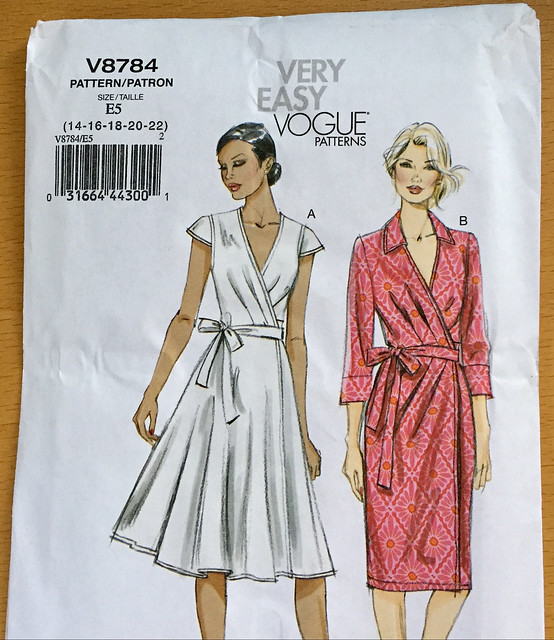
I'm making this for my friend Heather. We were on a shopping excursion maybe 18 months ago and she bought a nice weighty silk crepe de chine at Piedmont Fabrics, and we've been on the lookout for the perfect pattern for ages.
Certainly this one would need some fit adjustments. I tell people in my classes that 99% of people have to make some adjustments on all patterns. Not to be discouraging but it is highly unlikely that you are the exact combo of height, measurements and shoulder slope that the pattern company used in standard designs. So I wish people would not be too discouraged but figure learning the fit adjustments is just one more step along with learning how to do a lovely zipper or a perfect pocket. Although the path to fit is certainly frustrating, disappointing, and even expensive. I've been there and I know.
OK, not to dwell on that - moving on to this one. Heather is curvy and barely 5'2" so adjustments are in order. As would be almost anyone who is not 5'5". Or anyone with a full bust. So there we go - the most common adjustments are called for.
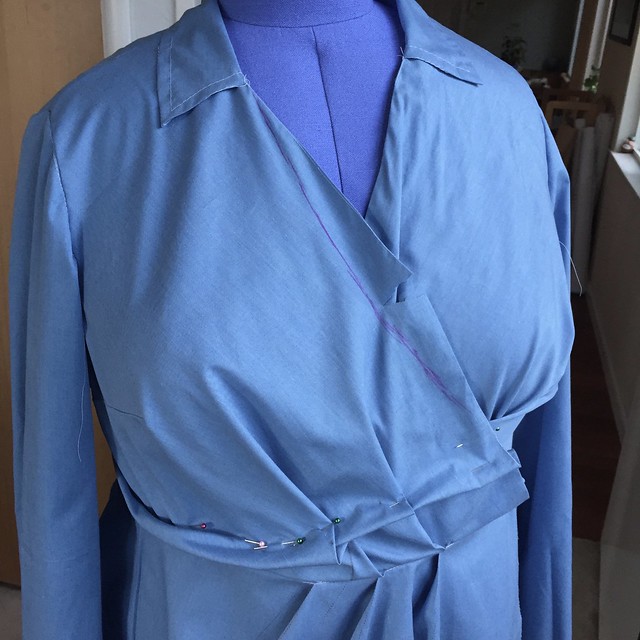
Here's my muslin version # 1 sewn up and placed on the custom dress form. I could see it was too long in the bodice for sure and I just did a quick pin tuck because I wanted to see how it looked. You can see a line marked along the bodice edge, I believe I added there just for testing purposes. If you look closely you can see a small horizontal bust dart which I added when I did the FBA.
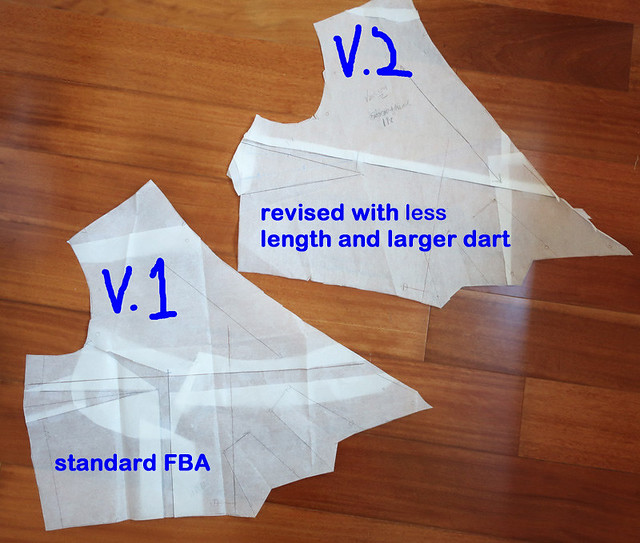
The 2nd version of the front pattern piece still has the FBA, I just traced that first version and then did my adjustments to the next version. And I'm not 100% what I did with the extra length, I think I traced and shifted to enlarge the dart and then folded out to reduce the overall length. Also interesting to note is the grain line on this pattern which is straight grain on the angled bodice edge, which keeps it from stretching if it were a bias edge.
Here's the adjustments marked on the blue version. I marked on both sides of the dress but they probably aren't ever going to come out evenly, so I tend to mark both sides and take an average. Also that helps smooth over any area where the pinning is a bit awkward.
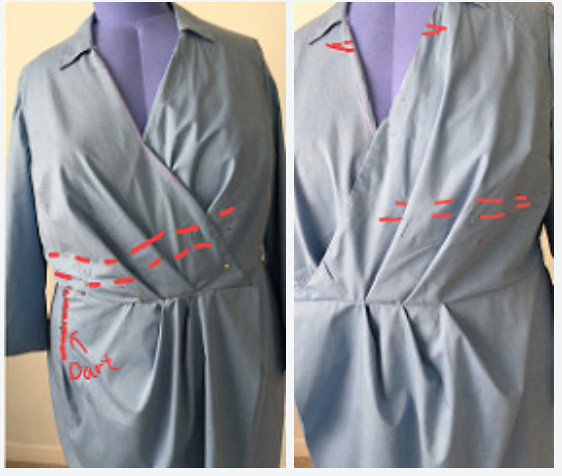
My big innovation if we can call it that is to reduce the number of pleats in the skirt from 3 to two. Somehow on these wrap or overlay dresses I find the pleat nearest to the side seam tends to not drape but instead puffs out. Or it could be on a taller person it would work better. Anyway I shifted the take-up of the pleat to a front hip dart and am very pleased with that if I do say so myself :). Another innovation to come, continue reading!
So here is test version 2. And even in muslin it's starting to look quite sharp. If you have a full bust then that bust dart is just about a necessity, and by putting that in it allows the bust to have room so it doesn't steal the fabric from the pleats which are sufficient for a B cup (as a standard pattern is designed) but with a curvy top half the body shape will take fabric from wherever it can get it. A bit of a convoluted explanation but hopefully makes it a bit clearer.
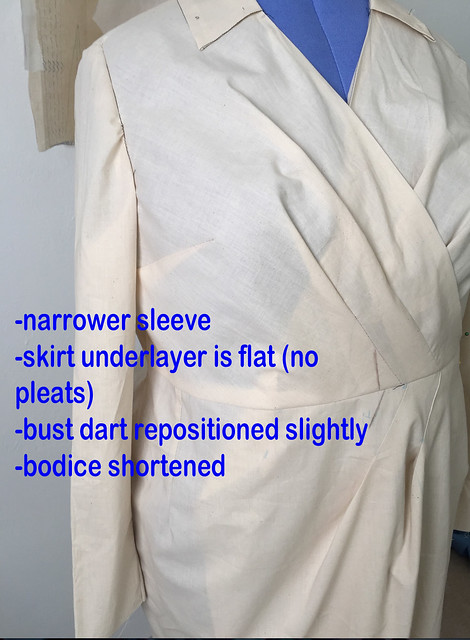
You can see the hip dart, over near the side seam. But my innovation # 2 is to make the under layer skirt completely flat. No PLEATS! After all they are unnecessary there, totally hidden and thus the dress is lot smoother, less fabric bulk across the tummy where no one wants more fabric bulk. Even in a lightweight fabric like silk.
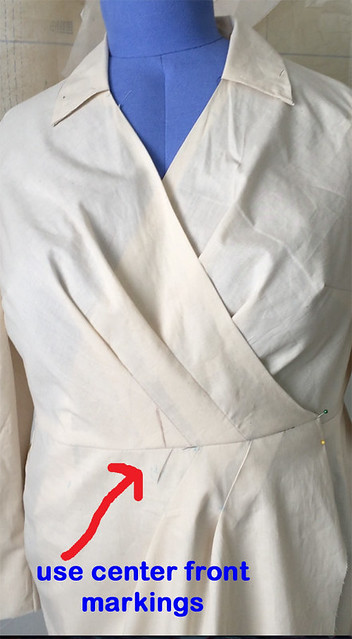
Better look at the center front of the wrap. The pleats in the bodice are there on both sides, no change there. The key to fitting a wrap dress is to use that Center Front mark. By that I mean when you put on the dress, the center front marks must overlap and then you can see how much you might need to add in circumference at bust and/or waist. Also then the V-neckline has a chance to fit nicely with no camisole top required.
I shortened the back by marking on the blue version about 2 inches at center back tapering to zero at the side seams (a standard adjustment for Heather's dresses) but the Test version 2 revealed that I was a bit overzealous in that area, so I added back a bit on my paper pattern pieces based on these markings.
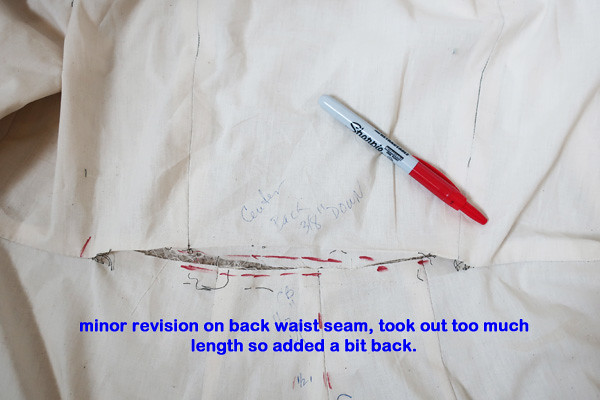
There you see my weapon of choice in the battle for a perfect fit, the clickable Sharpie pen. I love them and the satisfying click they make. Plus a nice bold line on the muslin. Sometimes I use multiple colors, and I often write all over the fabric. Why not? its just a test so make your notes where they will be most useful. I feel kind of bad about a fair amount of waste fabric but I eventually
cut them apart, reuse the large pieces for small pieces on a next project and use the other scraps for chores like cleaning spiderwebby windowsills or other yucky cleaning tasks.
Sneak peek at the dress - bodice is just about done and then I will attach the skirt pieces, baste on the sleeves and have a fitting session to determine any small adjustments plus mark the hem.
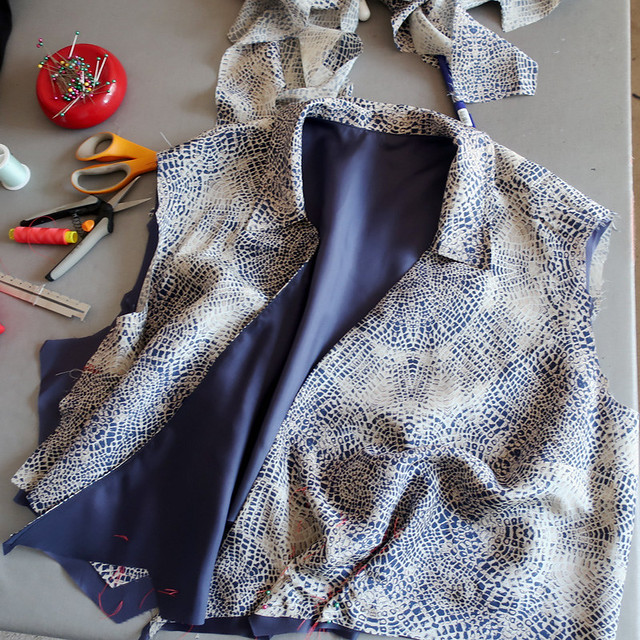
I tried out a few colors of lining, beige, ivory and the navy blue and the blue gave a richer appearance to the silk. It's bemberg rayon which I really like for dresses and skirts. I saw somewhere, maybe on IG or an article in Threads that Kenneth King despises it? could I have that right? I wonder why. I really like it although I prefer a heavy acetate lining for coats and jackets.
So that's what I'm working, as well as a top in Liberty cotton for my friend Alice, a new pair of burgundy color stretch jeans for myself, and prepping for my Jacket class on Nov. 3-4.
One more mention of my upcoming Fitting class - last one until sometime in January.
Happy Sewing, Beth
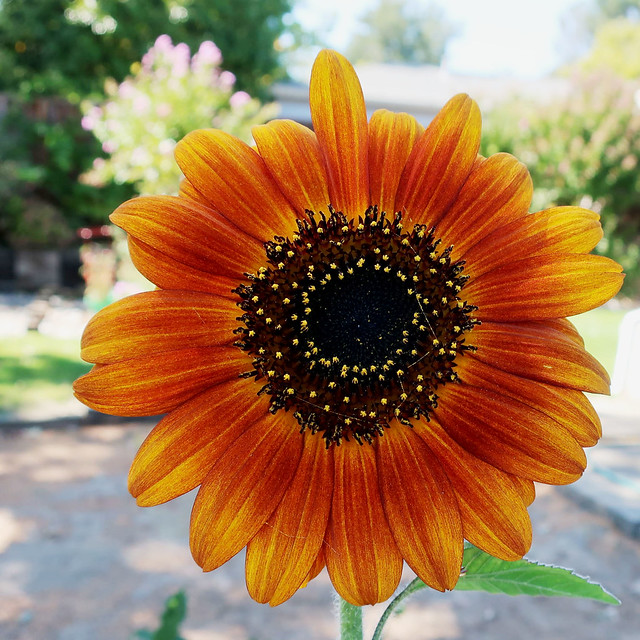
Today's garden photo - it's the end of summer but I still have a few sunflower blooms around. Love these in the autumn colors.


Love her fabric for the wrap dress. Interesting that the blue was the fave choice for the lining- I would have thought the whites would have made it brighter and better. Goes to show it’s great to try multiple options! It was mpb’s peter’s ig that said that about kdk and rayon bemberg, I was wondering why too :-)
ReplyDeleteThat fabric is gorgeous! Interesting details on fit adjustments. I’ve struggled to fit a wrap dress or two in my time and think your tip about the center front would have saved me.
ReplyDeleteThanks for the great fitting tips, and sharing your process. I wish I could take advantage of your class, but I live across the country from you. I always enjoy your posts on the garments you make for Heather. She and I have similar body type and size, so I can apply alterations you make for her to my own patterns. And seeing the lovely garments you make for her gives me a realistic idea of how certain styles might look on me.
ReplyDeleteSeeing Piedmont Fabrics made me nostalgic. While I was a student at Mills College my husband's and my apartment was just a block away, on 41st street. This was 46 years ago, and Piedmont fabrics wasn't there yet (I think it's where the laundromat was). The neighborhood was a lovely old-fashioned working class neighborhood. There weren't nearly so many amenities on Piedmont Ave at the time, but we loved it anyway. Thank you for the reminder.
I love the fitting process notes and pics! I am planning to do up a wrap dress myself (soon!) and am taking notes.
ReplyDeleteWomen are always looking for the 'perfect' pattern. Even women with great figures make at least some changes to a pattern. They are just not the same as the fit model the pattern is based on. I sew to get great fit. If I can't find rtw with fabulous fit, why would I think a pattern would fit any better?
ReplyDeleteThe fabric you are using is gorgeous, and perfect for the style. She will look fabulous in it.
Heather is so lucky to have you to work with her. Once seeing the first muslin, I think most women would have rolled that up in a ball and tossed it but you did some great alterations. Once the second muslin was up, you could see that the skirt pleats needed to be two instead of 3...why don't designers see what we see? I'm guessing that you used the altered pattern to make the lining too. Her choice of fabric is so nice and your choice of lining continues the look of quality!
ReplyDeleteI, too, love your fitting process. The dress will be lovely. I also read that K King hates Bemberg lining and I am surprised as I love and use it regularly. Karen
ReplyDeleteI have same pattern but have never made it. I am glad that you write about the pattern. Your fitting process is so informative.
ReplyDelete