$ 3.99 each and I've started on a dress to try them out. That blog post will be forthcoming but I have a lot of already sewn stuff to catch up with here.
And who who wants to raise their hand and say they feel kind of weird about sewing new clothes right now? Although if you are in Europe or other parts of the world perhaps things are getting a lot better and you resuming some semblance of normal life. Here in California it's a roller coaster ride of ups and downs with the corona virus, from having good stats to spikes in cases, with businesses opening up and then putting the brakes on. It is beyond annoying that we in the US can't get it together to defeat this thing and I could rant endlessly about politics but I will still recommend votesaveamerica.com and their effort to win swing states and defeat Republican office holders.
Back to sewing, just to keep myself busy during these times I have concluded that I might as well sew things that are fun or interesting or just plain pretty, whether or not I have a possibility to wear them anytime soon. If I have to stay mostly home, not be traveling or doing the usual fun summer things then I will indulge my sewing habit and try out some new, shall we say "experimental" items.
This project doesn't really qualify as experimental (more on those in future posts) but I did wrestle with the idea of another blazer jacket. However I've always wanted to try one with peak lapels, they look a bit tricky to sew and possibly a nice challenge.
Cut to the chase - I'm really happy with how it turned out although due to my fabric choice it's almost impossible to see the details! Thus the turned up lapel here so you can see the lapel detail.
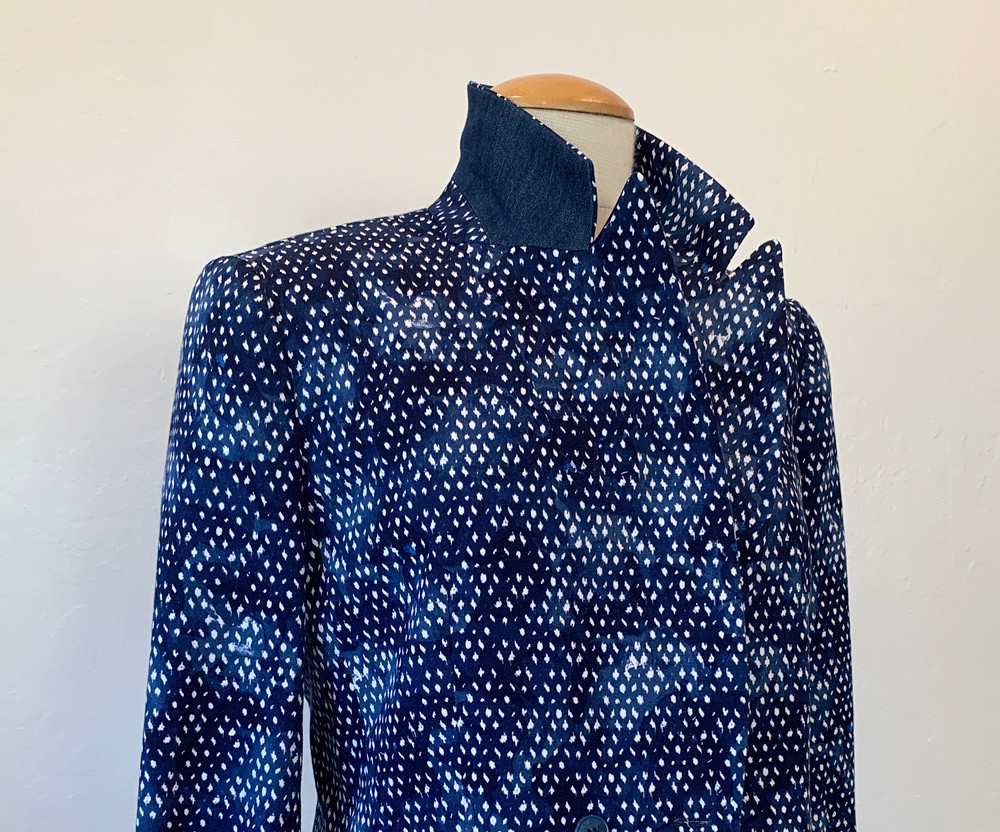
I have lots of sewing details so this post will be about the pattern and checking out the fit, with final photos to follow in a subsequent post.
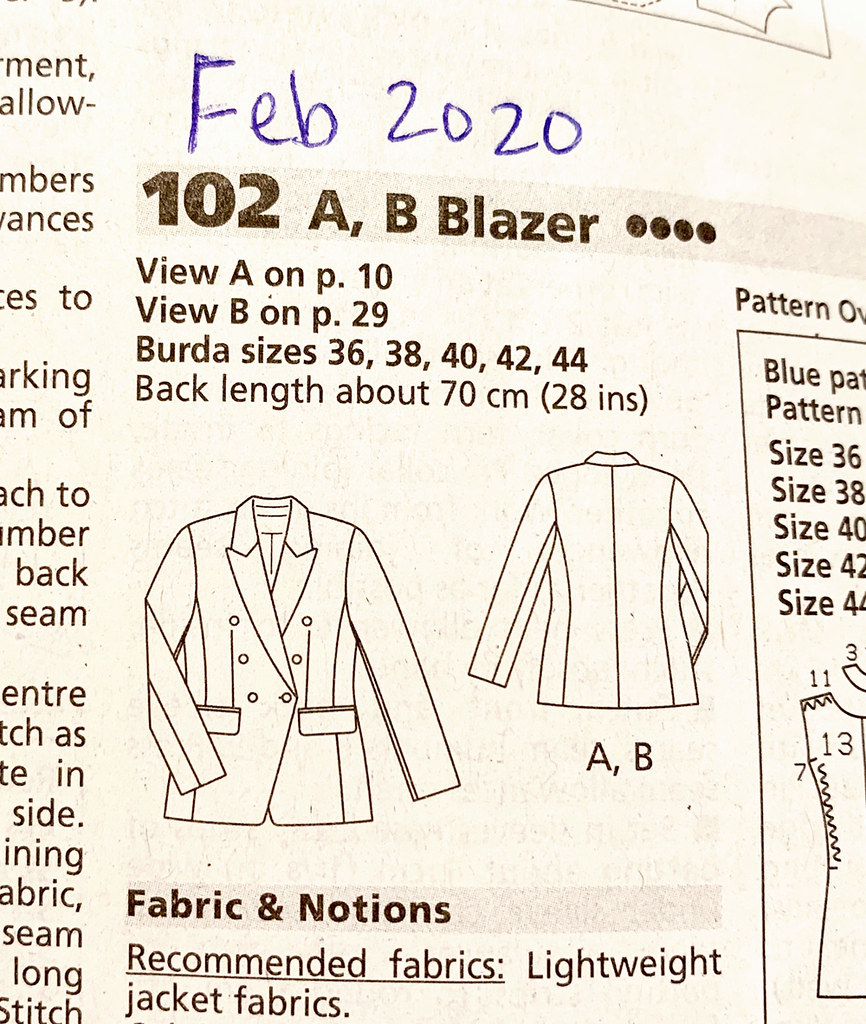
Here's the technical drawing from the Feb. 2020 Burda magazine. I had an idea floating in my head to try this style of lapel and had been looking around for a pattern when this arrived with perfect timing.
It is double-breasted which is not my favorite although it suits this style - perhaps it's the tradition and I decided to give it a try. Also it's a bit of a longer blazer which is nice for a change.
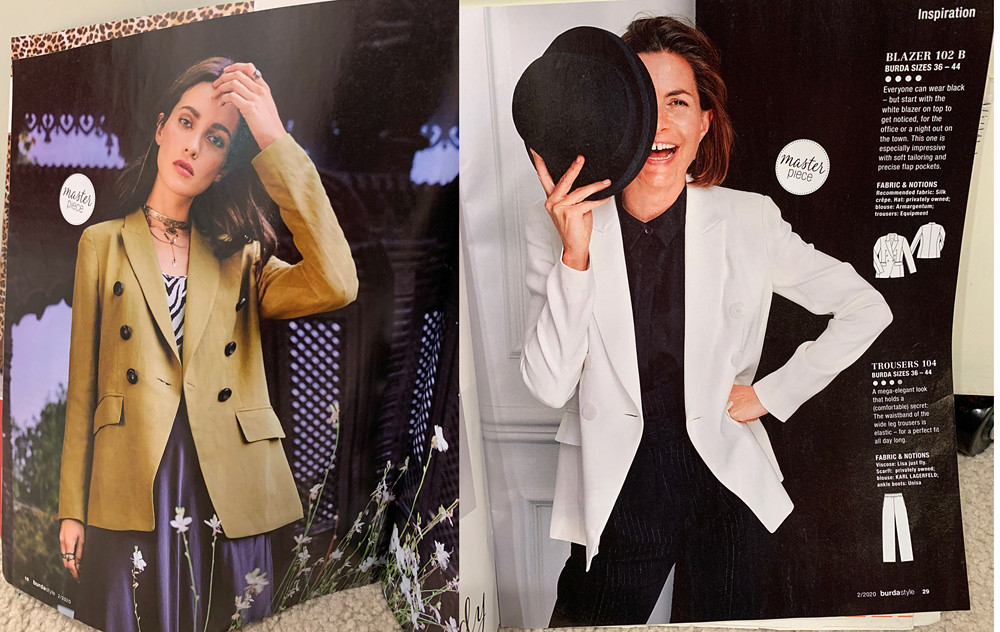
Those are the photos from the magazine. How I wish that all patterns and magazines would just show the garment clearly instead of people goofing around, looking like they have a headache or hiding behind their hat. In any case - the technical drawing is how I decide so I guess I can ignore the styling (which never makes me like a pattern more - usually the opposite).
I decided to make a muslin to see about the fit, and if I even liked the pattern. Also I was concerned it might be too long.

Being that I have plenty of time on my hands these days 😒 I made a very thorough test garment, with pocket welts and flaps. Some things that I actually do for all test garments are to press under the seam allowance on edges such as collar, press up the hem, etc. This is so that I can see what the proportions of the actual garment look like. I think if you leave the seam allowances and try to evaluate the fit and proportion it will look off and you can't evaluate properly. Also I wanted to see exactly how close that lapel notch was. I used size 38 for neck, shoulders, bust, graded out to about 42 at hip level and then did a little fine tuning at the back hip area.
Real me in the sewing room here. I don't know how so many sewing bloggers take reasonably good mirror selfies, I find the fact that you have to hold the phone up to take the picture immediately creates all kinds of wrinkles and drag lines in the garment.
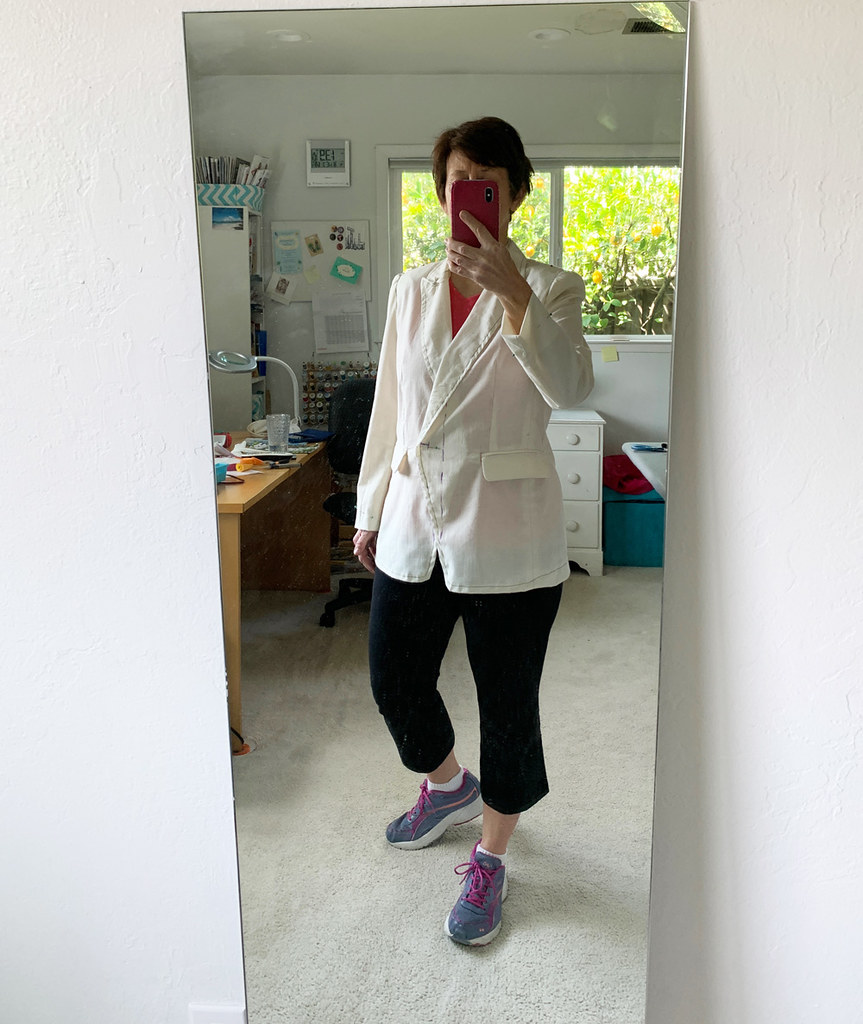
Note that I marked the center front line on the muslin. This is SO important when you make a muslin or in fact make anything that closes in the front and want to check the fit. It's a must to match that center front line and go from there otherwise the impression of the fit is all wrong.
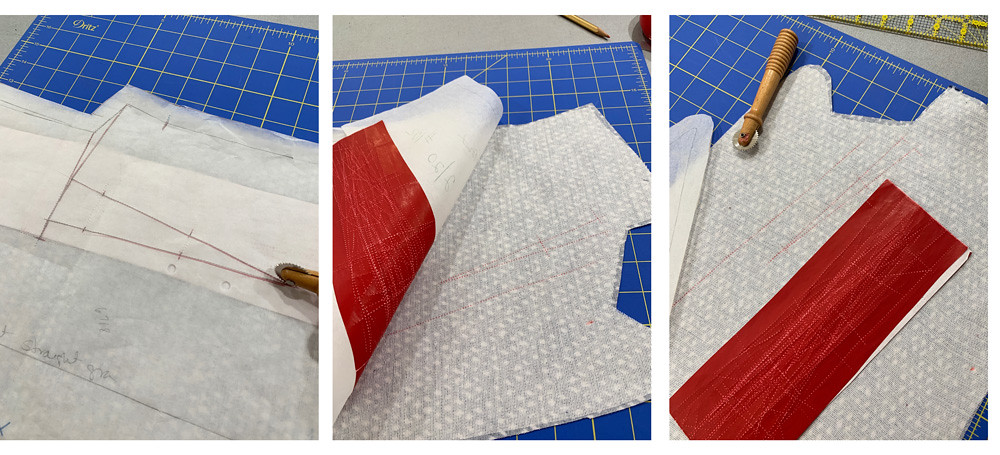
These photos show marking the darts and other lines on the inside of the interfaced jacket, but I use the same method when I make the muslin, I mark all the lines, darts, dots etc using this wax tracing paper. I think for the jacket proper I do one piece at a time, whereas for the muslin I sandwich the tracing paper inside the two muslin layer, with the red wax paper folded to have two surfaces of it touching the muslin fabric.
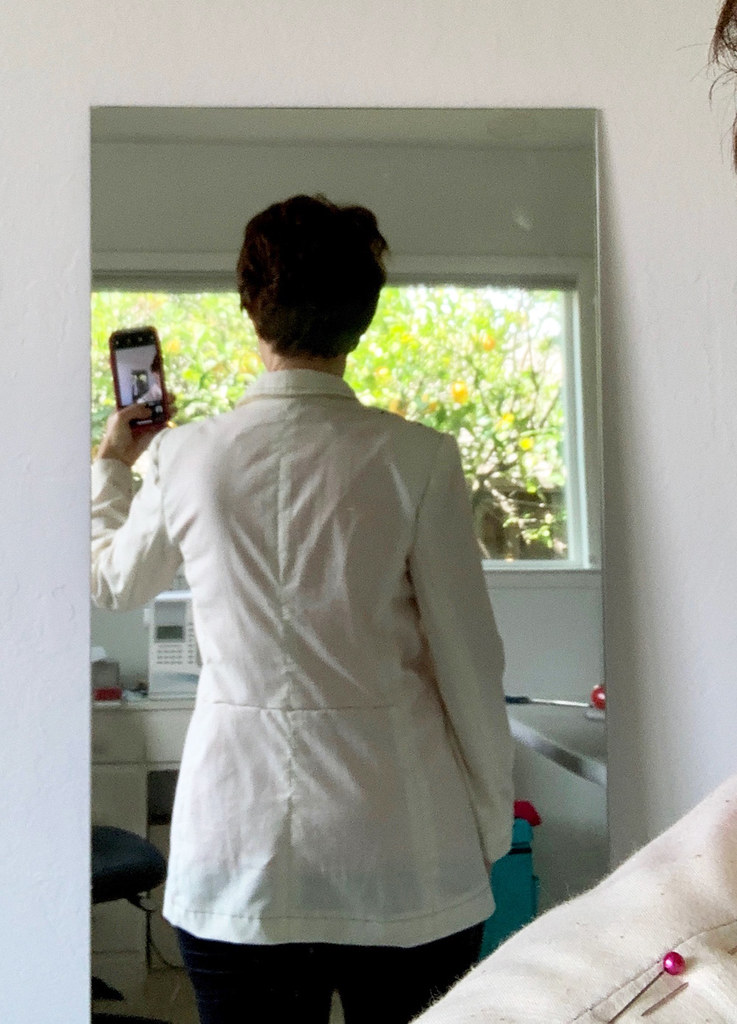
Back view of muslin, the center back was definitely sticking out a bit and the hem was a bit lower in the back which tells me that it needed shortening in the back length. Many people want to call this a swayback adjustment but my perception of it is a length adjustment. I pinched out about 3/8" wide fold so that adds up to a 3/4" length shortening, which I tapered to zero at the back princess seam,
You can see it's also a bit wide at the hem edge.
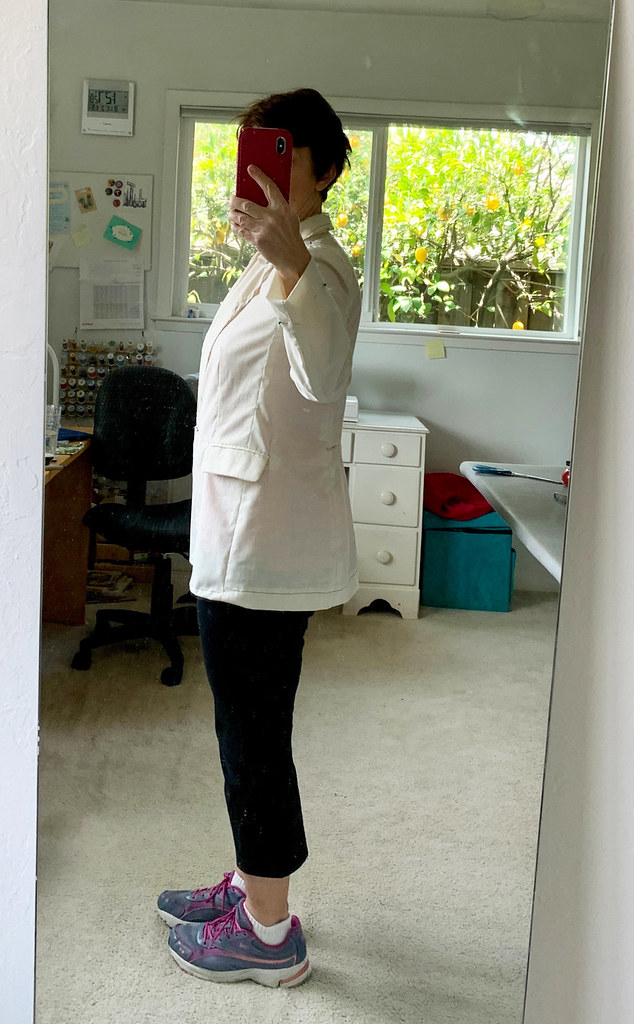
Making this muslin showed that I might have overshot the mark at the hip area and I ended up taking it in just a little bit around the hem in the princess seams. But I think I saved that for when I sewed it in the real fabric as muslin just doesn't behave the same and I like to do these small circumference adjustments in the real fabric. But that hem looks level in the back and I think the back waist shortening did the trick.
Another thing to note when I make the jacket muslin is to pin in shoulder pads. The fit and hang of the jacket really depend on them. In the final version I may use slightly different ones but the muslin is such a limp fabric as compared to most jacket fabrics that they are really needed to get the right impression of fit and shape.
Construction: this jacket starts with the pockets, as most jackets I make seem to. The front must be all prepared with the interfacing, markings etc and then the side panels sewn to the front jacket pieces.
Here's the cutting lines for the welt pocket, similar to other jackets I've made (like this one), you have to slice across the markings, just up to the dart leg, and sew the dart, which makes the upper part swing into being level with the rest of the pocket. I find the pocket works better if there is that angle that is taken up by the dart, and if you look at my post where I compare blazer patterns I noticed that the Jasika blazer didn't have that same angle and I found it a bit troublesome to sew.
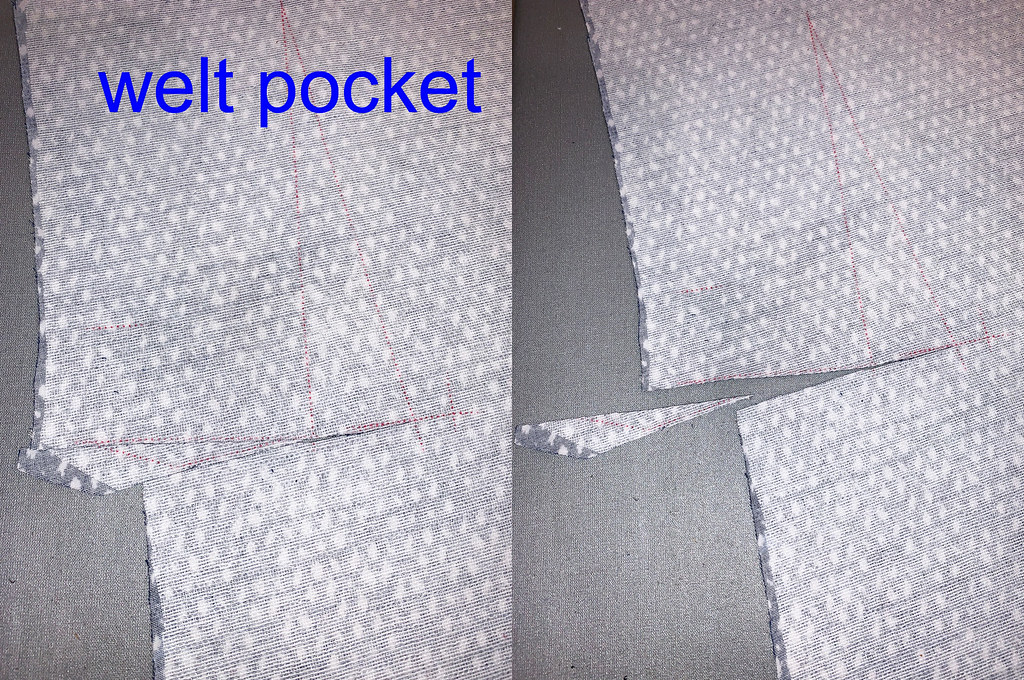
Once the dart and then the princess seams are sewn, then I can make the welt pockets. Here's a composite of some of the steps for making the pocket flaps and welts.
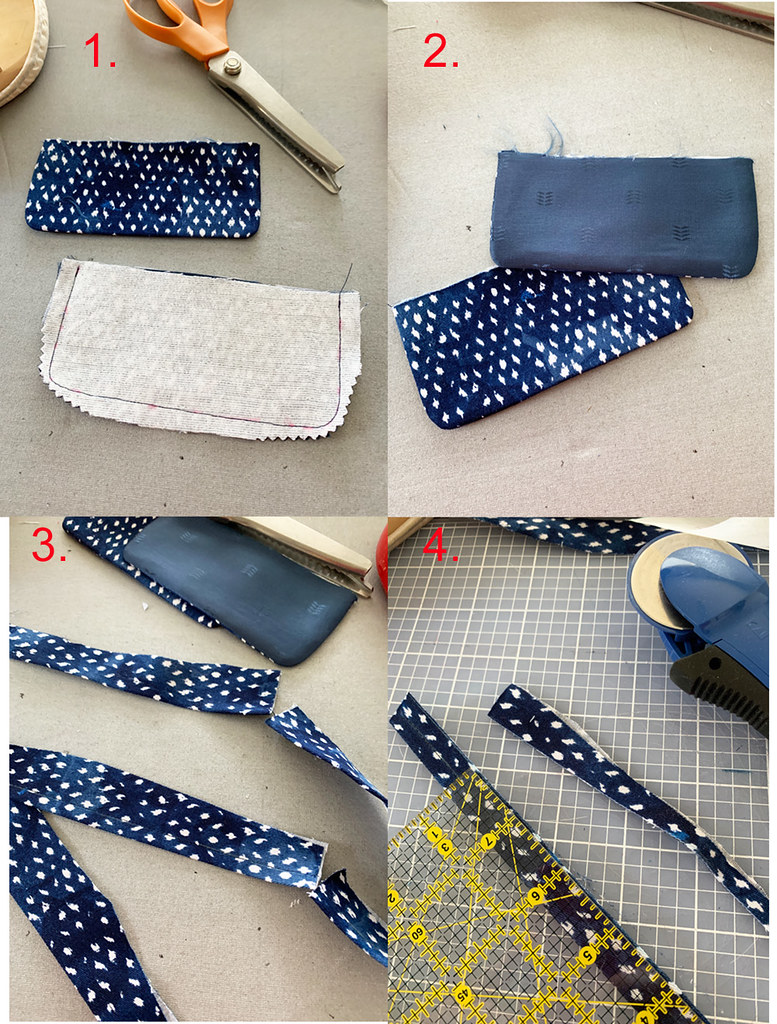
I like to use lining fabric as the back side of my pocket flaps, it is less bulky and presses well.
I tend to use 1/4" wide welts and I make them quite a bit longer than the pocket, and then trim when I've pinned or stitched on. I never use any pattern piece that comes with a jacket for the welts. Making pocket welts is one of the few times I use a rotary cutter!
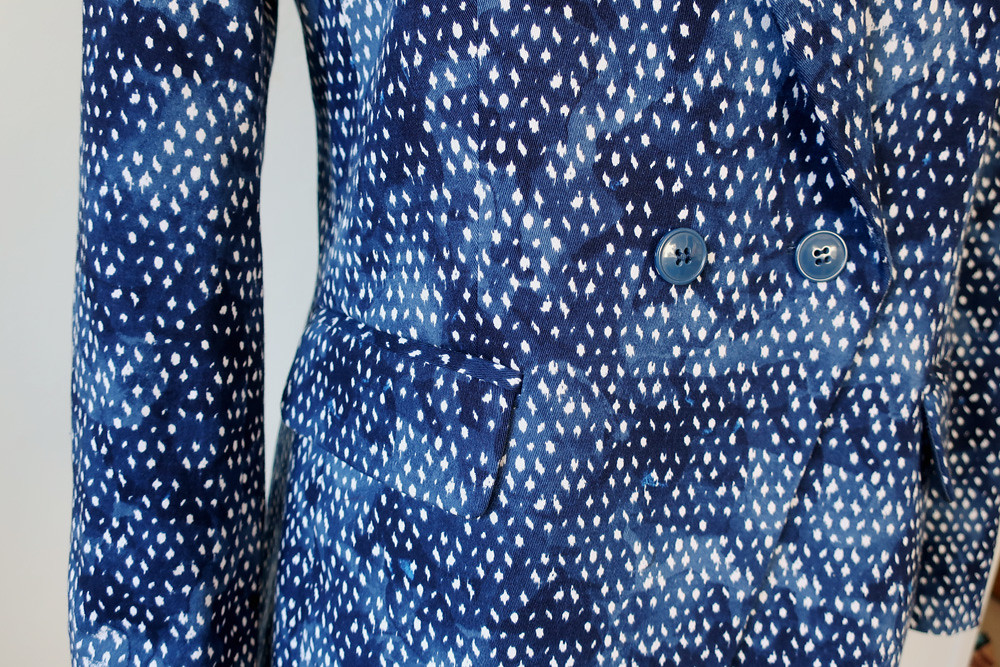
Finished pockets. The details just disappear on this fabric - you can be sure I will make this pattern again come autumn in a solid color. Somehow I feel the need for a burgundy or perhaps even purple blazer. I like to use scraps for the pocket linings which will never show so in this case I used up some pieces of pink bemberg.

This is a serious stash project, as fabric, linings and buttons all came from stuff I already had. Which is how things are these days during stay-at-home sewing, right? Here's another small peek at this jacket, and in my next post I'll cover lapel sewing and lining. Plus bonus jeans! Yes, I said I would and I did, it's full pantsuit time. Definitely a slightly wacky one but I'm pretty happy with it.
That's part one of this denim jacket, and then I have a few dress projects on the table. Plus a Random Threads post this month.
What else have I been up to? Some socializing at a safe distance - very grateful for the lovely weather and outdoor space. Plenty of gardening, and trying to incorporate some new workouts via YouTube which are actually more fun than I expected.
Stay well everyone and happy sewing,
Beth
Today's garden photo, it's a hydrangea bonanza in my front and back yard right now. Purple, pink, blue, and these lovely white ones which I think are called shooting star hydrangeas? or at least that's what I call them. I was watering in the front the other day and a woman who was walking by stopped to ask how I controlled the color of the various hydrangeas. Which made me laugh and I told her that it was survival of the fittest in my garden - the color is what it is, and plants that don't thrive are moved or sent packing. But this one is thriving - so it will stay 😀


Beautiful fit. Love the fabric!
ReplyDeleteBeautiful & I love the fabric. Can I ask, where you got it?
ReplyDeleteThe jacket is great, but sad to not see the detail of the lapels. Would you consider piping them around the edge? Could be white, or even better, bright deep pink, or even lime green - which I love with navy. I do enjoy your posts.
ReplyDeleteYour jacket is beautiful. But as you alluded to, the details are stealthy!
ReplyDeleteI agree, right at this moment, sewing clothing, though not a physical necessity, is a mental health requirement. It will continue to be at least for several more months. Might as well make complicated and/or experimental pieces, and maybe alternate that with comfort projects.
Thank you for your blog and photos of your lovely flowers.
Great looking jacket! Thanks for sharing the making of the muslin!
ReplyDeleteBeautiful as always! I am so glad that you've chosen to sew this peaked lapel jacket since I've always hesitated to try it. I am sewing a jacket, all from stash too, but much more casual than your very elegant jacket.
ReplyDeleteGreat looking jacket Beth, I will take a look at the pattern for myself and I wanted to thank you for your posts, they are so very interesting and I do learn a lot. As I said, thank you.
ReplyDeleteReally do not want to hear your "rant about politics!" Good bye! Trump 2020
ReplyDeleteI really love the style of that jacket, looks almost edgy which is surprising since its actually got quite classical lines! Beautifully made Beth!
ReplyDeleteOh wow, I can hardly believe a comment of mine finally got through!! Hurray! maybe my technical "problem"has resolved itself! :) xxx
Delete