It's been ages since I've done the type of post where I show all my pattern fit changes but I have one to show you today. Lately I haven't sewn much of anything that needed some deep scrutiny to evaluate the pattern fit and work on adjustments prior to sewing. I did a couple of dresses last summer which were interesting patterns and that's what attracted me - something to get into during our long long time of stay-at-home during 2020. You can see them here: red sateen Vogue dress and vintage look Burda dress. Otherwise my sewing the last few months has been doing samples and preparing for online classes.
However this dress design is something I always noticed when I looked through the Burdastyle website, or it occasionally pops up in my Instagram feed - and I think hmm, I should track down that pattern and sew it up. Combine that with the tiered skirt trend this year and it was the perfect pattern to use with a length of fabric I received from Minerva.com. I chose the fabric with a vague idea of this type of dress, and then one day was looking through some older Burda magazines and realized that I had this pattern in one of them. Here's a link to the fabric if you are interested. It comes in red as well.
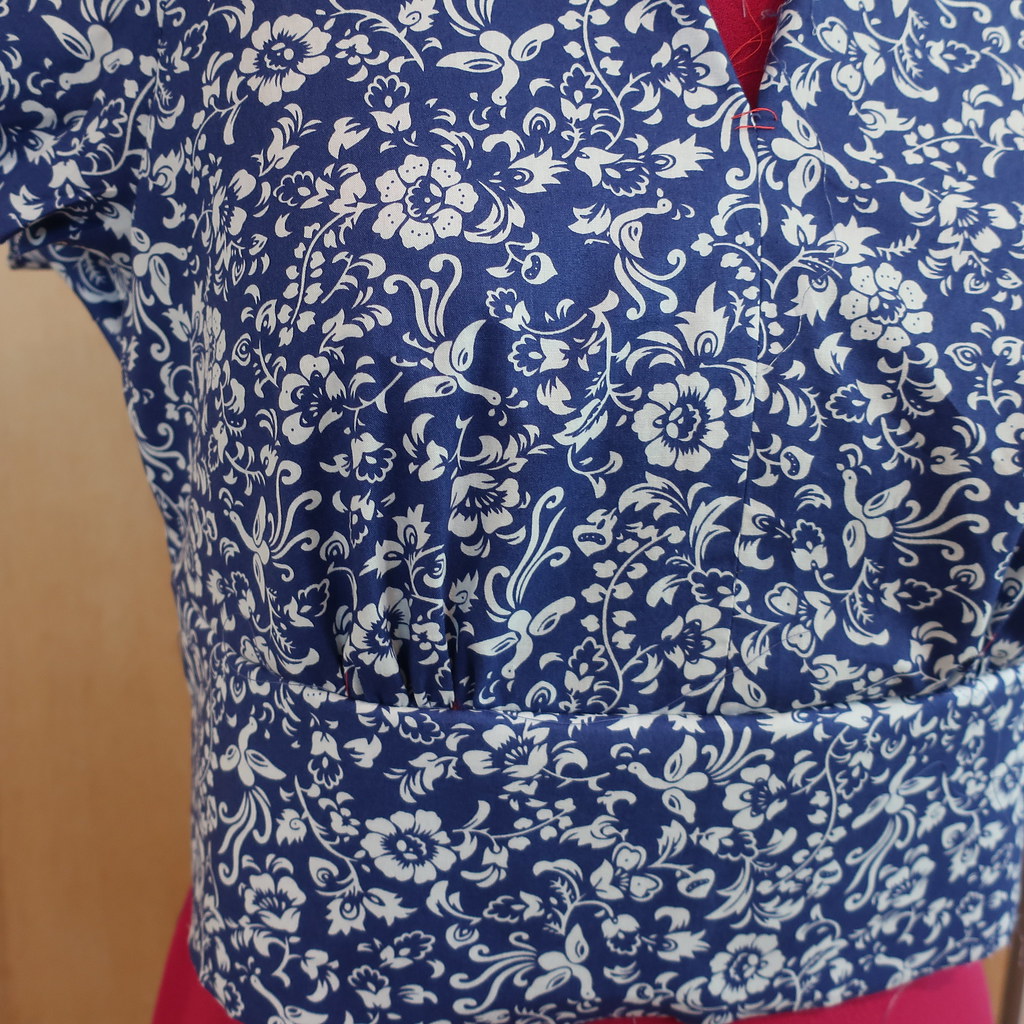
Here's a look at the work in progress, I think I adjusted the waist height a bit after this photo, and it might just be basted together. But I love this fabric, it was perfect for this type of dress.


Here's a look at the pattern in the magazine, it had several views, the long sleeve, the short sleeve I sewed and then also a top version. I skipped the various belt options and can you believe I have that blue belt in my wardrobe, what a perfect match.
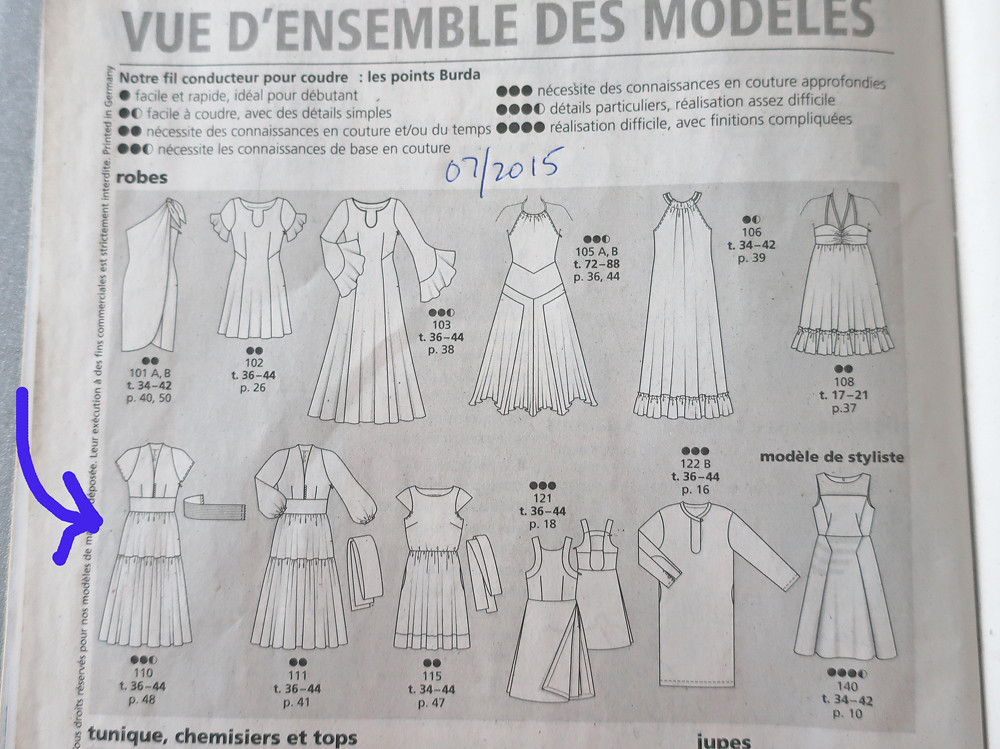
This issue (which happens to be in French) has lots of really cute things and you can expect to see another of these patterns.
Let's talk pattern adjustments. I made size 38 in the shoulders, sleeves, neckline, and graded out a bit in the waist to fit. Once I tried it on I could see that I needed more length over the bust, which moved the midriff part to the right place, but it was also too roomy at the center front. I cut it open horizontally across the center front to see how much more length was needed, plus I pinched out some width down the vertical seam.

Here is the second test version, much better. At this point I decided to change the vertical bust darts to gathers. I like that look on a dress with a midriff band. I marked on the center where I wanted the seam to begin as it was too low (or I am not tall enough :)

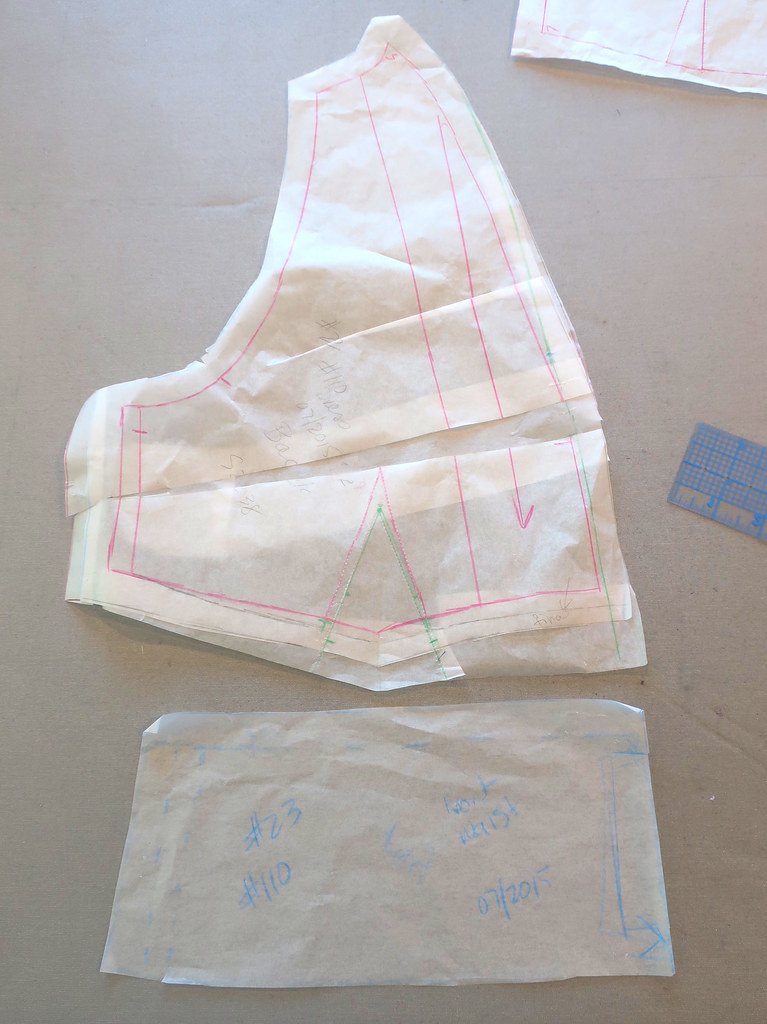
Here are my paper pattern pieces for the front. I didn't change out the dart markings, just gathered the space between the dart legs when I sewed it up. Also note some of the extra length I decided to add to the bottom edge, that way I could take some away if it turned out to be too long.
Here's the 2nd test version on one of my dress forms. This one is kind of old, someone gave it to me a while ago and I padded it up to match me as the shoulders on it are quite small and it resembles me a lot more than some of the other types. I keep that lightweight wool crepe dress on the form because I don't like looking at the dials and the various odd bits of padding that are under it, plus that dress bodice fits just how I like. Also the neckline depth, width, and the location of the waist seam are ideal for comparing other patterns. As you can see if you look closely I even have the center front marked with a thread trace so I often tissue fit other patterns on top of this form. However I always do a final fit and adjust side seams on myself, as every fabric differs.
Here's a closer look at that wool dress.

Once I had the fitting worked out it was just onto sewing. I put lightweight interfacing on the center back seam and put in an invisible zipper.


Then I sewed the top half of the dress, put in the invisible zipper but left it unattached about 2" from the bottom in preparation of adding the skirt later. I often do dresses this way as I like to adjust where the waist seam is, and also I can fit the top on me without dealing with the skirt portion.
So that's where I will leave this - next time I will post the finished dress which I actually have worn on an outing. Yay! going out of the house!!
Other projects I have going on now: I'm halfway through my online jeans class via Hello Stitch Studio, and next month will be a shorter offering. I'm doing a
Sew Lab where you can join in to ask questions and get help with your projects. And after that I think we will be scheduling in-person classes. So exciting to get back to that!
Happy Sewing and stay well,
Beth
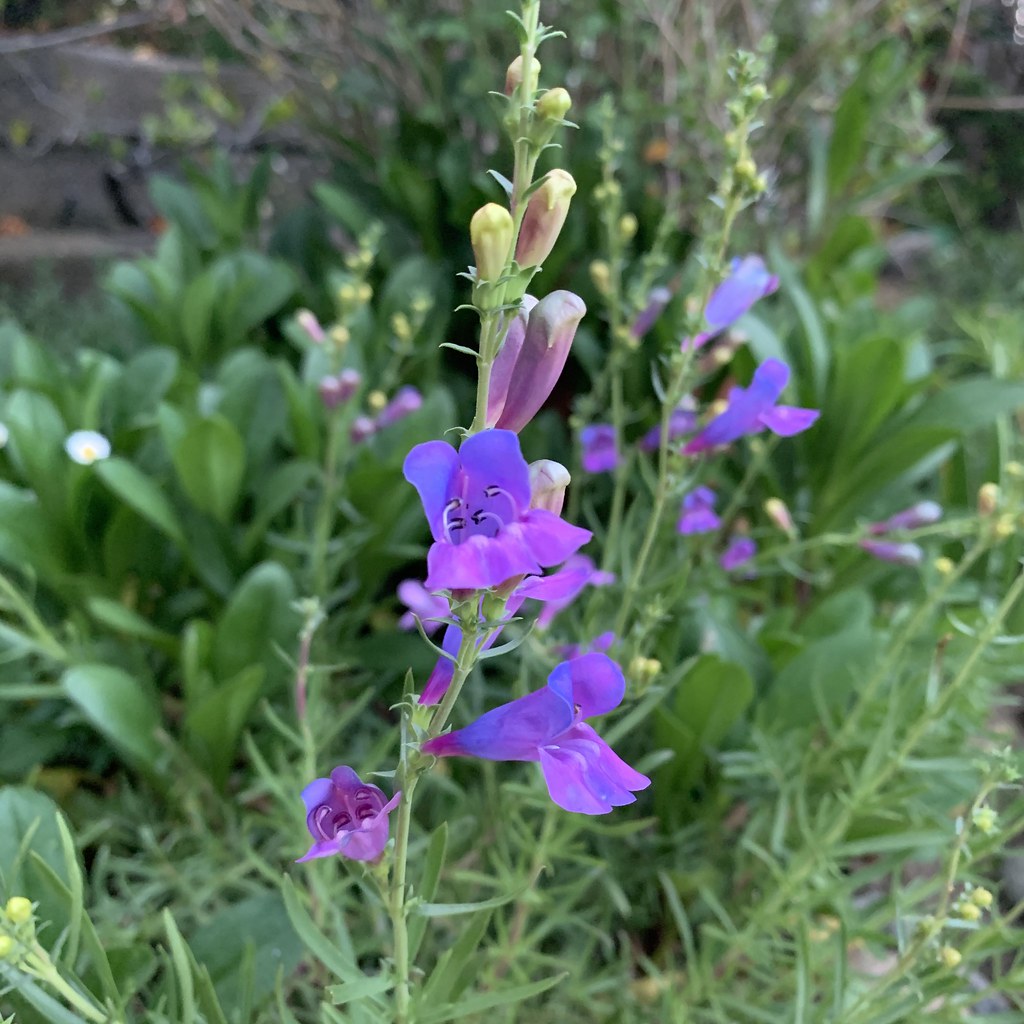
Today's garden photo is this purple penstemon which caught my eye at the nursery. I love the colors but I think it is an early bloomer and the flowers may be gone. Will have to do my research better in the future as I like things that put on a show for a while. But the color is lovely.


Bonito modelo y bonita tela y con un ajuste perfecto. BESICOS.
ReplyDeleteLooks really nice. I made a version of this just a sew weeks ago for my daughter. We used a lovely Colton Broderie Anglaise and made a couple of changes to the pattern to suit her style. But it looks stunning. It's on my blog if you're interested
ReplyDeleteDo you have a post somewhere that details how you attach the skirt to the bodice with the invisible zipper already installed? I can't visualize how you would do that.
ReplyDeleteLove these posts where you go through your process!
Lovely fabric! Haven’t seen the finished product but can tell it’s a beauty!
ReplyDeleteIt is going to be lovely! I made this a couple of years ago, in a floaty silk-cotton voile. I took about 3/4 inch out of the depth of the waistband, and could not get the bodice dart to look right. So I had many of the same issues as you have had. I can see why you have decided to put gathers in - maybe that would have worked, but I reshaped the front bodice into an armhole princess, and that worked too. I made long sleeves (with a cuff and a bound slash placket) but took a lot of width out, both front and back, by slashing from wrist to shoulder and overlapping. They are still pretty full but would have been immense! But I do like the shape of the armhole and sleeve head. And I put the zip in one side seam (my head goes through the neck easily enough) and put a pocket in the other side seam. I am really very pleased with the result, and wear it whenever the weather is hot enough - not that often in London Uk alas, but nice when it happens!
ReplyDeletePenstemon continue to flower if you deadhead them, they often flower all summer long (at least in my garden in the UK0. Also it is easy to take cuttings of them and yours is a lovely colour.
ReplyDeletePretty fabric. Even if there's no pic of the finished dress, yet, it is already looking good!
ReplyDeleteQué bonito te ha quedado y qué bien que ya puedas disfrutar de la compañía de amigos, parece que se va arreglando la situación de pandemia. BESICOS.
ReplyDelete