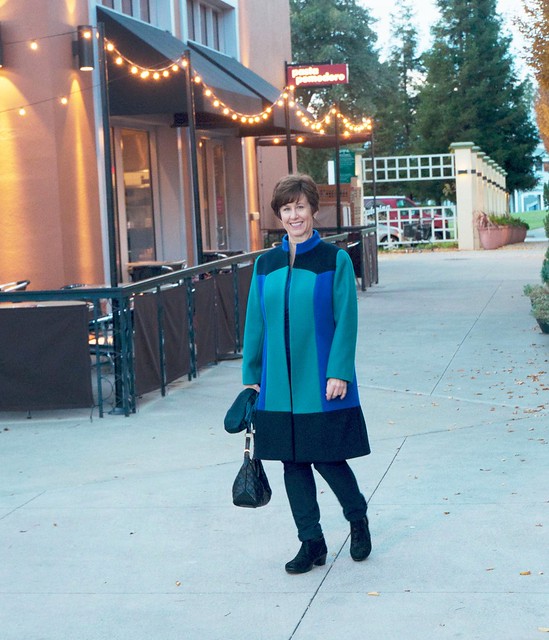
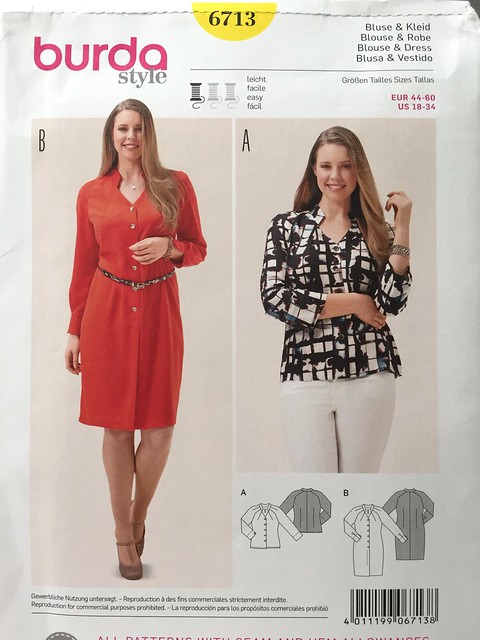
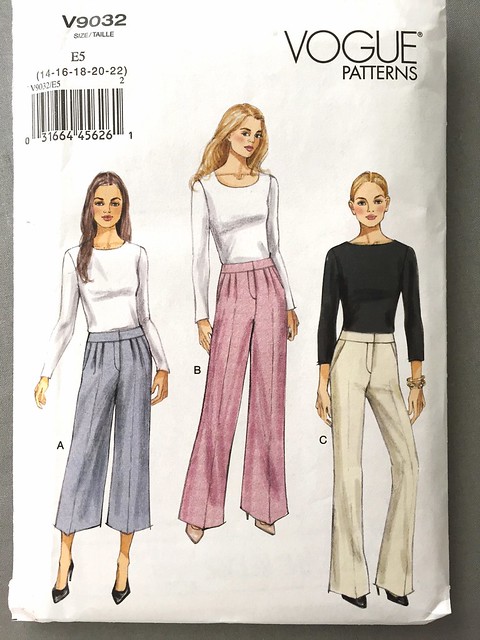
Pictures first and then a bit of explanation and some construction info.
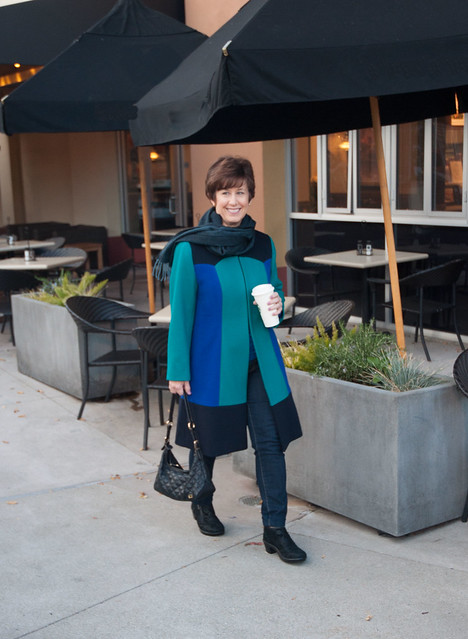
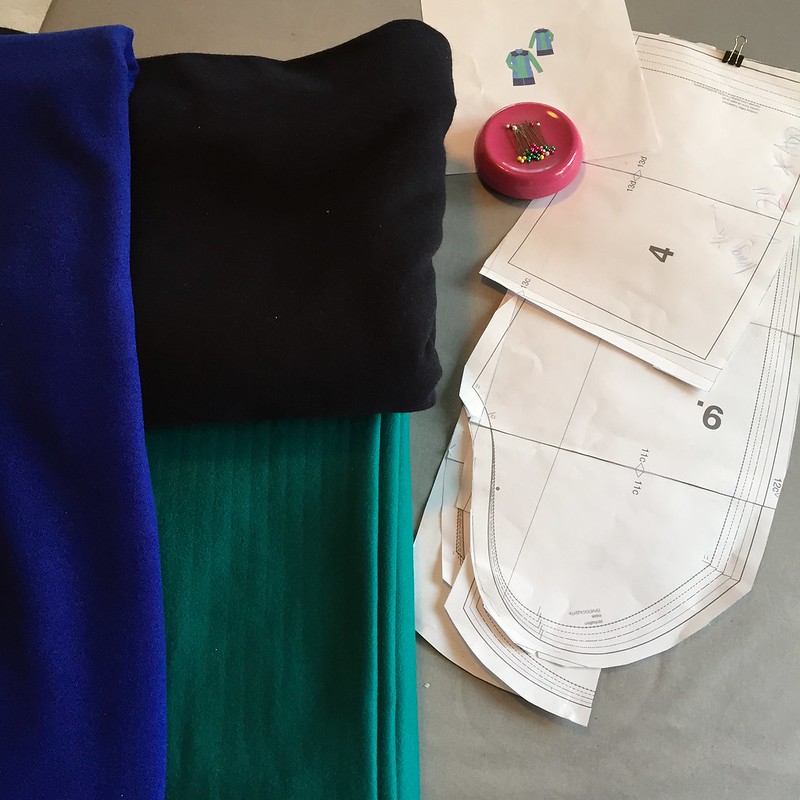
I love that jade green color and the quality of the fabric is so nice. My previous post is about the starting the coat, where I got the fabrics (the green one was a lovely gift) and some notes on fabric preparation, interfacing, etc. I might do another post on more of the sewing details, and some tips on interfacing as it pertains to coats.
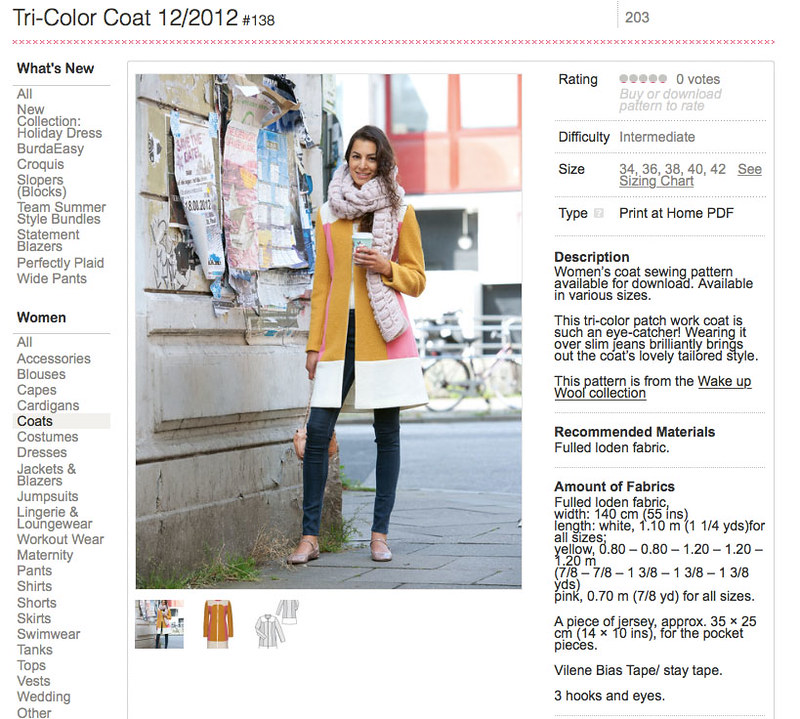
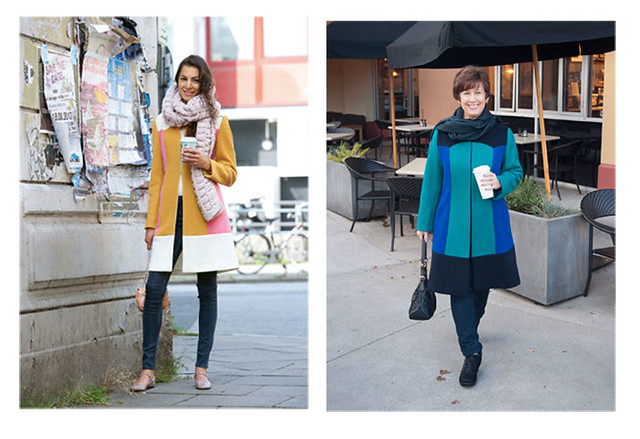
I have not tried to recreate the style of the pattern photo shoot before but often have been tempted so my photographer was willing to give it a try. Leave it to Burda to add one element (that chunky scarf) to obscure the garment's details.
So where do the three revisions come in? I really had the coat completely finished, and placed on the dress form in my sewing room but I just couldn't stop looking at the width of the shoulders. It seemed too big for the dress form, so I would put it on and take it off trying to decide. Also once I had it sewn up but before the lining, it seemed to need shoulder pads even though the pattern did not call for them. So I put them in, and then finished the lining. That is when it started to look too big. Pattern notes: I made a Burda size 40 which is what I used for the Burda heather purple shawl collar wool coat but I am wondering if the thickness of that fabric took up some of the room and thus it was not too big. I think this tricolor coat in size 40 turned out too big. And then I studied the Burda measurements and realized a Vogue size 12 which I usually start with probably corresponds better to a Burda 38. So my eyes were not playing tricks on me, it was too big.
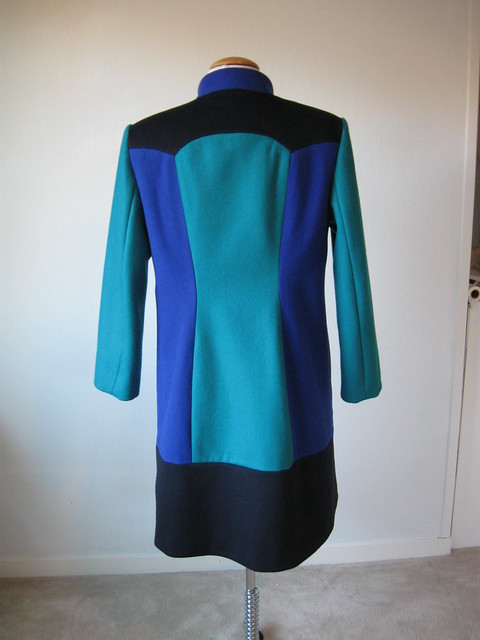
Here is the back view so you maybe see what I am talking about. I have only one other issue with the pattern, where the back upper yoke attaches to the panels, it seems a bit too big there, or it could be something I did but I made it work.
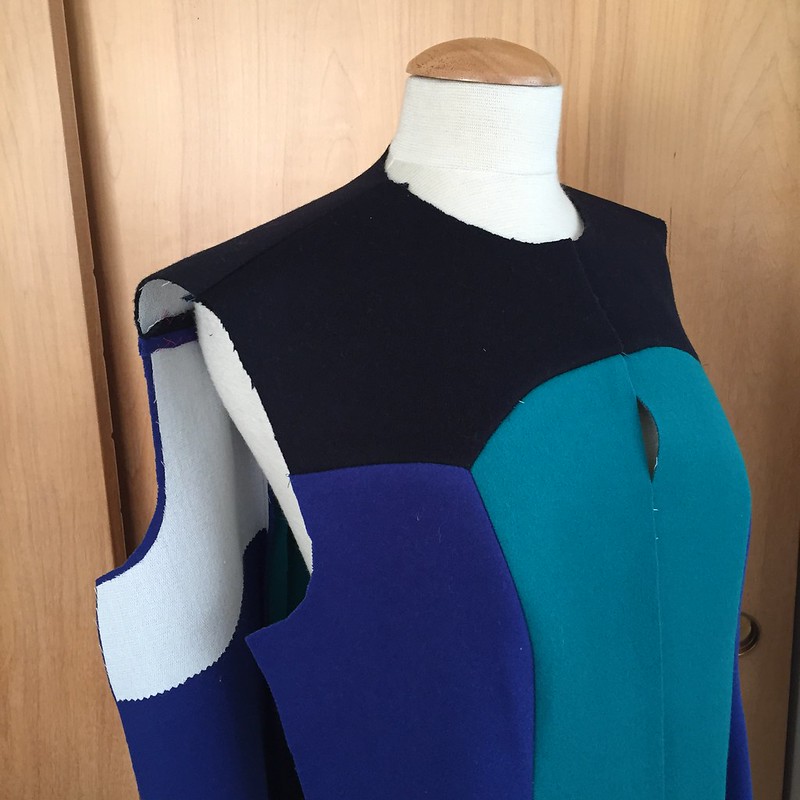
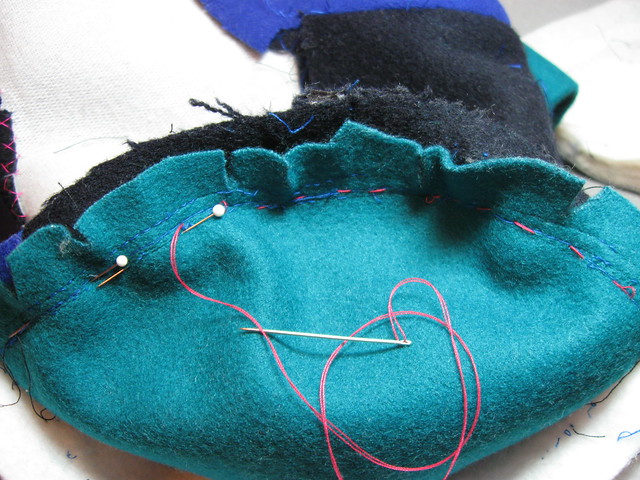
So I decided to narrow the shoulders. Meaning I had to detach the upper portion of the lining. Which I always sew in by hand so it wasn't that bad to do.
I moved the top of the sleeves in by about 5/8". First by unpicking them, from about 4 inched down from the center top going toward the front and back. Then I shifted them inward, making the shoulder seam shorter. BASTED in place. Tried on, did some little adjustments here and there. Then machine basted. Tried on again just to make sure everything was right. Measured the length of each shoulder seam to make sure they were even. Then stitched them up on the machine. Re-attached the sleeve heads. Tossed away the shoulder pads (yay!). Re-attached the lining. And satisfaction :)
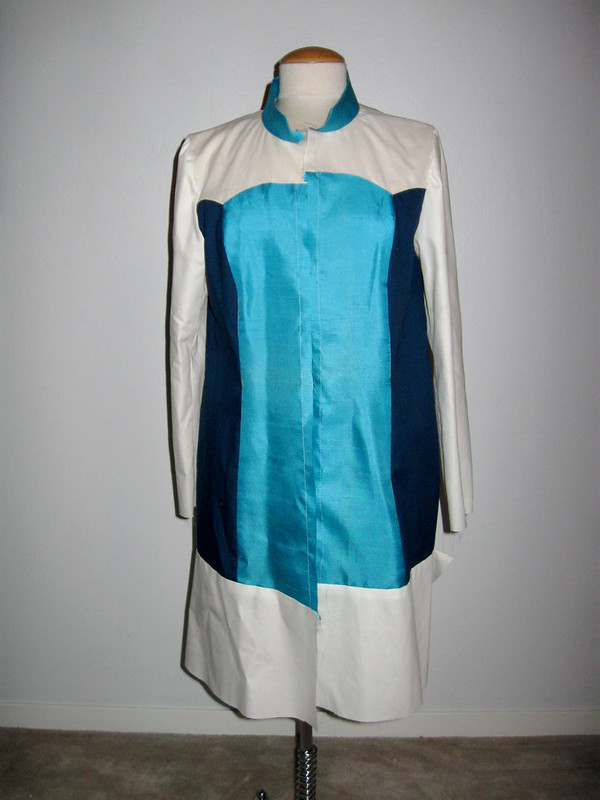
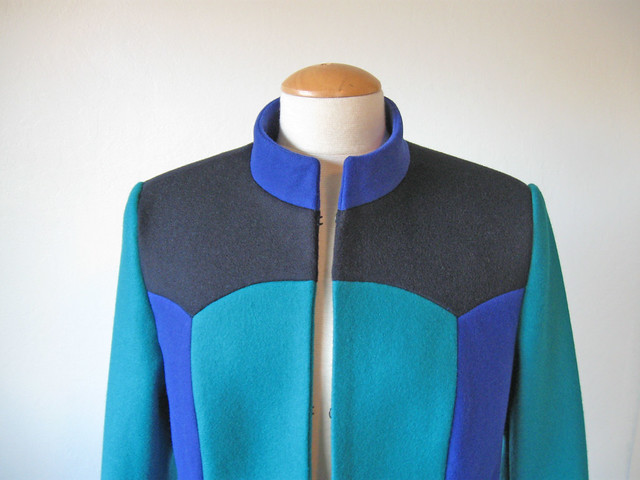
Here is a look at the collar and the closure, which are large hooks. I thought they would bug me but they seem fine. The most important thing (Ok one of the important things) was to sew them perfectly so the color blocking would line up just right down the center front.
And the side view. Here is where need for the second adjustment became apparent. Darn that Burda size 40. The sleeves were too wide, particularly in the bicep. So once again but in a different place, I unpicked the lining sleeve hem (also sewn by hand, so not difficult to undo). and then pulled the sleeve through the bottom opening (I do not bag the lining so the hem lining is not attached to the coat hem - just never have done it that way - and makes adjustments a lot easier). I narrowed the whole sleeve by 1 inch total (taking a half in seam tapering to nothing where it attached to the armhole). And I liked it soooo much better. Perfect. and a live and learn moment to compare things to other garments that fit well (which I always tell people to do but should have done in this instance myself).
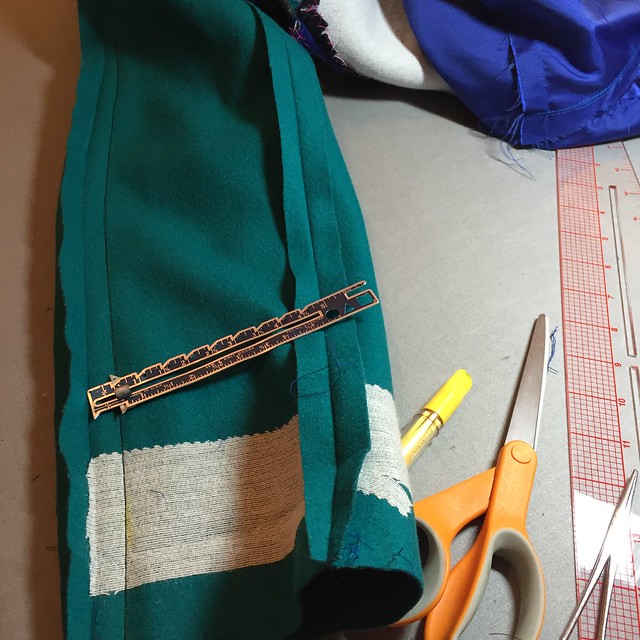
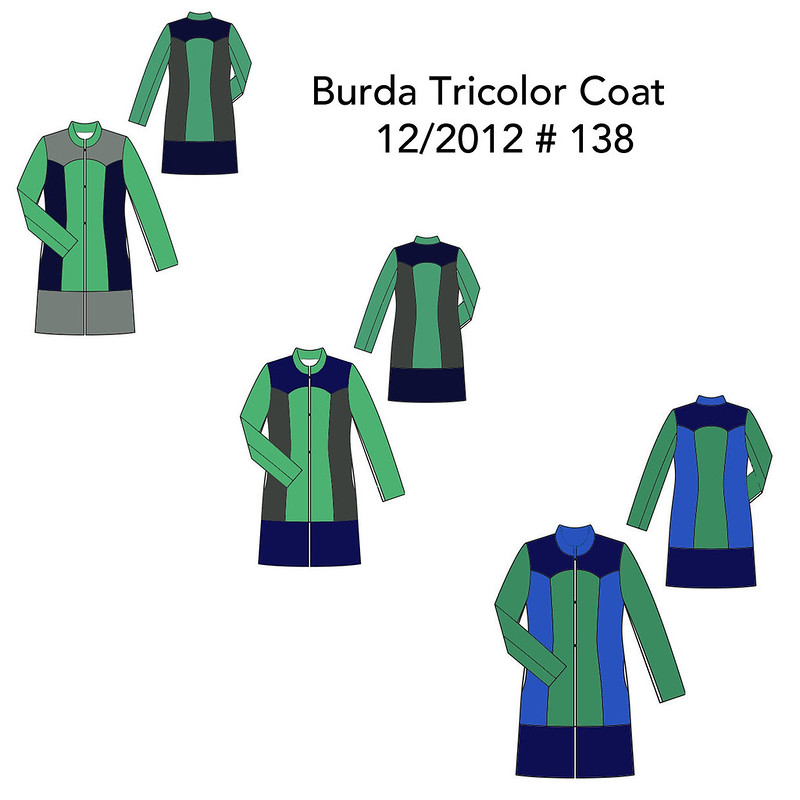
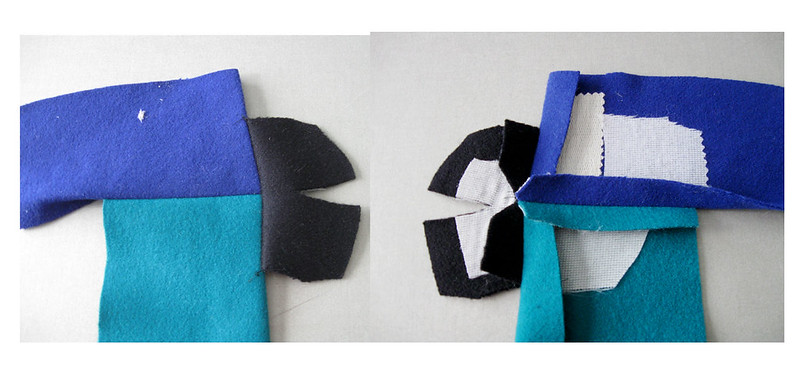
A few details on the facing/lining. The pattern had a one piece facing down the front, I think the instructions said to use the same color as the sections in green, but that just bugged me. I thought the facing should continue the color blocking so I had to make it that way. Easy enough to use the pattern pieces from the color blocking to make facings. Also the pattern front facing was about 2 inches wide which seemed awfully skimpy so I made it similar to the front section. Easier to show than tell so here it is.
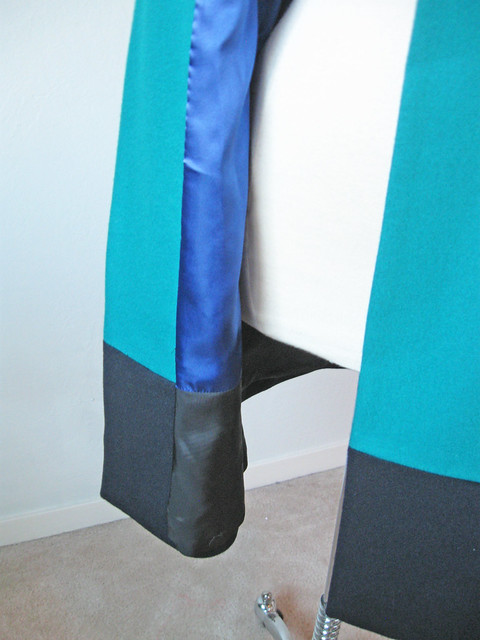
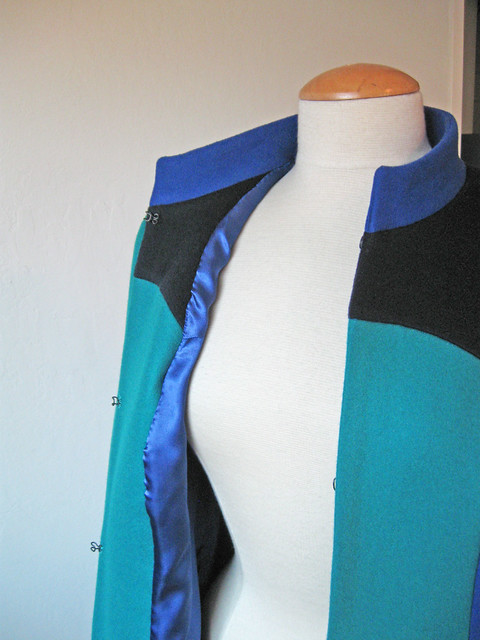
Just for fun - continuity - I did a bit of color blocking on the bottom of the lining so you can see the bottom band is black to continue that bottom panel.
Looking through my Flickr album I do have more construction pics so I will do another post on some more sewing details, plus this outfit is not complete - one more piece from this Burda pattern collection.
Summary: this pattern is one I kept going back to since I first noticed it, maybe 2 years ago? Once I had the green coating fabric it all came together and I am really happy with it. The colors are my favorites and I think it looks great with jeans or more dressy outfits. Now I am 99% satisfied with the fit and will know for next time to start with a smaller size and go from there. By the way, I took these photos after narrowing the shoulders but before narrowing the sleeves, so you can see they look a bit wide. When I take pics of the second item I will show the better sleeve fit.
I am entering this in the Color-Blocking contest on Pattern Review so you might see it there :).
Thanks for all the great comments on my previous post about coat patterns - as I said, the Pattern Whisperer is all for fun and a good way to discuss a particular category of patterns, and to look for features that make them easy to sew and/or fit.
Up next, I have some dresses I sewed for my friend Heather to post and then I think I will settle down with some easy-peasy knit tops.
Happy sewing,
Beth