
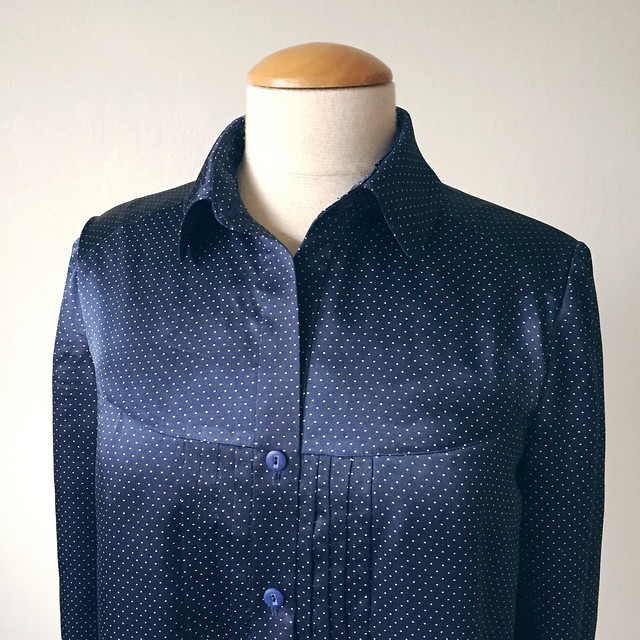
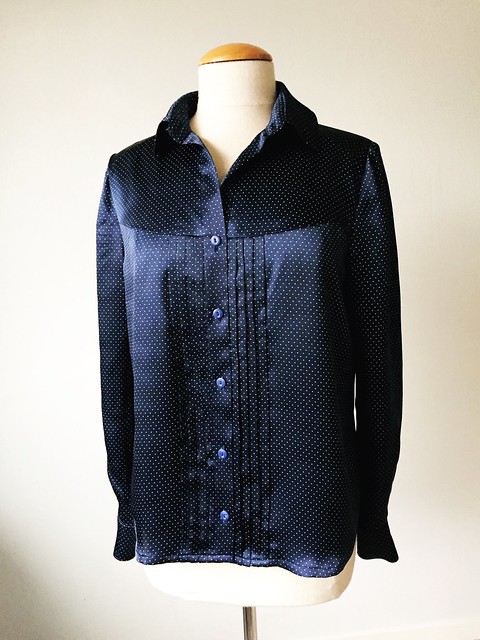
This blouse is all about the front details, the curved yoke and the pleated sections alongside the button placket. As I mentioned on Instagram, I made a pretty substantial error, which I attribute entirely to inscrutable Burda instructions. Also I'm not all that familiar with their style, and then I typically don't read or use any instructions unless there is a special detail that is not readily obvious how to do. So I did read over the instructions because I needed to see how the pleated parts worked. Spoiler: there is no pattern piece for the pleated sections, just a "cut two pieces of X dimensions, then mark stitch lines X width apart, sew pleats, then cut out the needed pattern piece from the pleated fabric using template" What? although I followed it in a very detailed fashion and it came out perfectly, so who am I to criticize?
BUT - the big error came at the end when I just happened to look at the photo again to see where they placed the buttons, and realized that it was supposed to be a HIDDEN BUTTONHOLE placket. Which is a feature that I often add to silk blouses but did not seem apparent either in reading the directions or in the pattern pieces. So if anyone of you figures out that little detail I would be interested. But I think it would have added another layer of fabric in the seam along side the pleated section so not a problem that I missed it.
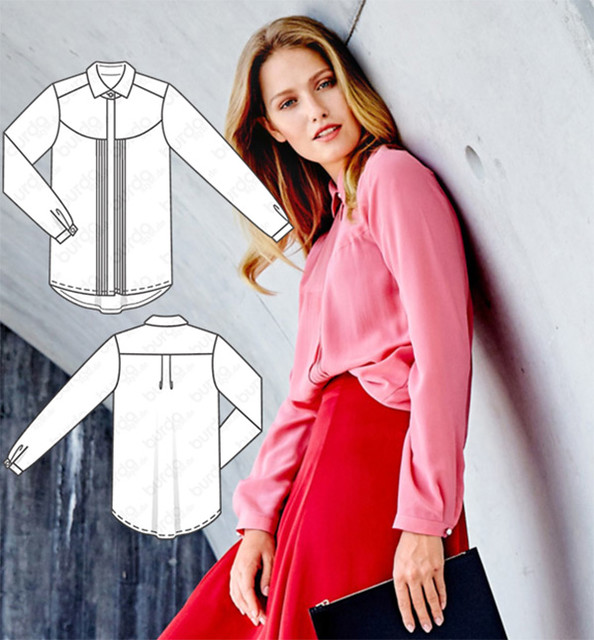
Tech drawing and slouchy not useful photo of the blouse on a model.
The front yoke is a double layer as well as the back, which gives a nice finish on the inside. This fabric is something I bought at an ASG sale, so I got 6 yards (45"wide) for $ 6.00. Stuck it in my lining bin and forgot about it. Saw it a couple of weeks ago and thought, hey - that feels rather nice. So I actually did a burn test, which is kind of fun, and decided it was real silk. It does press like real silk so that was a second confirmation. Not a bad find for six bucks :)

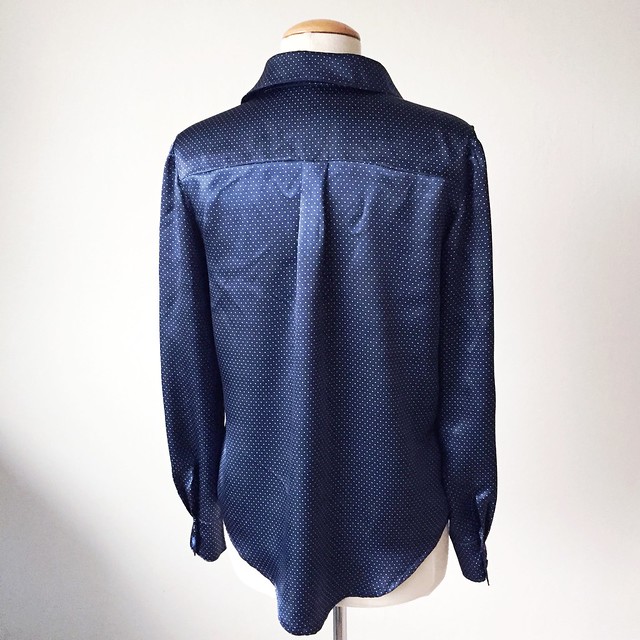
I think I lightened up this photo of the back view, which has accentuated the wrinkles. But it probably could do with a good press. Do you ever get less than motivated to press the back of things, knowing that as soon as you wear it either the wrinkles will fall out or new ones will develop as you sit down?
Also when I put it on for the pictures I decided that the back is too long. I think I lengthened the whole thing with an idea to make it more tunic-y and flowy and then when hemming decided to make it regular shirt length, but the back is still longer and I need to go back and fix that.
I did make a size 38 which is my usual size in Burda however I kind of forgot about adjusting at the hip area, usually I start with a 38 but for dresses I would grade out at the hip, adding 3 or 4 inches. But I was thinking loose shirt - no problem and didn't even think about checking the fit. And so I have this little correction.
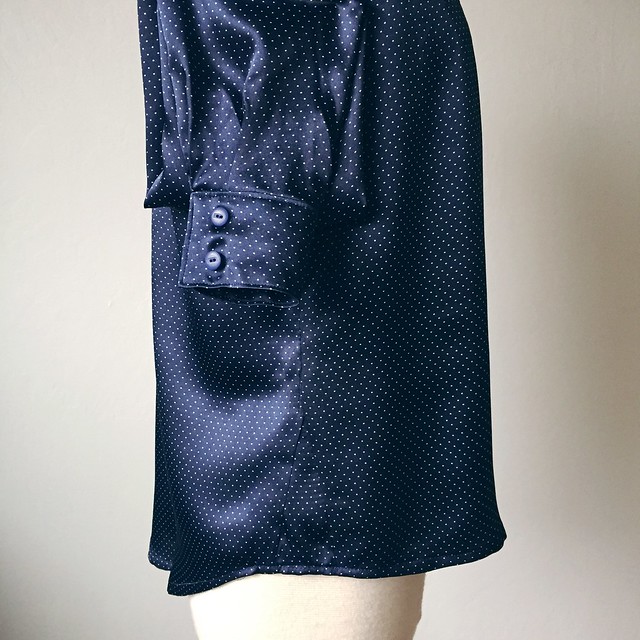
Yep, I had to add a little wedge at the side seam. To return the hip circumference to a nice amount of ease. Without it I could have buttoned it but it would have had no ease and looked not right for a blouse.
Like I said, not the most energetic of garment photos...
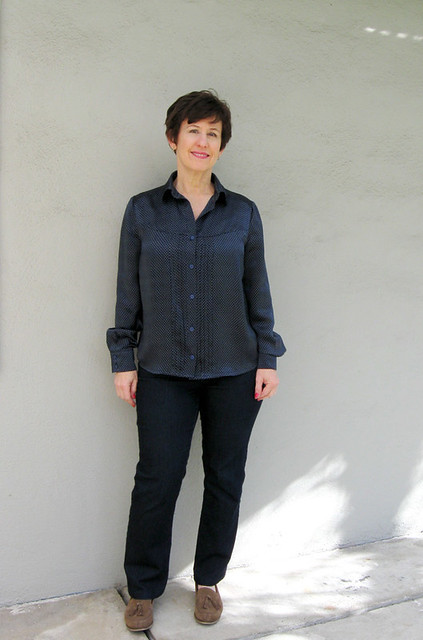
And navy blue is not really one of my top colors to wear, it seems so utilitarian to me, not fun in any way. So it is always the background basic in my wardrobe. But I did receive a new sweater as a Christmas present, and this silk blouse is perfect with that.

I saw this blouse pattern today on the BurdaStyle website so if you want it and don't subscribe there it is.
This week I'm sewing like mad on a deadline to complete a cocktail dress for my friend Heather and the Hemisferic coat for her daughter. As of tonight the dress is all stitched together, needs a final fit check and then I will add the lining. The coat is all downhill from here, just need to sew on the buttons, do the hem and a few other details. The hidden buttonhole placket has turned out really well although I do cause myself more work as I kind of wing it as I go, instead of creating patterns for everything.
And then I am going to take a bit of a break - I've been sewing non-stop for 5 days (being sick really messed up my schedule) and I need to take a look outside, pull some weeds and generally get organized for spring!
Happy Sewing, Beth
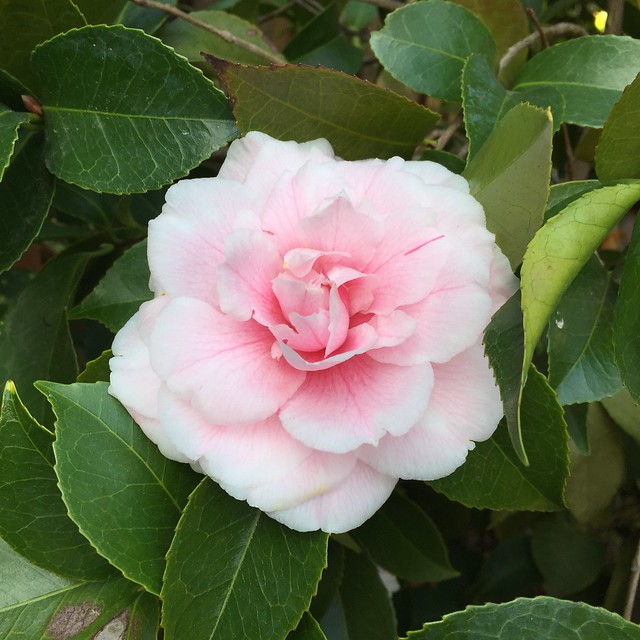
Today's garden photo, a pale pink camellia. I have such mixed feelings about camellias. So many gardens around here have what are probably very old bushes. They seem to have gone out of style, garden-wise, but they are often quite large and established. The flowers are pretty but they only bloom for a few weeks and are so messy. But they add a lot of greenery and are tough, I like that in a plant.


I also made this shirt as commented on your previous blog and as I said I also made buttonholes but that was after I realised that the pattern isn't actually a hidden placket at all - they would have you sew poppers [is that press studs in the US?] carefully so as not to show on the outside but I didn't think this was either professional or practical as pulling them open would have pulled the facing fabric away from the placket. I think we made the better choice!!
ReplyDeleteYour new blouse is beautiful and what a deal you got on the fabric!
ReplyDeleteI love your blouse! Can't wait to see the coat when it is finished. And, Beth, I have 3 huge camellia bushes in my garden, pink, red, and pink/red, and I love them. Mine bloom for at least a month at a time, and while the petals are messy, it makes the ground pretty. Hope you feel normal again soon!
ReplyDeleteThat is a beautiful blouse, and what a great steal the fabric was! I am excited to see the finished coat. I'm working on my granddaughter's birthday dress, and I did 2 things that I've never done before, all because of you. One, I sewed the sleeves in the round - and I didn't die!! It wasn't that hard, but I can never get the ease even. Do you have a trick for gathering? This dress had a tiny bit of gathering in the sleeves, which I did with zigzag stitch over floss. The skirt was ridiculously voluminous - I could wrap it almost twice around me - and I gathered that with my gathering foot, then more by hand. The lace overlay on the skirt was not as voluminous, but the gathering foot wouldn't work, so I did that with floss as well. No matter the method, I just don't get the gathers evenly distributed. Maybe I give up too soon?? The second thing I did was use tailor's tacks - and (this is a goober statement) I love them!! I think they look cool and make me feel like I've moved up in the sewing world. Haha! Thanks as always for your awesome blog!
ReplyDeleteSuch a pretty blouse! I really liked this one, even the embroidered folksy version...
ReplyDeleteA truly lovely blouse! The proportions are great! I've seen before (probably in burda) the idea of pleating the fabric first and then cutting the fabric. It does strike me as strange I have to admit!
ReplyDeleteBeautiful blouse. So sorry you have been sick. Me too! For 3 weeks I've had that awful flu then I got the stomach virus. Hope you are on the mend.
ReplyDeleteI thought I read in one of your posts that you were going to do a tutorial on how to copy a pair of pants from RTW, sis I read that correctly? And if so, any idea as to when you will be doing that post?
I’ve been looking at the same pattern and was wondering how I might do a FBA (C cup here)... I realize there are 2 “hidden” darts— one big one in the yoke and a sliver of a dart in the pleat/bodice seam. I couldn’t quite get my head around the FBA from the curved yoke dart though. Any suggestions or resources I can check out?
ReplyDeleteGorgeous blouse, I love the little details that Burda often add to make things a bit different and interesting (I know they do some crazy stuff too sometimes!). It does look good with the lovely sweater, but hopefully you will get to show off more than the collar sometimes too!
ReplyDeleteIt looks great on you! I like your fabric choice better than bruda's. Congratulations, Beth!
ReplyDeleteBeautiful! You know it's hard to come up with new superlatives for your garment! Burda's instructions are truly awful aren't they? I like to read them just to make sure that I haven't missed some detail. I have seen instructions that don't mention doing something, such as this one. Considering that the piece for this hidden button band would probably have been a measured amount like the pleated area. You get used to it if you've sewn with Burda, but you do have to be careful to make sure that you have found all of the pieces, or measurements for them!
ReplyDelete