Showing posts with label Bondi. Show all posts

Wednesday, October 23, 2019

Bondi Dress from Tessuti Patterns, batik version

Note to self - get moving on blogging my summer items. While it’s not a necessity I do like to blog most everything I sew for myself. As it turns out this frequently is the only place I make any sort of notes on the sewing or fitting details. Often I fit on the fly and consequently the only record of changes is here on the blog. Not helpful when I go to sew the pattern again, which is something I really like to do. 
So here’s a summer pattern that I’ve now used 4 times. This is the second dress version and I have two tops make from this pattern, one in silk and one in rayon.

It’s the Bondi Dress from Tessuti patterns, a simple shape that actually lends itself to a lot of creativity. Not that this version is all that creative, I just added a wide ruffle to the bottom edge. 

Batik dress by pool

There was a Vogue pattern our a couple of years ago that had this same look. Actually that pattern had the ruffle only across the back bottom edge of the dress. It was a quirky detail and the versions I saw looked interesting but I had plenty of fabric and wanted the ruffle all the way around on mine. While ruffles and flounces are back in fashion at the moment the've never left in Hawaii and you see lots of beautiful dresses here with deep hem ruffles, either floor length or shorter.

Here's a closer look at this fabric, which I've had in my stash maybe 10 years? I bought it in Honolulu when my sister lived there and she's been back in California for a good while. I bought it at Hawaii Fabric Mart which is the only large fabric store I've found over there, it has a several stores on Oahu and Maui. They sell mostly Hawaiian print fabrics, with some batiks, Japanese fabrics, quilting cotton and some dressmaking fabrics. If you are in need of denim or other fabric standards and you live in Hawaii I think online shopping is the only game in town.

Batik dress back neckline

One change I've made to the Bondi dress/top pattern is to add about an inch to the center back seam so that I can make it overlap, here it closes with some sewn on snaps. That way it's not open and I can wear a racer back bra underneath.

Batik fabrics are a bit stiff and not my usual choice for clothing but this fabric softened up enough after washing to be suitable for this dress style. It does wrinkle more than my liking but it's also not noticeable with that print.

Batik at HJ2

I also made a tie belt and wore it that way one evening. We went to a new to me restaurant, which is Haleiwa Joe's. Since we were staying in Kailua we were not far from the location in Kaneohe which overlooks Haiku Gardens, thus the very scenic pictures. It was absolutely beautiful despite raining buckets just as we arrived but then stopped and looked so lush and tranquil. The food there is good, it was packed with locals and the Mai Tai was one of the best I've had.

I wore this dress a couple of nights before and then when I was putting it on this night I realized that I hadn't really finished it! Pre-vacation rush sewing strikes again. I had put on the bias binding around the armholes and then basted up the side seams to double check the fit. I must have thought "fit is OK" and then set it down and later thought it was all done. So as I was putting it on I realized the side seam basting was coming undone at the top of both side seams. That would have been embarrassing to be sitting somewhere and have my dress slowly coming apart!

IMG_1336

Rummaging in my makeup bag I found this sewing kit taking from some previous hotel stay. Those things are useful! So a quick hand stitch and all was secure. Note the needles are pre-threaded. I used the brown and blue threaded ones so now they are empty, I think I will refill it and be sure to have this handy for travel sewing emergencies :)

To complete the travelogue here's another look at the view from the restaurant. I think they rent that garden space out for weddings.

IMG_1339


That's it for my summer sewing this year. I didn't actually add all that much to my summer wardrobe as I have SO many lightweight cotton dresses which are suitable for the hot summers in my part of California. The leaves are dropping here and while it was about 88℉ here yesterday I think fall may arrive soon. But until then it's short sleeves and no jackets for us, yay!


Batik dress at HJ


Up next, a couple of Burda items, and my pursuit for some new/interesting shirt patterns.

We have lots of classes coming up at Hello Stitch, I wrote about them in this post or you can always look at the Hello Stitch website to see what's available. Including my Jacket Tailoring class which we again offer in late January - oooh jackets - you know I'm excited about that!

Happy Sewing, Beth

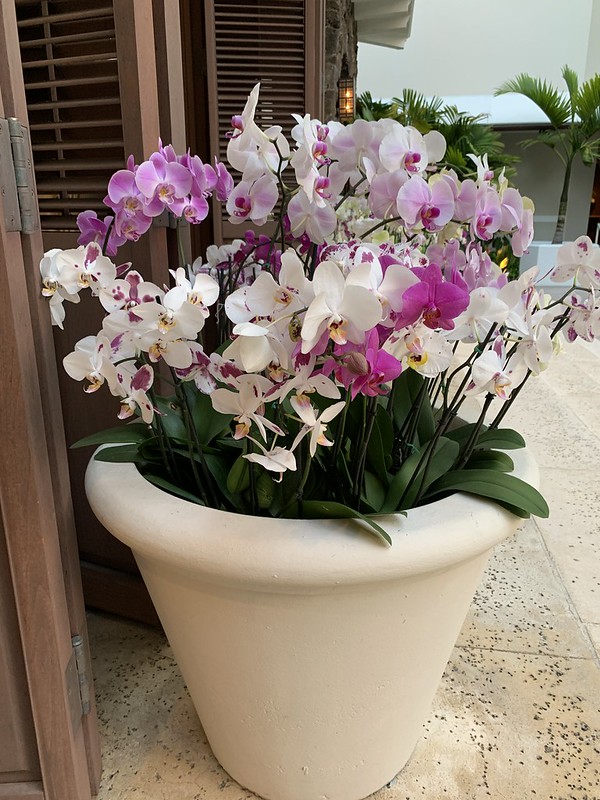
not my garden, but some lovely Hawaiian orchids to admire.
IMG_1423

Thursday, August 9, 2018

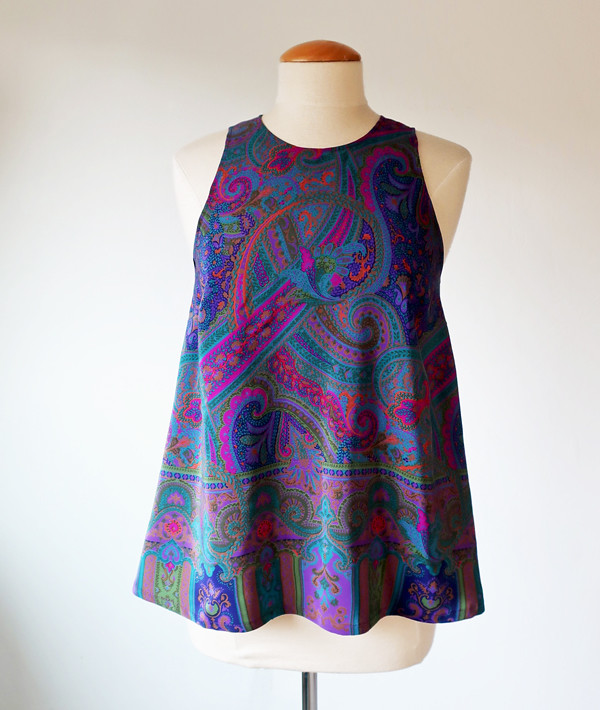
More mileage: Bondi Dress Pattern as a top in silk crepe

One of my favorite things in sewing is to find ways to get more mileage out of one pattern. Once I made the Bondi dress from Tessuti patterns I knew it would make a great top. It's ideal for any silk or a floaty rayon. Really for any lightweight fabric, and I predict a color block version in my future (as half the work is done already due to the back design).

Second only to getting more mileage out of a pattern has to be using fabric remnants to make another item. I just don't mean using the scraps for pocket lining, or testing, but sewing another garment in the same fabric from the remainder of the first project. Of course it helps if you bought a great big piece of fabric and in this case I had about 5/8 of a yard plus another sizable bit to work with. So now I have two tops out of this fabric that I absolutely love. And I was able to use the border print, so that was another level of sewing happiness...

If you want a Bondi dress or top of your own - our last Bondi Dress class of the summer is this upcoming Sunday 8/12, at Hello Stitch Studio in Berkeley. Here's the link. Note that the pattern comes with the class plus we have all the sizes sewn up in the studio so you can try on the samples and determine just which size to make. Then you trace off your pattern size (with everything you need supplied) and it's on to sewing!  If you do plan to take the class sign up asap as sometimes we have more people that want to take a class but on a different day so we reschedule if that day turns out to work for more people. If that makes sense. Anyway if you want to do this Sunday class please register by Friday.


Bondi silk top on form

and here I am near the end of my class last weekend, which was our Wrap Dress class. Everyone made super cute dresses including a couple of versions of the Eve dress from Sew Over It (my version shown here).

Bondi top 2

Sewing details: I played around with the length on this top, I think it needs to be long enough to keep the flowy shape and I'm not a fan of a crop top on me, although they look cute on some people. But too long and it looks like a dress that shrank, right?  So I held up the paper pattern piece and took a gamble. Because I wanted to use the border edge, which is printed along the selvedges of this fabric. I figured if it was a bit too long I could do a narrow hem and still keep a bit of the border.

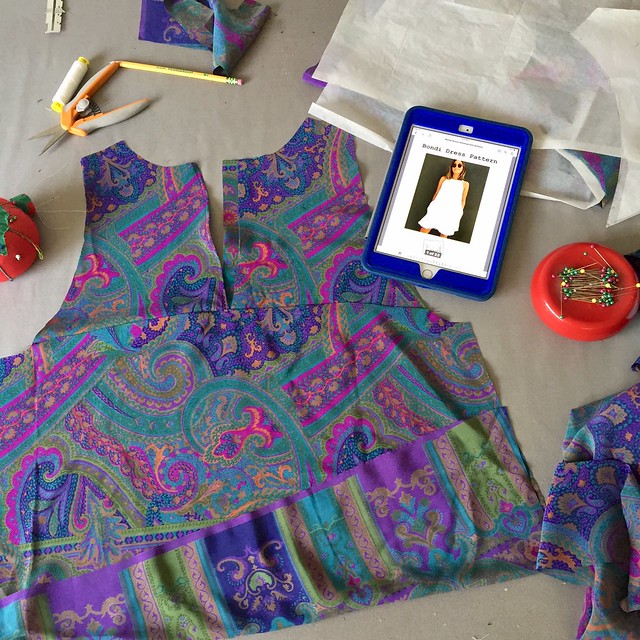
There's the Tessuti Bondi dress instructions on my iPad. They show a lot of versions in linen but I actually like it best in silk or rayon (perhaps because I'm just not a fan of linen). However with linen you can do the cool frayed edge hem treatment, so there is that.

IMG_4266

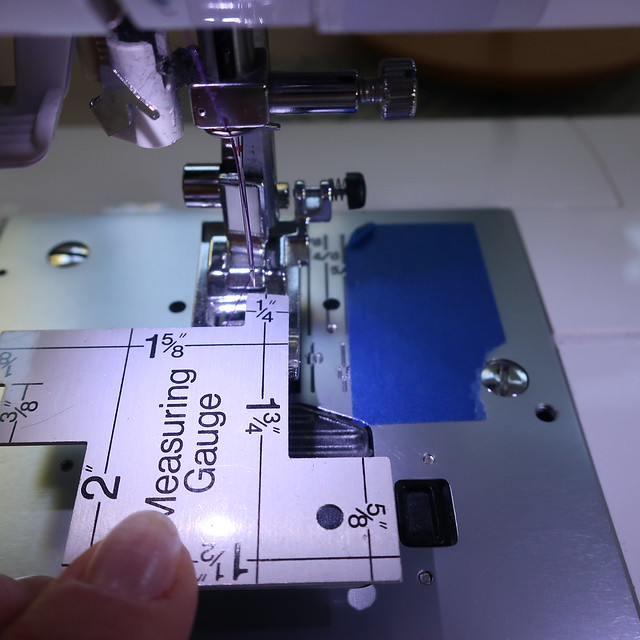
How about some macro lens type sewing detail? Truth be told I'm a straight stitch kind of sewer. I almost never change the stitch type, although I do change the length all the time. But one feature I do like is the capacity to move the needle to one side or the other.

IMG_0306

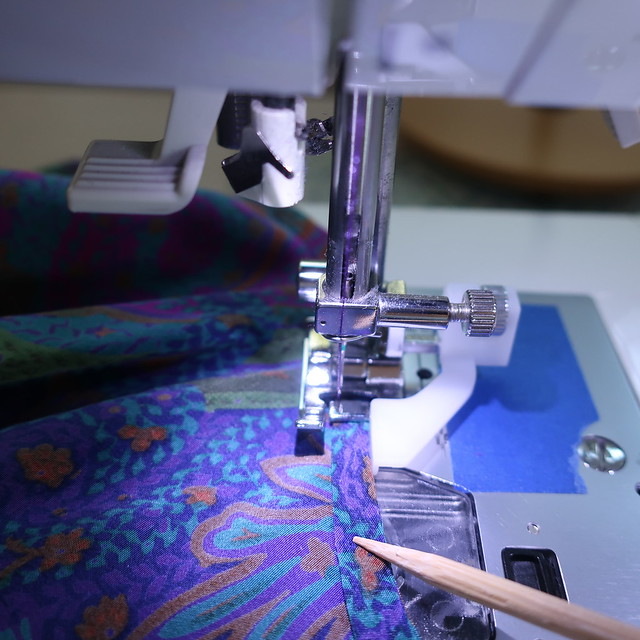
Using the edge of the foot is the best way I've found to get a super even seam allowance stitched around bias binding. I'm sure everyone has their own method but this works for me. So the needle is moved to exactly 1/4 inch away from the edge of the foot (which might not be as shown in the above photo).

IMG_0304

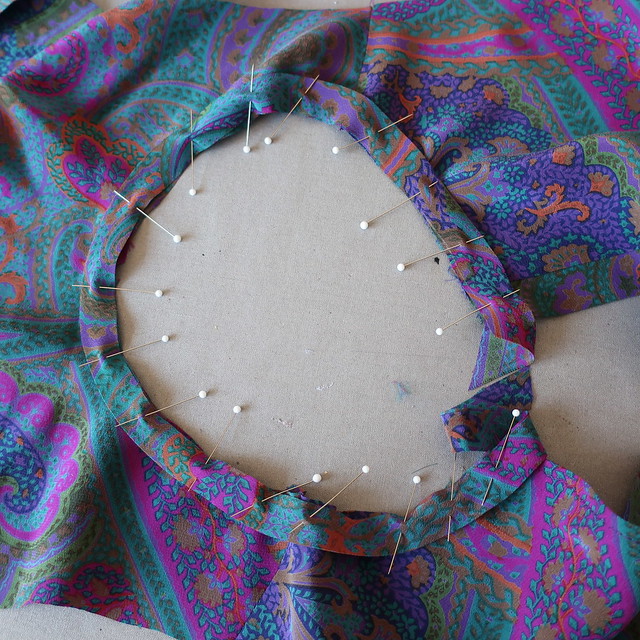
Then I pin on the bias binding which is cut about 1 1/8 wide and folded in half. I add that extra 1/8" due to the folding and when manipulated into place around the circle the binding is a fairly accurate 1/2" wide.

IMG_0305

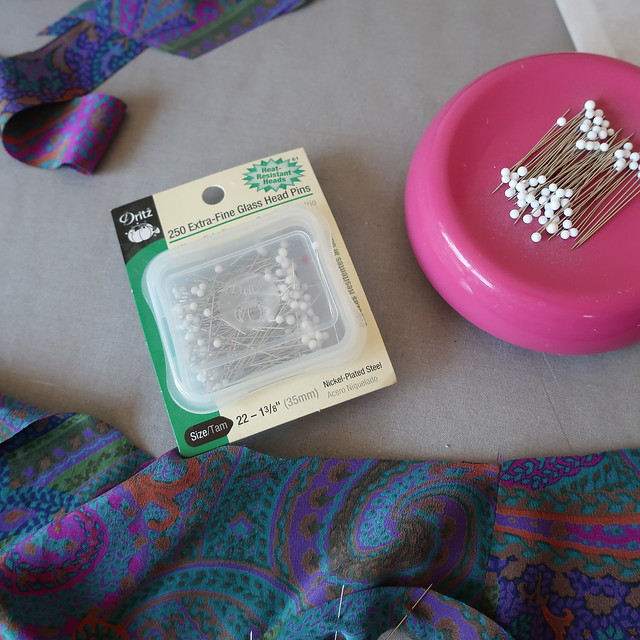
Not an ad but just a mention, I really like these pins for almost all sewing, but especially for silks they work so well. Also my treasured magnetic pin holder. Which I'm calling a pin holder so as to distinguish between that and a pin cushion. Whew I despise pincushions!!! I just cannot deal. All that poking pins in and out, it takes forever. I run around my sewing classes giving people little dishes or boxes to put their pins in and try to say "learn to wrangle your pins a different way if you want to sew a bit faster" But mostly people have their own way so I should let it go :)  Breathe in, breathe out, let it go!

Back to stitching.

IMG_0307

Changing the presser foot - another feature that I rarely use. But this tiny binding seemed to call for whatever this foot is. My machine manual says it is the blind hem foot, but I think that it works really well for keeping something aligned along the edge as shown. And then I use a wooden skewer to push the binding flat and in place, no pins needed as it is pressed in place and silk presses so well.


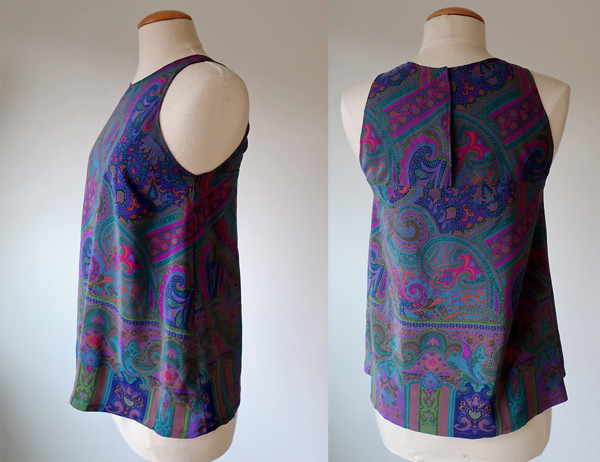
bondi silk top side and back

I ended up liking the length just fine so I was glad I could cut it out to use the border.

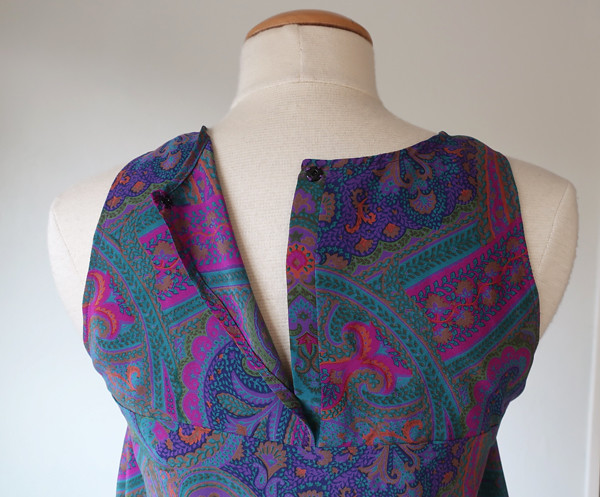
bondi silk top back closure

When I did the dress version I knew that my X -back bra straps peeked out a the middle so for this slightly more elegant version I put a small extra piece on one side so they back could overlap that. And then for a closure I used a snap.

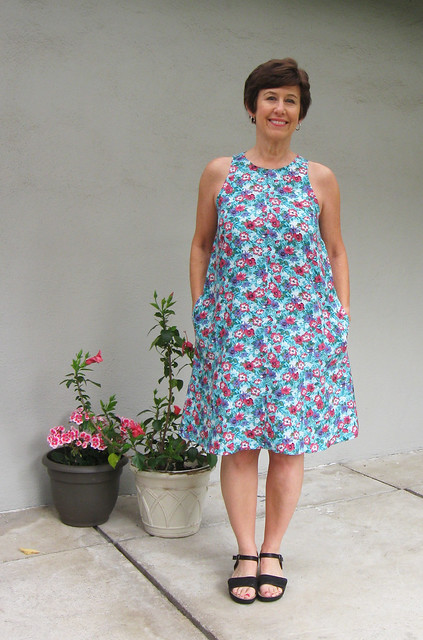
Here's the dress version of this pattern:

Bondi dress 1

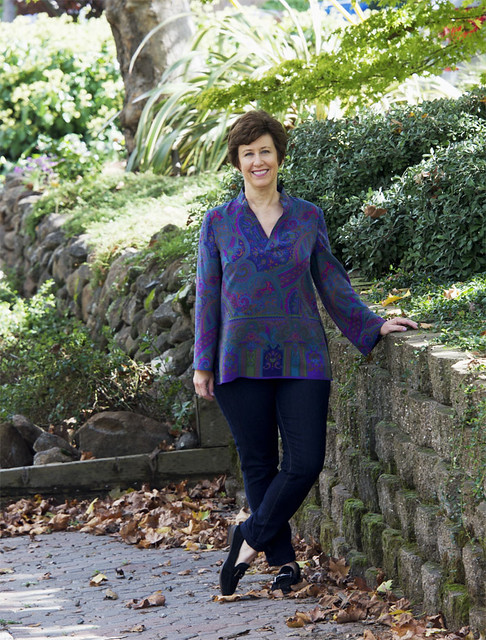
And the tunic top version of this fabric:

silk tunic autumn leaves

So now I really have only small scraps left, just enough for pocket linings.


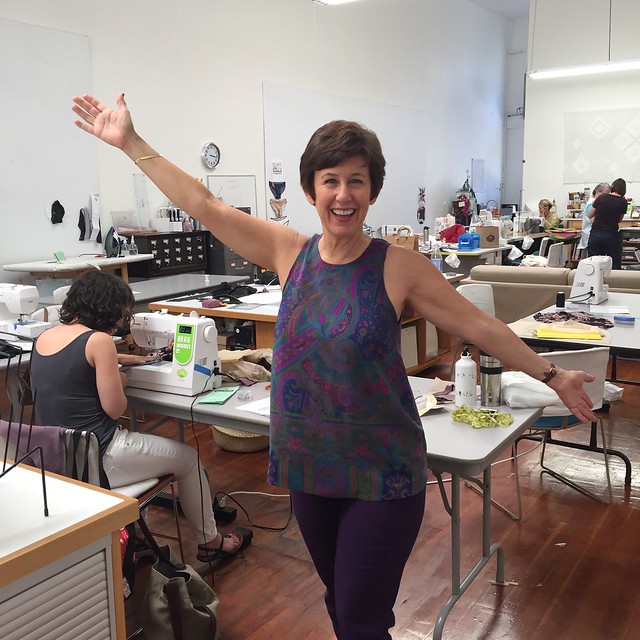
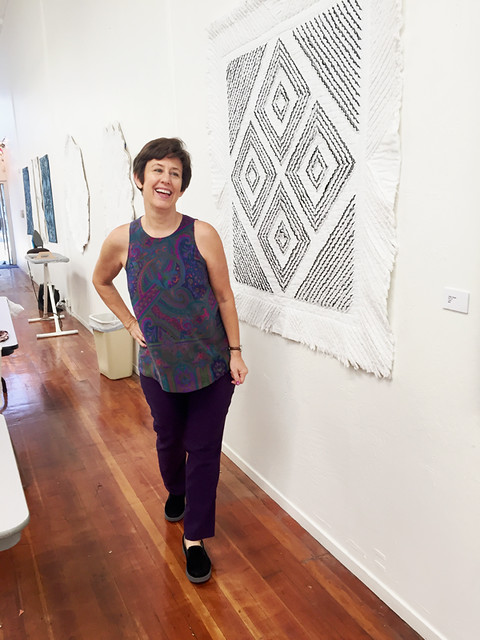
Bondi top on me at studio

One more look at this top, and my purple jeans. Which I made using a pattern I made by copying a pair of jeans. It's now my go-to pattern for pants and needs to be a blog post, one of these days.

Other classes coming up for fall are:

Sewing Pattern Alteration: Tissue Fitting and Fit Lab on Sun. Aug. 26
Make the Lander Pants on Sat. Sept 8
Copy for favorite Garment on Sun. Sept 30

and then we are into Autumn sewing with
Cape Tailoring Weekend Workshop  Oct 13-14  this is a great option if you want to make a fun outerwear piece, avoid some fitting headaches, but still learn how to work with heavier fabrics, interfacing, lining, buttonholes etc.   On that registration page there is a link to a Pinterest board of all kinds of great cape patterns.

Jacket and Coat Tailoring Weekend Workshop Nov. 3-4  You can make a jacket! I plan to do lots of demos on techniques, explain interfacing, linings, sewing perfect sleeves, how to do bound buttonholes and welt pockets. Even if your pattern doesn't have each one of these details you will have a change to see and practice these techniques.

So what's up next in my sewing list? I gave a sneak peek on Instagram of my latest project and the fabric got a few raves so I am anxious to finish that one and wear it - because our weather is scorching and a summer shift dress will be just right.

And then I had better make some Lander pants to learn all about that pattern. And my Burda magazines are calling me. But today it's 100℉ so I think it's time for a swim.

Happy sewing, 
Beth

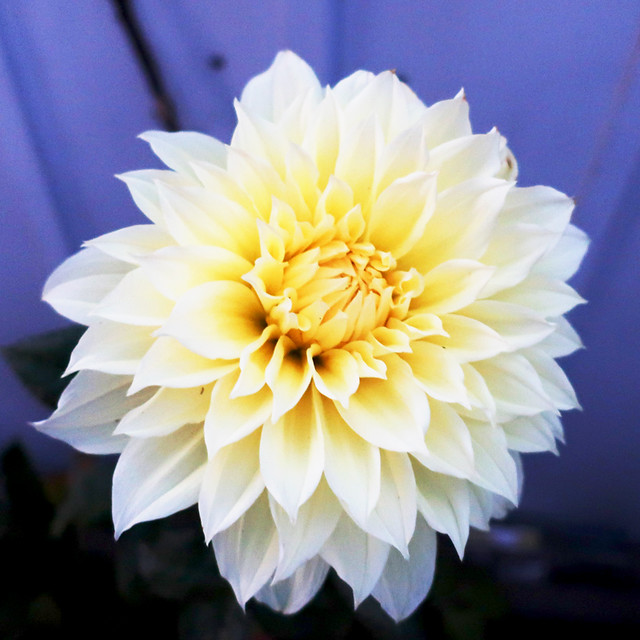
today's garden photo, a yellow dahlia that I've been waiting for all summer. Did not disappoint! So pretty in the evening light.

yellow dahlia 2018