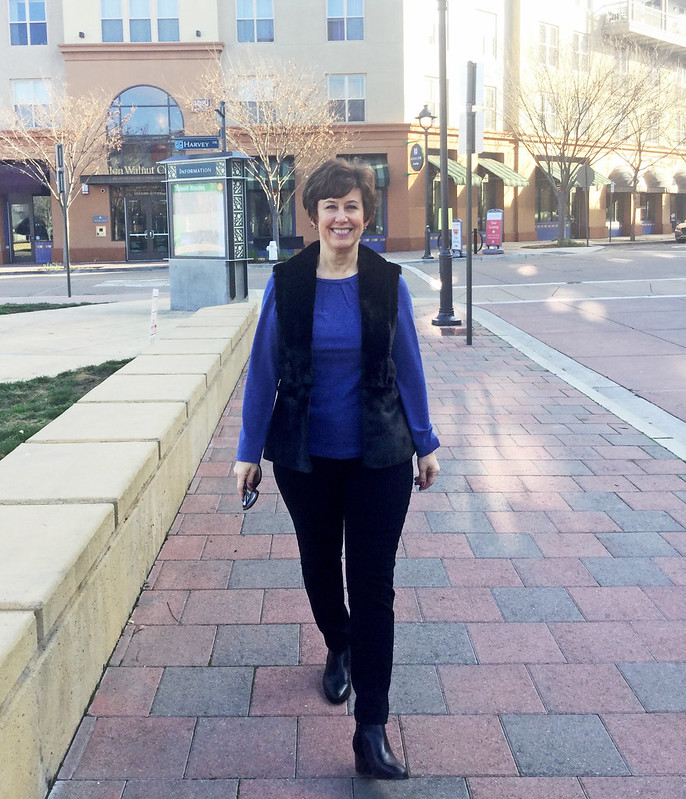
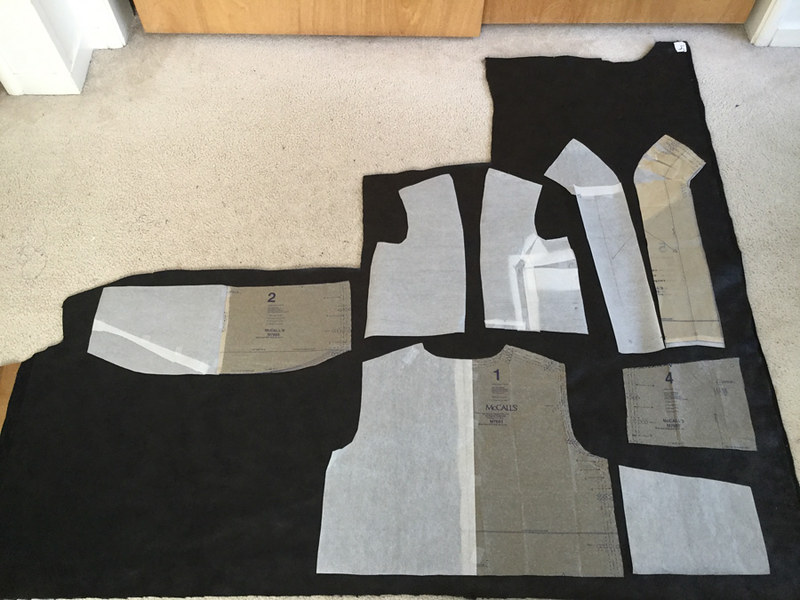
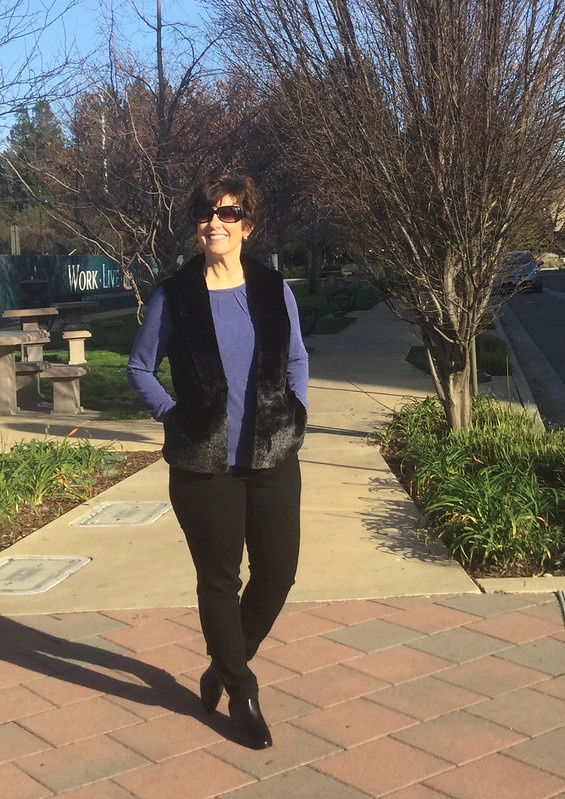
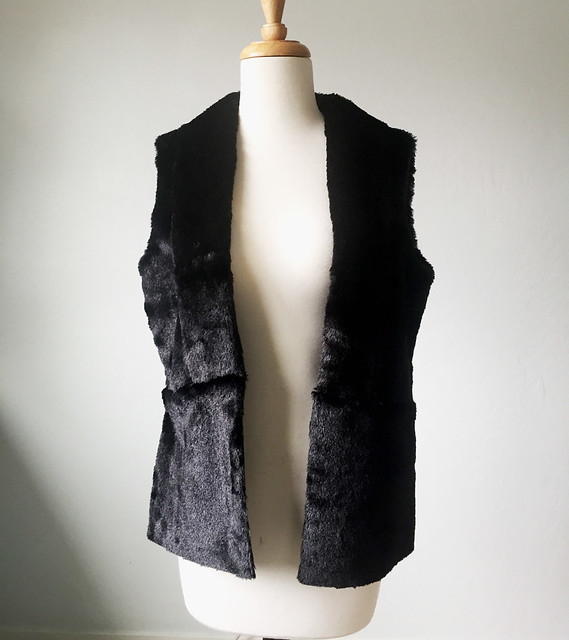
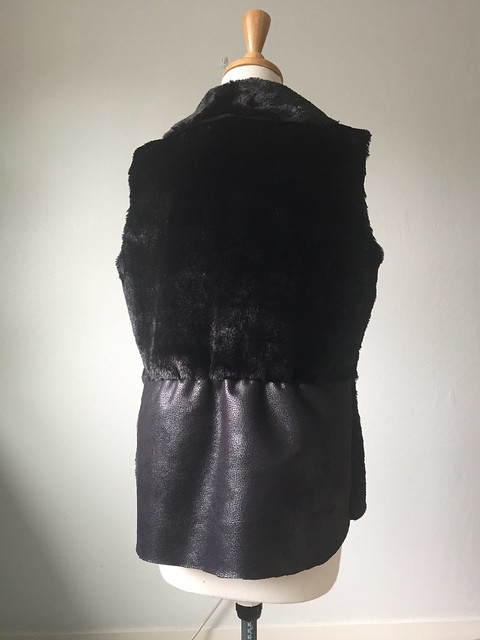
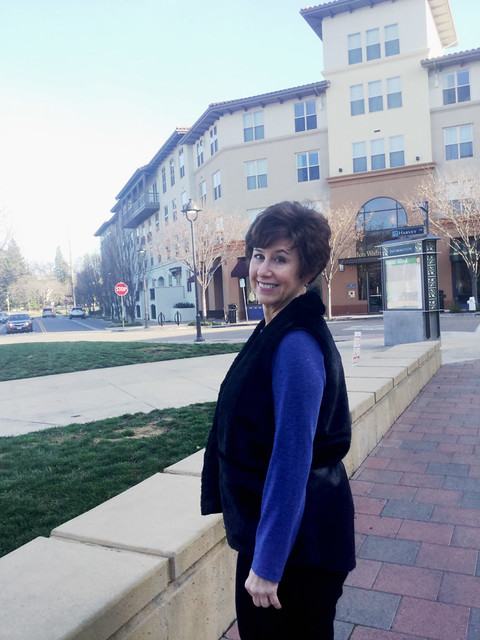
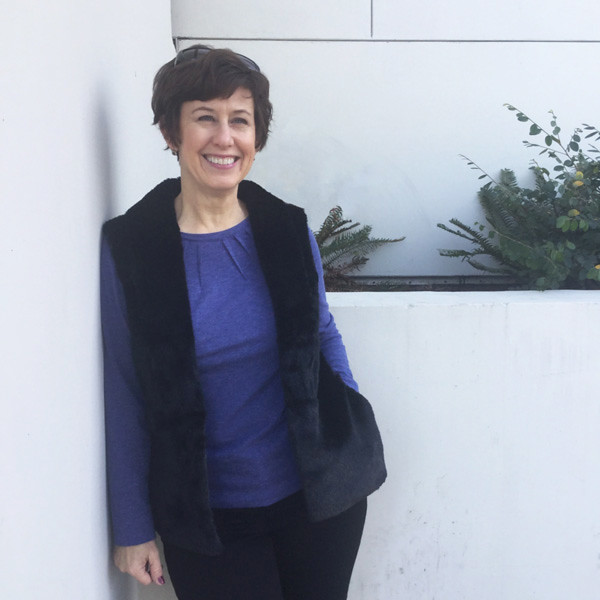
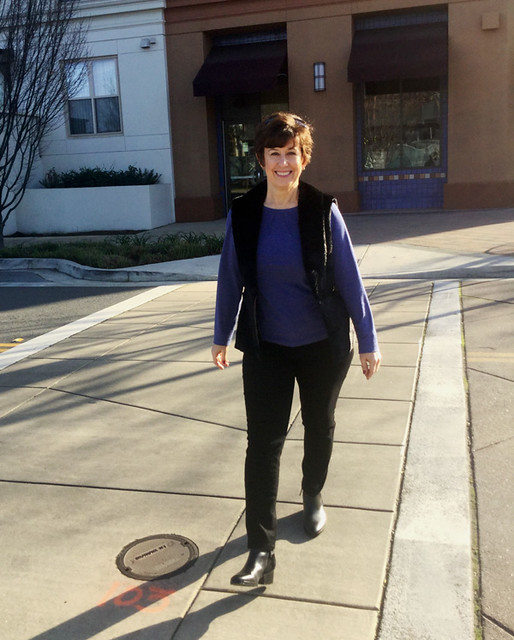
That means the third category of my recent sewing is items I'm making in anticipation of an upcoming class at Hello Stitch Studio. Later in January we're doing a weekend jeans making class (Jan 26-27) so I've sewn up a couple of pairs. At the end of February we have a quilted jacket class scheduled - which will be great for the Tamarack jacket pattern or any another quilted jacket/vest pattern.
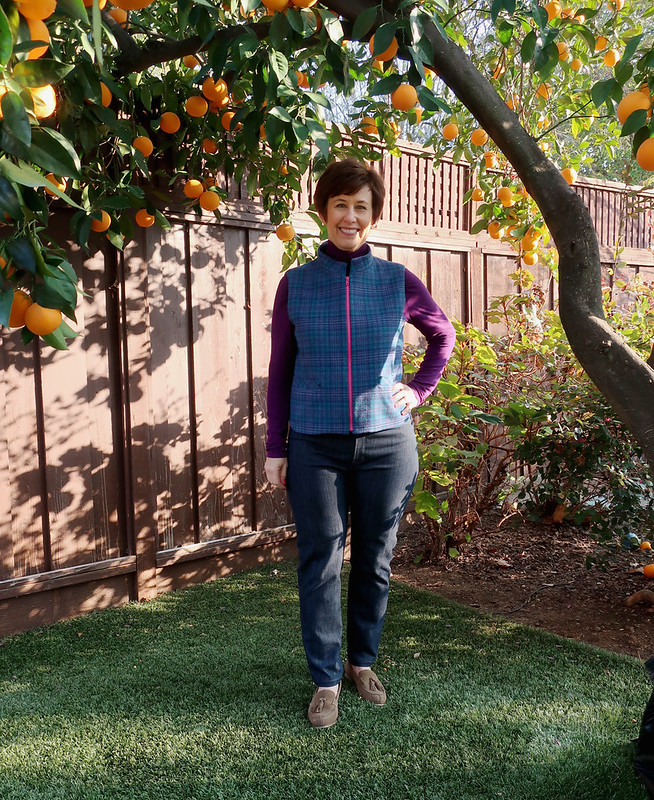
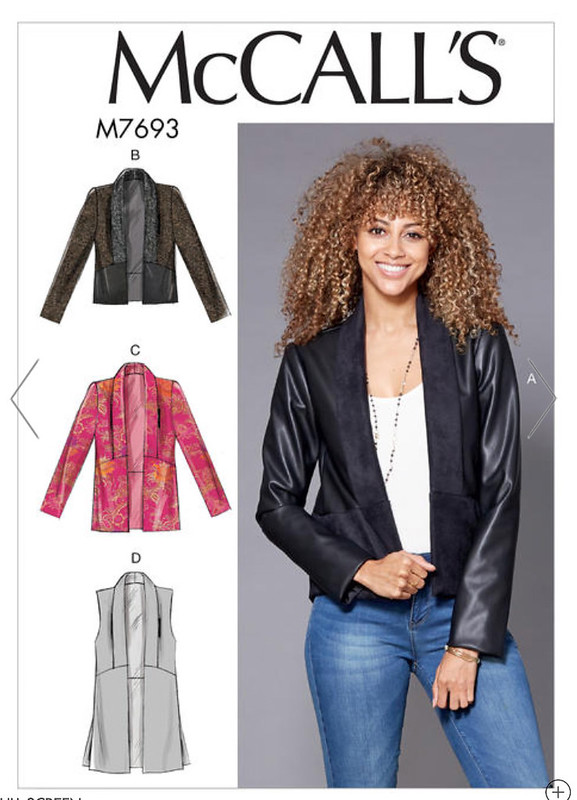
Plus worn together they make the perfect weekend wardrobe choice :) I decided to start out my quilting with a vest, so this is McCalls 7695. It is similar to the Grainline Tamarack jacket but has a zipper closure and also the vest option. It has a collar but it would be quite easy to add a collar to the Grainline jacket and I will cover that in the class.
Those are the Megan Nielsen Ash jeans in the slim version. They have 4 options, skinny, slim, wide leg and bootcut.
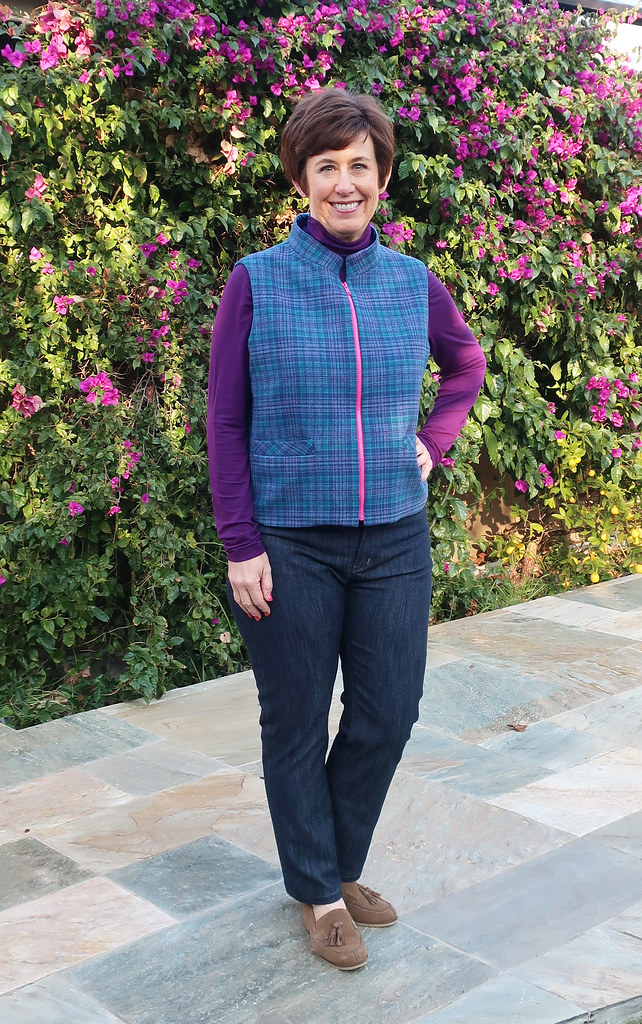
Vest details first.
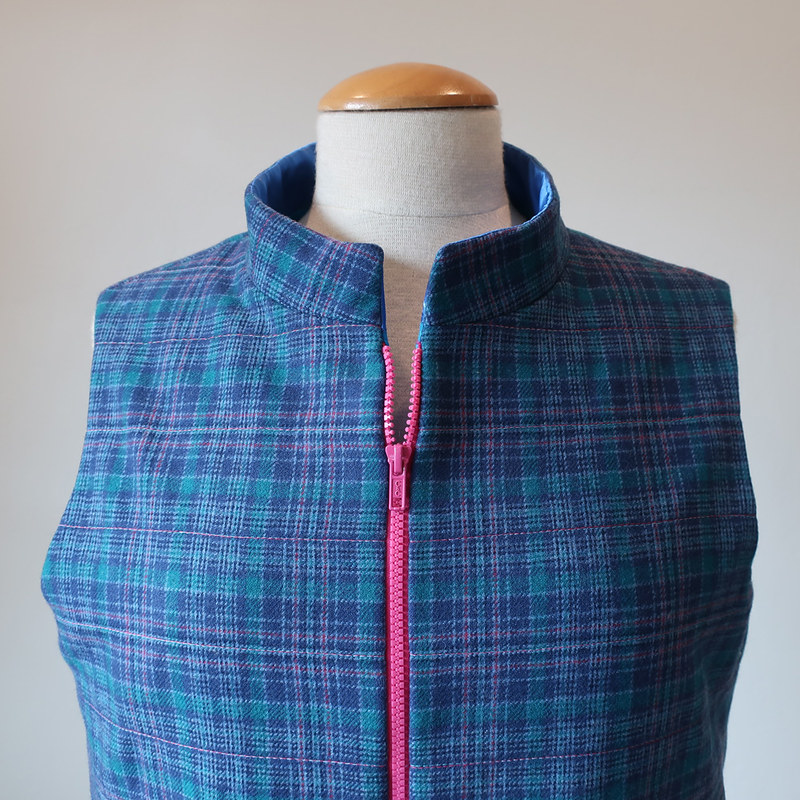
I had this piece of plaid wool which wasn't enough to make much of anything, perhaps a skirt but it was just the right amount for this vest. The intention was to cut it a bit longer but late night cutting had me follow the pattern markings, and I'm ok with the length. In fact since it's shorter I can wear it under other coats. Now is the time that I will confess I have an inexplicable fear of separating zippers. Well not a fear exactly - an aversion. I don't like to wear things that have them and I really don't like sewing them. So I decided to go with plaid, ha ha, because I want extra stress of matching.
Actually thought it wasn't bad at all. I did have to shorten this zipper which mean some work with a pliers to crush the plastic teeth so they would come off but it was a good way to get out some aggression.
The fact that I chose this plaid means that the quilting lines don't really show, you can barely see them, stitched also in a rose pink. I used a very thin cotton batting, I think it's called Warm and Natural Cotton (whatever was on sale at joann's that day) so it was easy to sew but didn't add a lot of thickness.
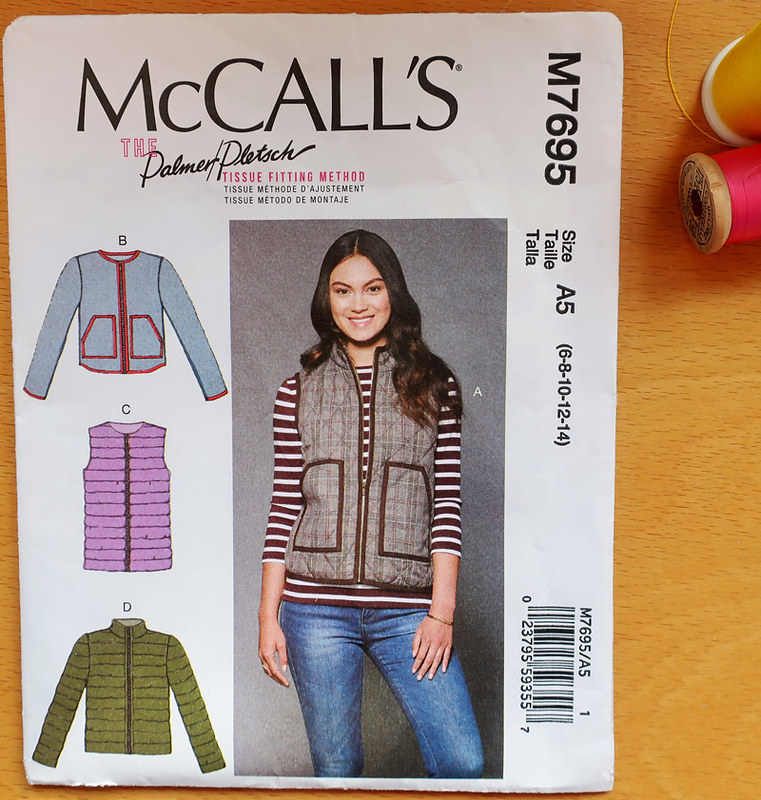
The pattern has patch pockets and a lot of bias binding. It looks ok but a little too much to my eye, and I didn't like the pockets outlined in the bias. Plus more plaid matching, ugh. So I decided to do some welt pocket with bias,.
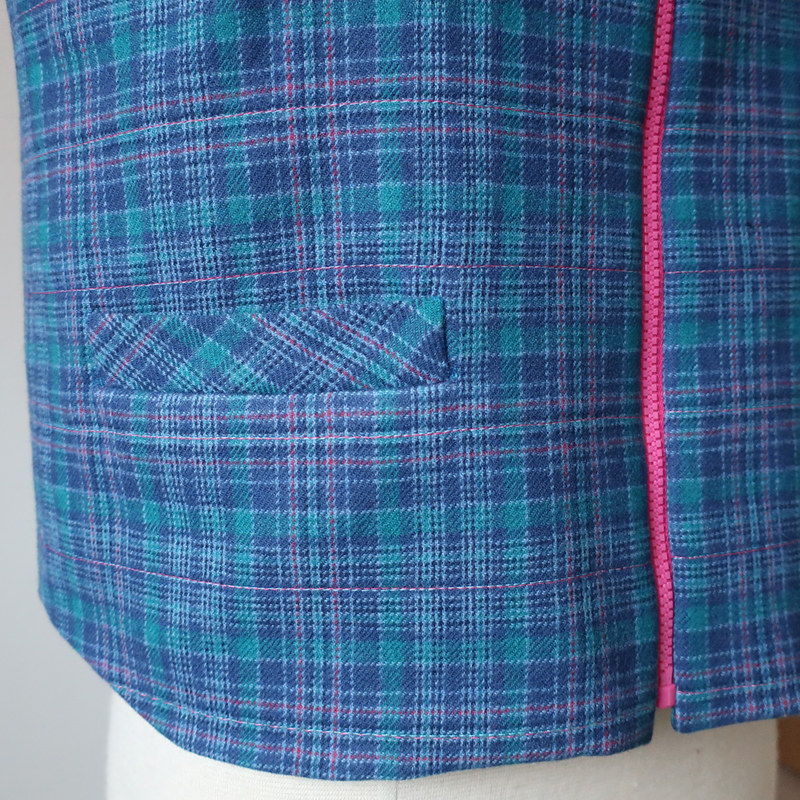
So they're not as good for putting your hands in your pockets but I like the way the look. The trick to doing bias welt pockets is to stretch the fabric before making the welt so that the edge doesn't sag or stretch once it is sewn.
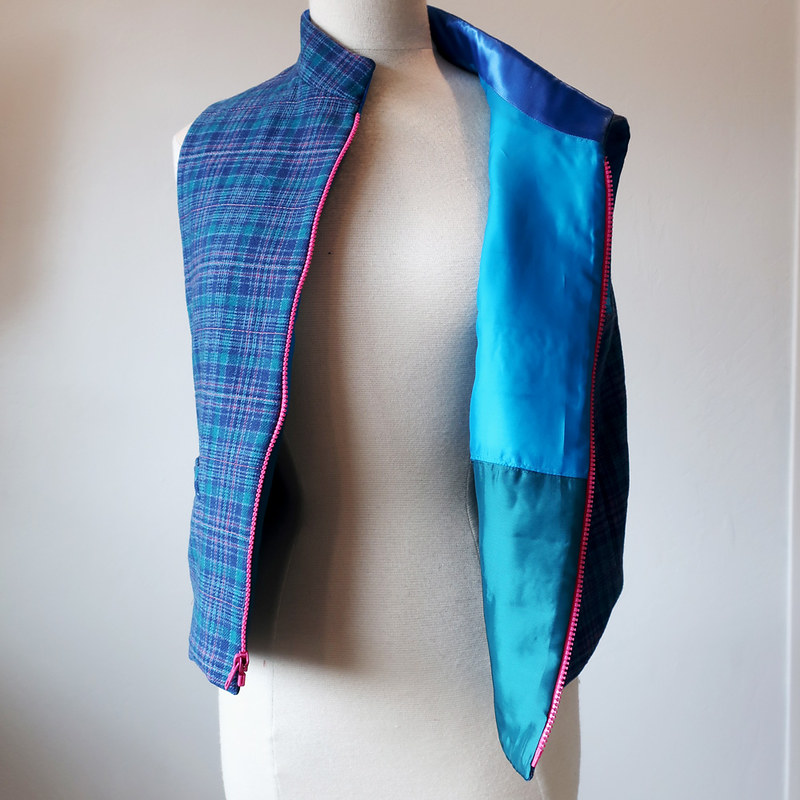
I bagged the lining all around the upper edge, the hem and the armholes, leaving the side seams open, so I could trim all the seams and then pull it through. Ok now I see one benefit of a separating zipper :).
Then I stitched up the side seams of the wool and about an inch of the lining, and then closed up the lining side seams by hand stitching. I did all the quilting only on the wool so the lining isn't quilted. I kind of looked at the pattern instructions and it seemed that's how they are doing it in the McCalls pattern. The multi color linings is me using up some scraps of jewel tone lining fabrics, yay for using up scraps!! and then the collar facing is a thick satin lining which I selected because it felt nice and the color was perfect. I did put batting on the wool on the collar, and then some interfacing on the satin facing so it would have structure and stand up.
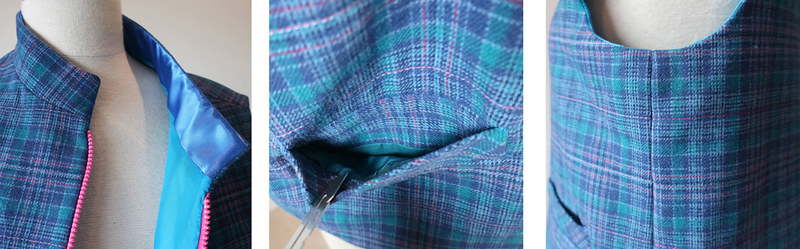
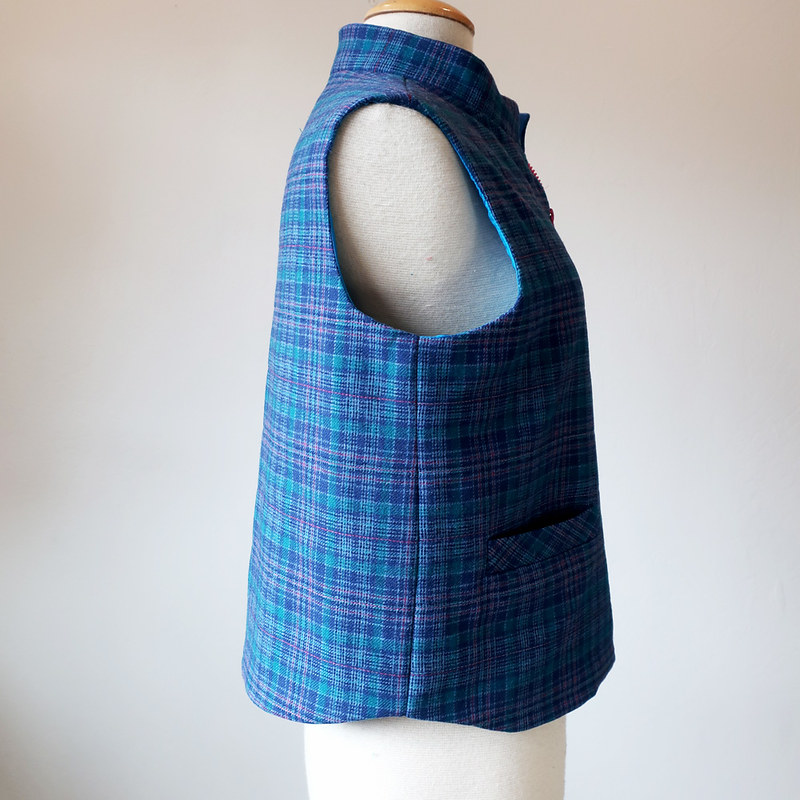
I believe I made a size 12 (my usual size in McCalls/Vogue etc) and it's roomy - in a good way so it can be worn over a sweater layer. The one change I did make was to do the swayback alteration which is marked on the pattern. I prefer to call this the "shortening the back length" adjustment but in this case I guess it did give a bit of shaping there. If you can picture it with more length then the back would have floated out more at the waist. It's a boxy style but intentionally so. I didn't realize until after that I took only photographs with it zipped all the way up, which is not really the way I will probably wear it. So you will have to use your imagination on that.
Onto the Ash Jeans.
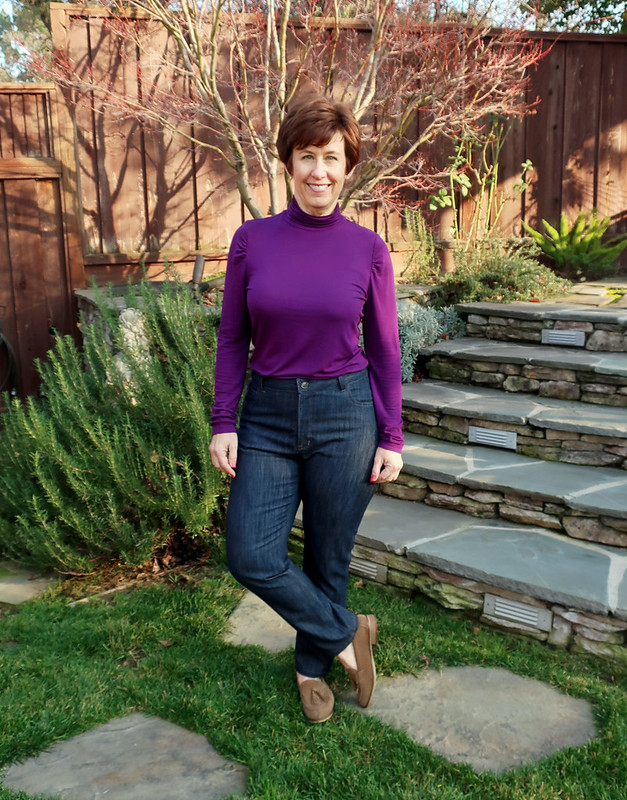
I've mostly steered away from sewing jeans as I already have so many pairs, I have no trouble fitting into ready-to-wear jeans and while I wear them all the time in fall and winter once the weather warms up they are not really my go-to item. So for convenience sake and in the interest of devoting my sewing time to things that interest me more (jackets and summer dresses) I never really got all that interested. However this pattern intrigued me and also we wanted to schedule another jeans class at the studio - so I gave it a try. I've made 2 pairs so far and had great success with this pattern so I think it's a winner. Plus it has the various leg styles in the pattern, with different pattern pieces for each style so you can play around with size on one style and still have the other pattern pieces not touched. The description says "comfortable rise" which I think is kind of a mid or high rise on most people, depending on your body shape. I have a very long rise and the first pair I made fit quite well, the waistband landed at just the right spot in the front, although they did need more length over my backside. Which I kind of figured going into the project but I wanted to sew them exactly as designed to see the result.
I sewed a Size 32 which is for a person with Waist 32" and Hip 42" which is almost spot on for me. The finished garment measure says it is 40.5" for Hip and since they are stretch jeans that worked out perfectly.
Here's a couple of pictures of the first pair I sewed (which are on display over at the studio). I look mildly stunned but I had just finished these and walked outside at 4pm, set up the timer on my camera and clicked. Not bad for zero fit adjustments. The denim was at the minimum of the stretch requirement which actually I think works well as it has a "hold you in" effect. It was something I got at a Bay Area Sewists Fabric swap. Which you will see is a theme of my jeans sewing to this point :)
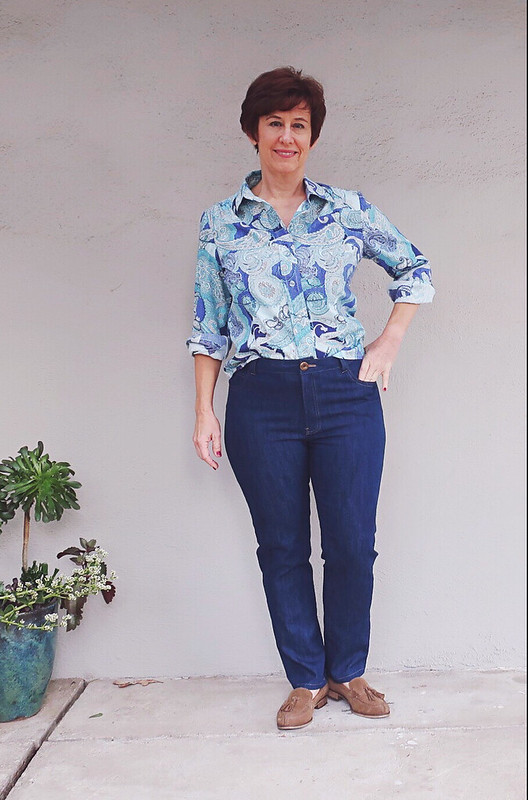
Same jeans, different day, and a slightly goofy pair of photos I extracted from a dark grey background, so the jeans are more visible. But maybe not much of an improvement. In any case the fit worked out well. They are a bit short at the back waist, pull down somewhat especially for sitting which makes me feel like I needed about 1 inch more length at the back rise.
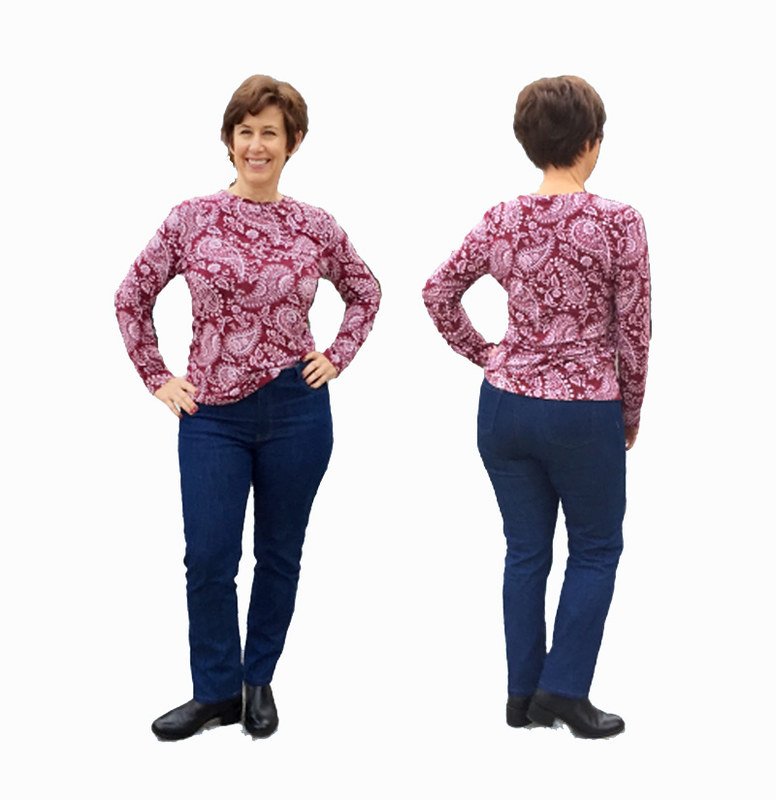
Back to the second pair, I think if you make more than one pair with different denims you can really see how the fit changes just by changing the fabric. The second pair feels slightly more tight even though this denim I thought had more stretch, and I lengthened the rise both front and back 1/2" and then another 1/2' on the back.
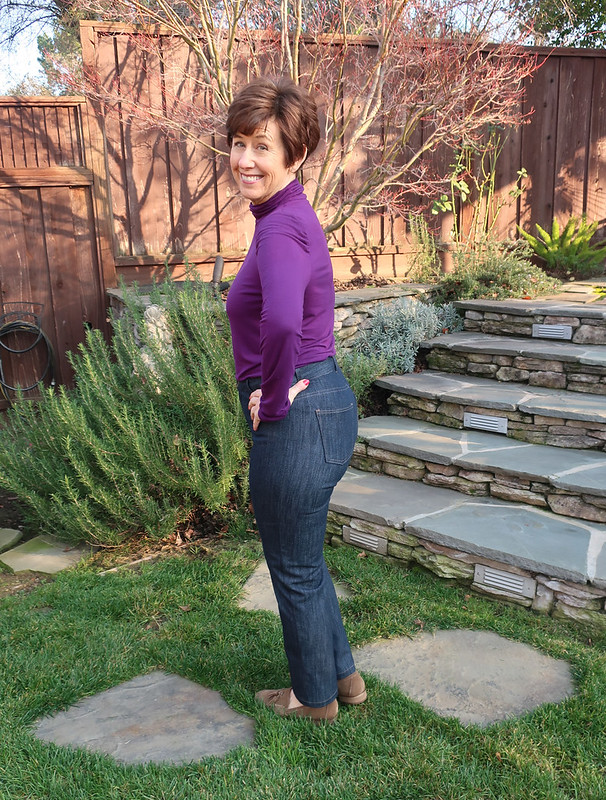
When it comes to pants, I have a lot of drag lines on one side due to a spinal curve and and a notably lower left side. Not noticeable in dresses, it's an issue from my hip bones downwards. Anyway, all clothes have some lines when you are wearing them, moving, walking etc since hopefully none of us stand still like mannequins. So I don't let it bother me and just hem each leg as needed.
That denim is very comfy and has a nice weight. For some reason it doesn't seem like a winter wear denim - maybe because of the tones of white threads in the blue. I like dark solid denim for winter jeans. So I will see how these work in the spring with t-shirts.
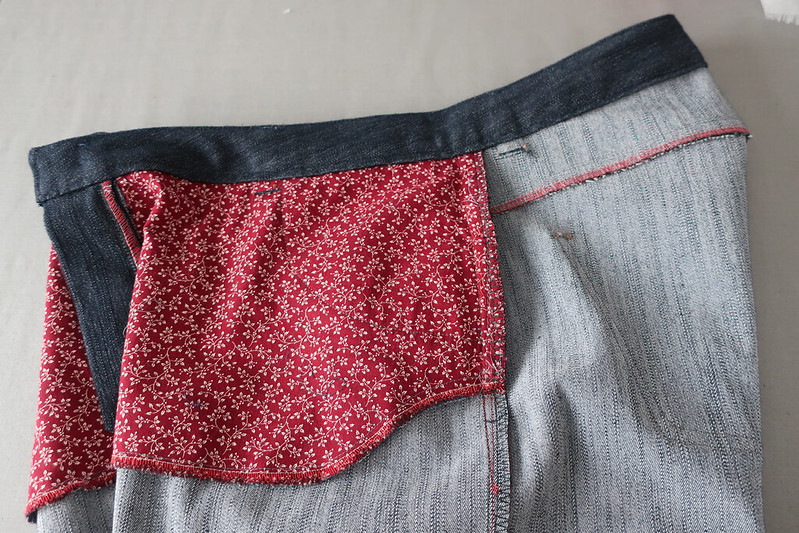
The other change I made is to do a front pocket stay. The pattern is designed with a pocket that folds back and just creates the pocket but I like jeans where the cotton pocket lining continues all the way to the center front. It keeps the pocket flat against the body.
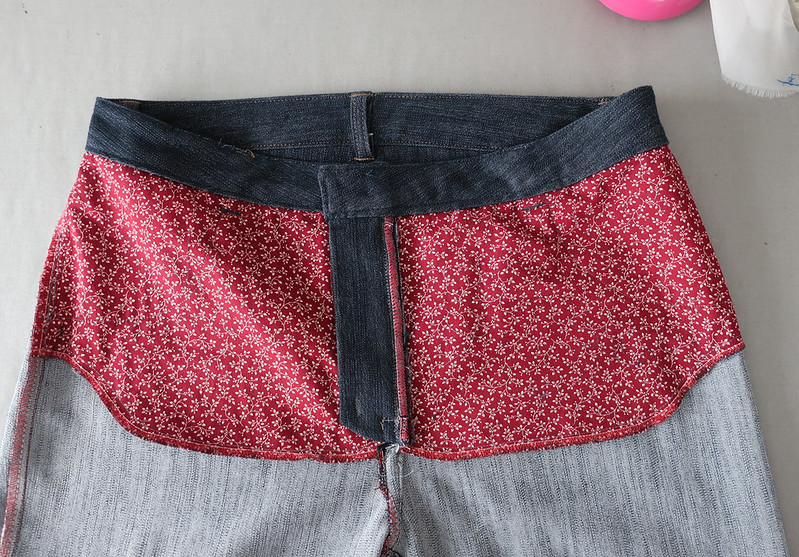
I am not the neatest topstitcher, that's for sure. And topstitch designs don't give me a thrill - to each her own as regards to sewing details as I know a lot of people making jeans really enjoy all the stitching details (now a lovely welt pocket, that is a different story).
Here's the side view and you can see the extra height or length that I added in the back, which is taken up by my long backside.
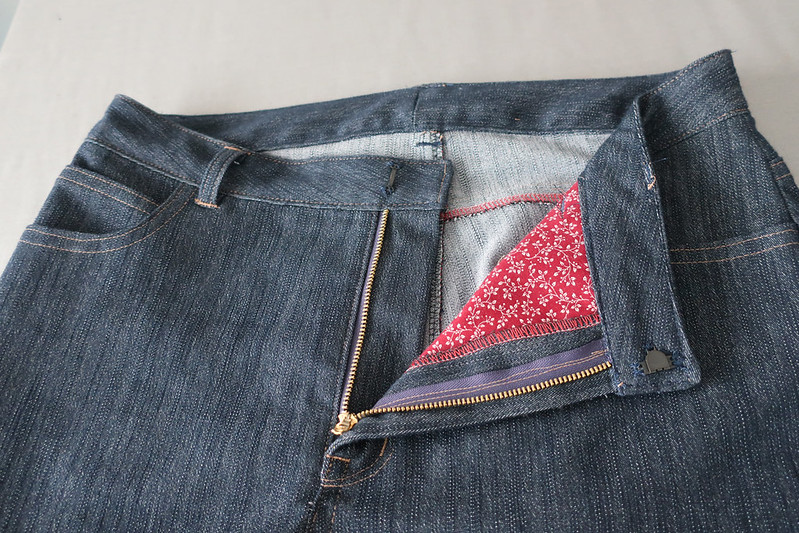
I have to buy some jeans buttons over at Stone Mountain so until I get over there to buy some I put a hook plus a button on the outside.
As mentioned - not really pockets in this vest for putting your hands in. But will work for carrying my keys when on the go. I'm glad I went back to the store for the pink zipper - the color makes me smile.
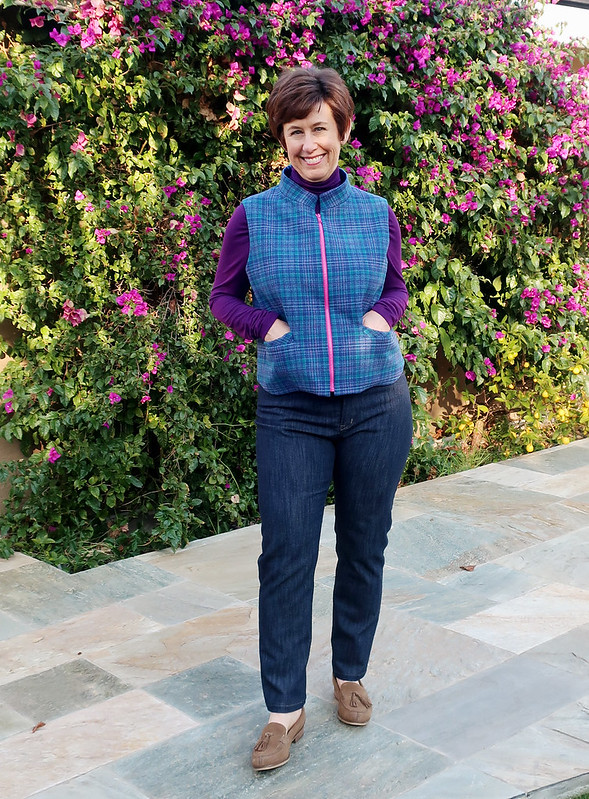
So that's the latest on my jeans sewing, and now I will return to the other stuff in my sewing queue. Such as a number of dreamy things in my latest Burda magazines, a new Vogue dress pattern I don't need but want to make, and something for Frocktails later this Feb. Today I'm working on the wool blazer and it's a good day to be inside, blustery rain and so cold. OK cold for us Californians, down to the 30's ℉ at night here.
As mentioned above, lots of classes on the schedule at Hello Stitch, some of which are filling up fast or are already sold out. I am constantly delighted at the great people who come to my classes, mostly women but a few men, and people who are so interesting! Interesting to me and to one another, the discussions as we spend the day sewing and learning are part of the pleasure of doing the classes. Don't be shy, join in!
Happy New Year Sewing, Beth
today's garden photo - under my friend Alice's orange tree which is absolutely covered with fruit. Her tree is a navel orange variety and they all seem to ripen at once. My orange tree is a Valencia, so the fruit stays on the tree practically year round. But my tree is not in a very photogenic spot. There are so many fruit trees in the neighborhood as the climate is just right for plums, figs, and citrus. And rose pruning might be next week - when we have a dry day I should get out of the sewing room and into the garden.