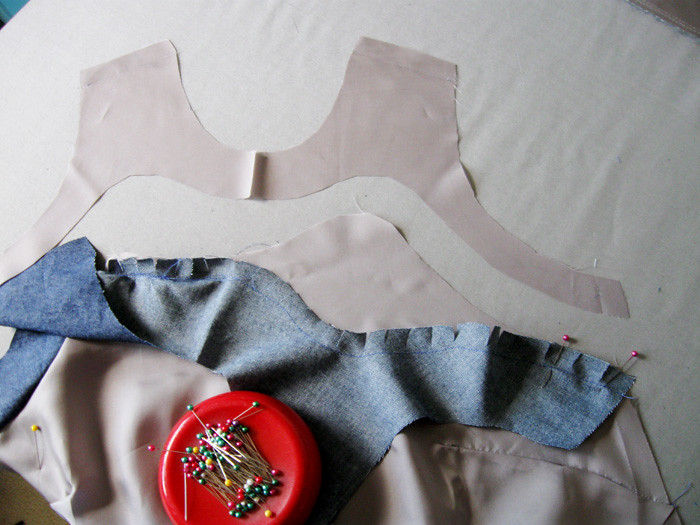
So recently I made the Mirambell skirt from Pauline Alice to test the pattern for her. She is my favorite independent pattern designer and I have never gone wrong with one of her patterns. However I was perilously close with this one. Cut to the chase - I think it is so pretty! I am actually in the process of making a couple of tops to wear with it - because I know I will want to wear it a lot.
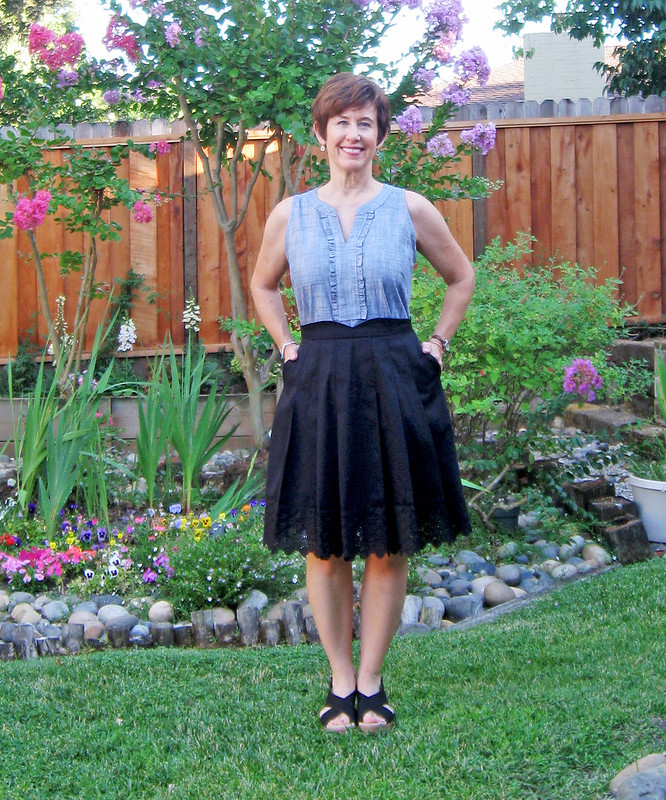
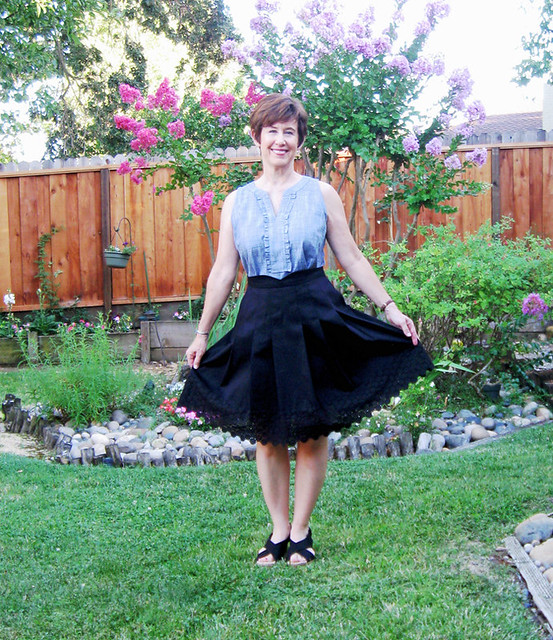
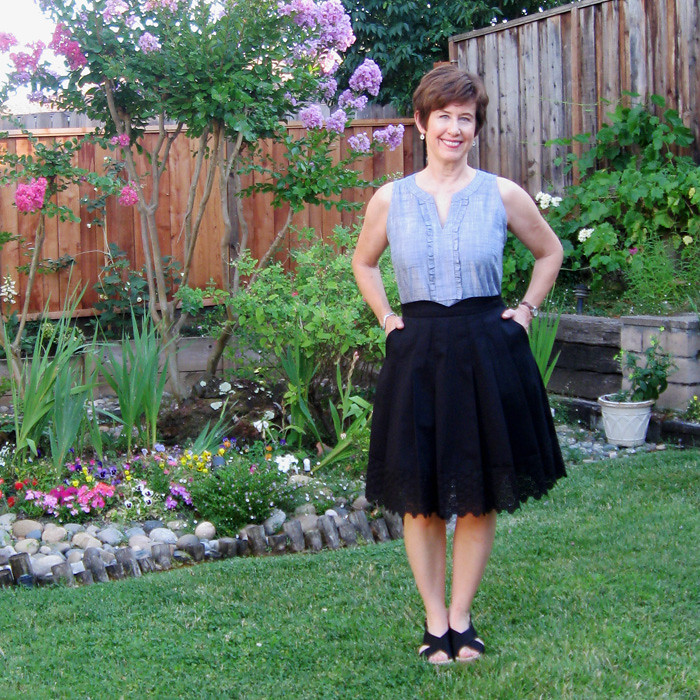
Look, I make something in black! that I plan to wear immediately. Perhaps I can see why separates in neutral tones are a worthwhile item, as they can go with other things in the wardrobe.
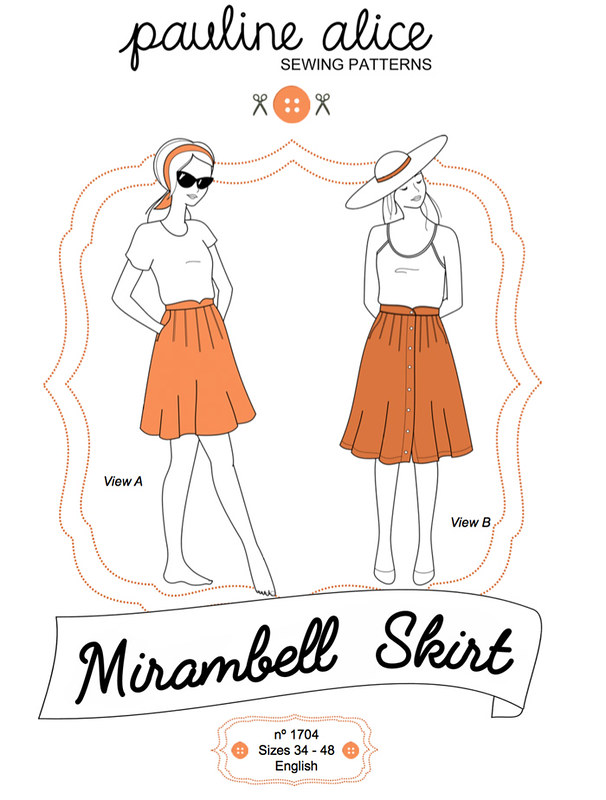
This skirt is really cute! And it has lovely pockets which are ideal for a full skirt like this. It comes in two different versions, the one I made is View A, which has a center back zipper that goes up to the top of the waistband. View B buttons at the center front. I think in a soft rayon print the button up version would be really cute and summery.
I never really pay attention to the length of patterns, as I don't wear longish skirts much (ever) so when I cut this out I used some black cotton sateen I had in the stash, and chose a length based on some other skirts I wear (shortening the actual pattern pieces since it was going to be a test of sorts) The pleats and pockets sewed together perfectly. However - it seemed a bit short - no fault of the pattern, entirely my own. So I send off my report to Pauline with some notes about pattern markings and then it sat on my dress form, without being hemmed.
Cue the inspiration of Instagram, I saw a picture my friend Laura Mae posted, and had the idea to put an eyelet border at the bottom. I love dresses and skirts with a wide contrast border at the hem edge (I keep planning to make a dress like that) and I had a piece of black eyelet so I cut a long piece about 5 inches wide and basted it on for a look-see. And I was sold. In fact I cut off about another two inches of the skirt, sewed on the eyelet band and then played around with the length. For this type of skirt it should be on the longer side, and then I wanted a good bit of the eyelet at the hem border.
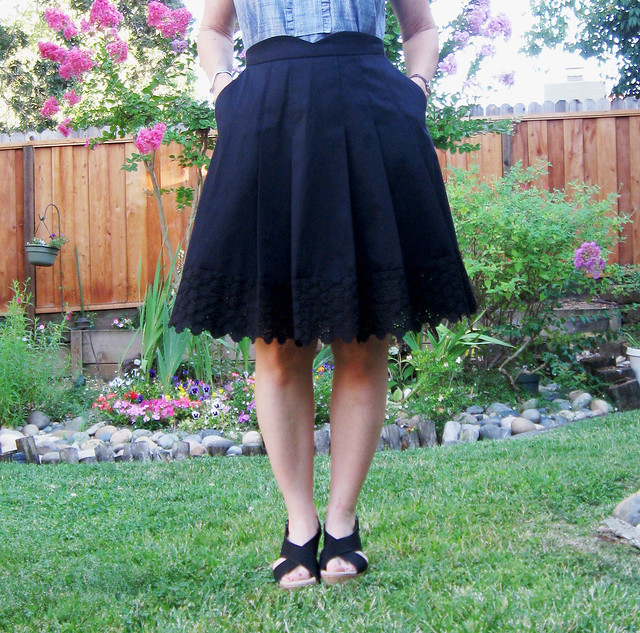
My fabric has a lot of body since it is a cotton sateen, and then stitching the eyelet which is rather stiff on the edge means that this skirt keeps this A-line shape. I think if you used a softer fabric like a woven rayon it would be really nice and flowy, a completely different look.
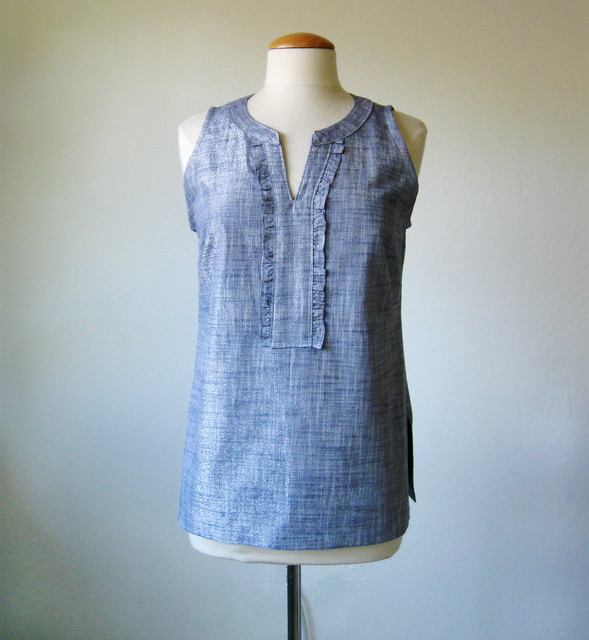
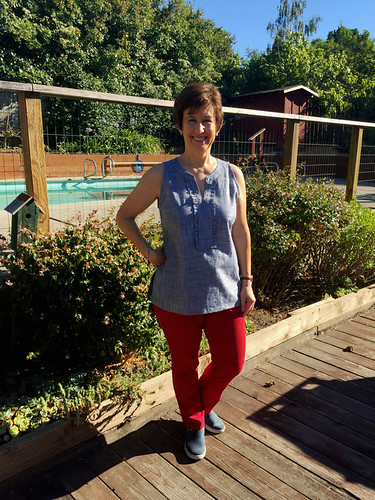
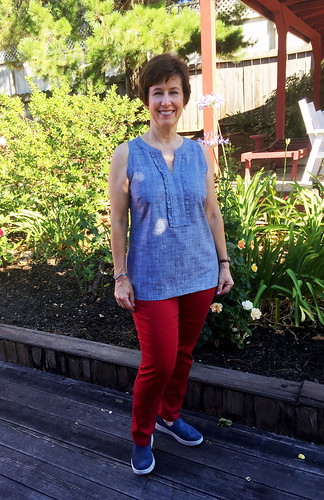
Extremely dorky picture so you can see how wide the skirt is at the hem. That top is not the best with it as the placket comes down too near the waistband - but I have corrected that situation by making an eyelet top in a fantastic color - will post soon.
 r
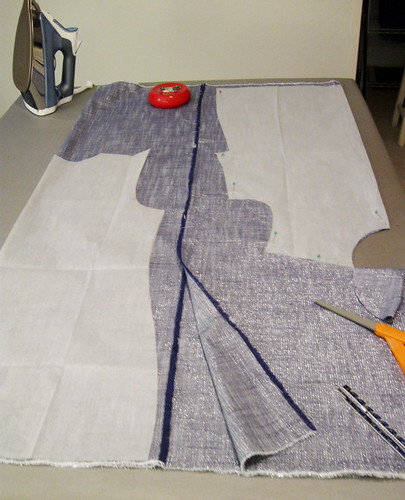
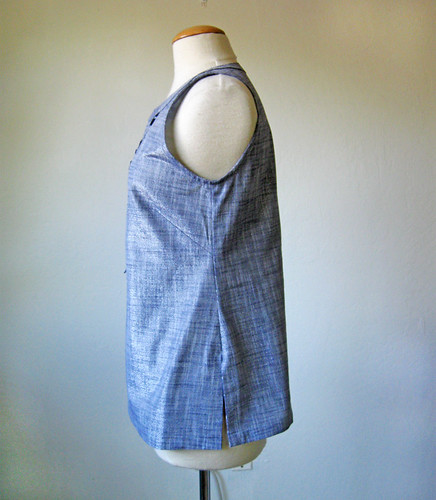
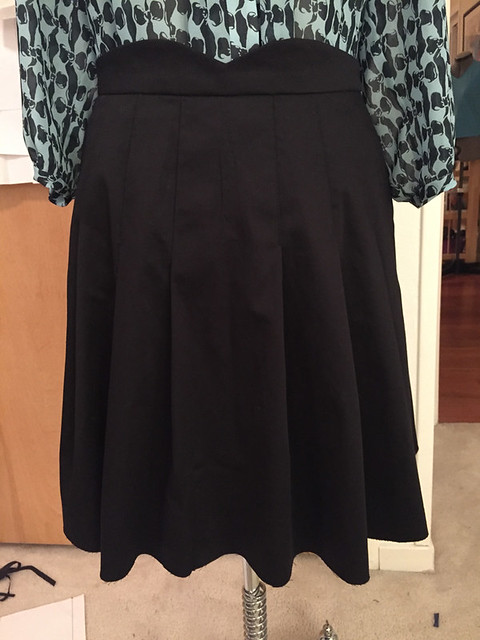
rSkirt prior to eyelet band at hem. See, it definitely needed a little something. Which reminds me I haven't blogged that top, which makes a nice pair with this skirt however it has long sleeves so perhaps not something I will wear here in August. Plus bonus content - a peek at how I let all scraps and threads fall onto the floor. A habit that is very hard to break when I am teaching at Hello Stitch :)
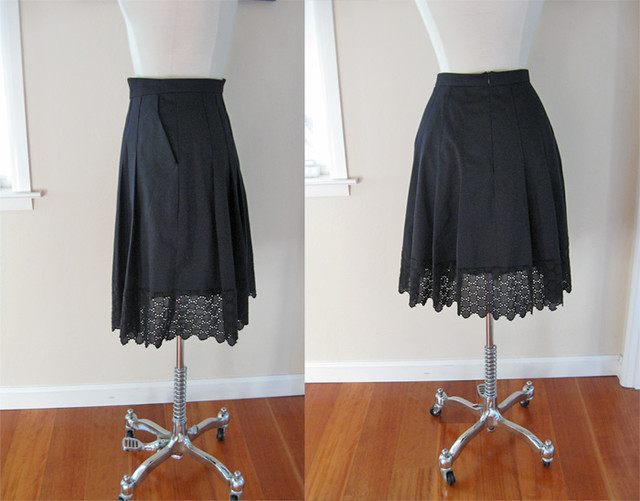
This is how I hemmed the skirt - with my scissors. So liberating. No stitching just slicing. And if you look at Laura Mae's you will see she cut hers differently, so that each little circle has the smaller circles still attached, whereas I cut off the edge at each large circle. And that was difficult enough to do. Later I looked at her IG again, and tried on a scrap to do it as she did, kinda difficult. On the plus side, this eyelet is very on grain and straight so both sewing it on and then trimming it was very straightforward, as long as I stuck to a specific row of circles.

So that's the latest Pauline Alice pattern that has become a wardrobe success! I love it and will try to find some softer fabric to make a very different version.
For the other Pauline Alice patterns I have sewn, here are the links.
Alameda Dress - for a wild print I wear this surprisingly often. And the skirt by itself a lot. It is so cute - she is really good with the feminine details.
Quart Coat - this was for a friend, and I was quite jealous and wished I could keep it for myself. There are several posts covering the construction that coat, Part 1, Part 2, Part 3
Saler Jacket - I was amazed at how often I wore this jacket last fall. I made it at the beginning of summer so it wasn't really the right season for a wool blazer but when October arrived I wore it all the time, perfect with jeans. I need to make another one, I'm thinking stretch wool.
I really recommend Pauline Alice patterns. I rarely make any indie patterns, mostly because they often look the same to me but Pauline adds a lot of details which make them fun to sew and wear.
Quick update on classes for those of you who have made it to the bottom of this post - we have just scheduled a bunch of classes at Hello Stitch for September and October, including...the Weekend Jacket Intensive. I am SO excited to do this class - and show a mix of modern and traditional techniques for great results on tailored jackets, or coats. Sat. Sept 30 and Sun. Oct 2 with the studio available on Friday evening for prep, cutting out, etc. We are going to make a fun weekend of it with food, interfacing kits etc. I don't think it is listed yet on their site - will be very soon. But if you have any questions just email me directly.
Tomorrow evening is the first session of my button front shirt class - which also will be repeated in October. Plus a few other things on my calendar so I better say bye and get some sleep.
Happy Sewing, Beth
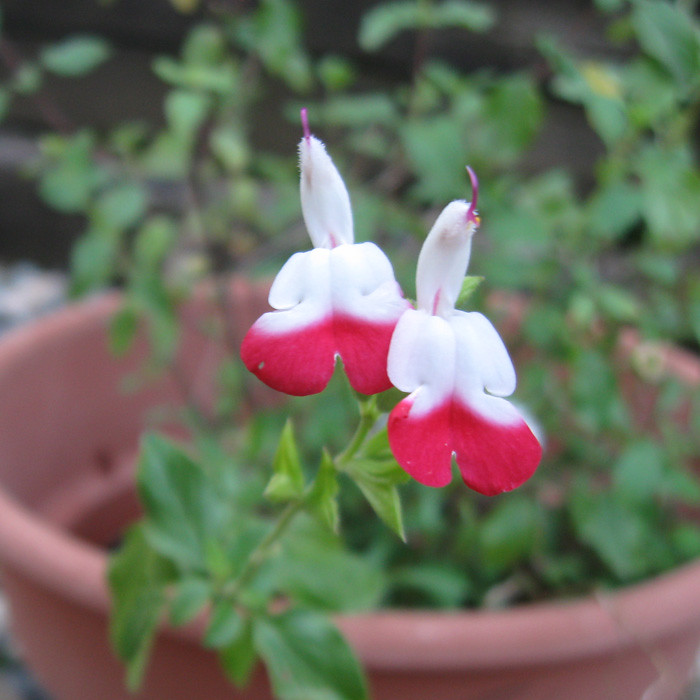
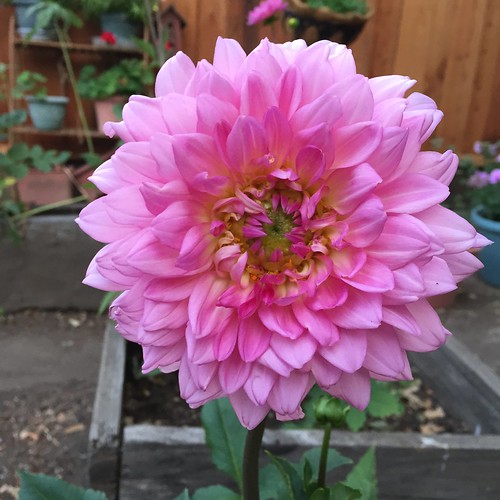
today's garden photo - this salvia is called "hot lips". It's looking a bit spindly now, I think I will move it to a better location when it cools off and starts raining....which seems very far away from today's vantage point.