Showing posts with label tailoring. Show all posts

Thursday, April 24, 2025

Burda wool blazer with patch pockets 03/2024 No. 106

Back in cold and rainy February when it seemed that spring was far away I had the urge to make a wool blazer. Something I absolutely do not need but I do tend to wear this one a lot. I wanted a different color family, something that goes with blue jeans so I searched a lot online for some nice wool tweed and finally found this fabric on Etsy. It was listed as a vintage piece so I ordered 2 yards and hoped for the best. I was really pleased with the color and decided to make a jacket with patch pockets for a change. 

Burda blazer 03/2024 No. 106

I am really out of practice for blogging however I did take a lot of photos as I sewed this jacket so I might as well post them here. For starters I only ordered 2 yards as I am kind of a cheapskate when it comes to fabric purchases and I feel that I can squeeze any jacket on that amount. So here it is laid out on the floor for a test of that theory.  It was successful as you can see from the finished jacket. Missing on the test layout are the pockets and the collar pieces which I put in the blank spaces. Note that I am 5'3" and often have to shorten sleeves so it works for me as a relatively short person.

Squeezing jacket onto 2 yards

Here are the pattern details. I chose this pattern as it has patch pockets and Dior darts in the front princess seam. I made a test version, just to test fit and I think I recycled the muslin sleeve from a different Burda sleeve just to save time. I compared and they are all pretty much the same. 

tech drawing blazer patternMagazine version and test version

Now some interfacing and construction details. I have posted about a lot of this before so just a few photos to show the insides. All the photos are in one album on my Flickr page if you want to see more, here is the link. 

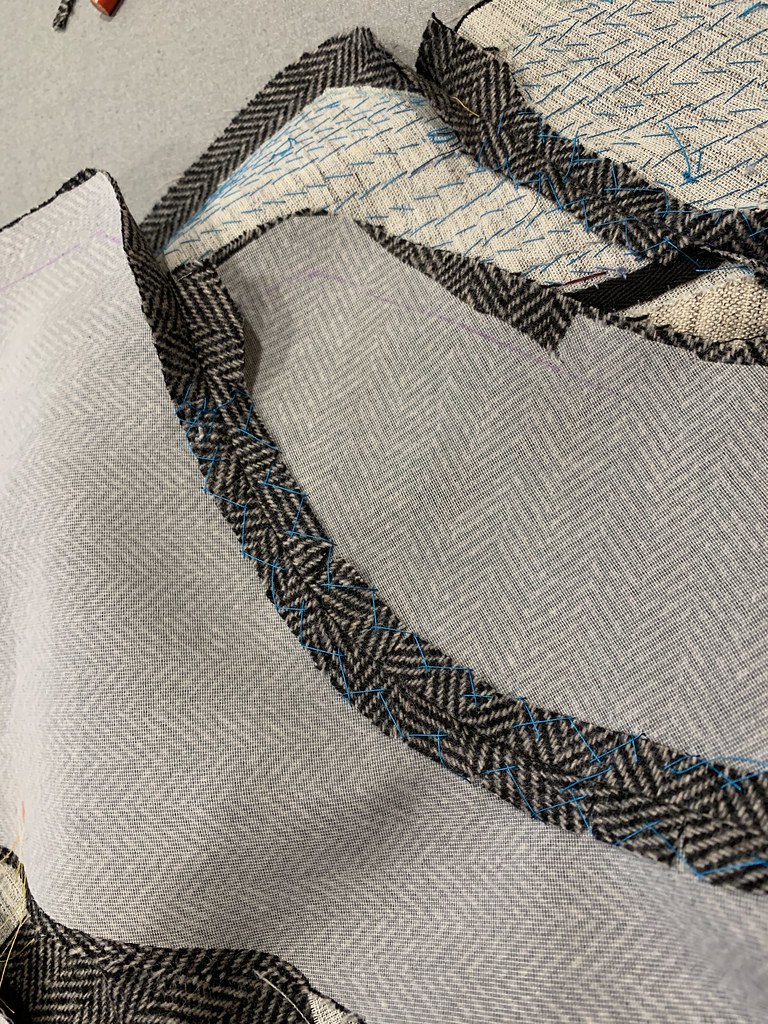
weft interfacinggrading seam on collartwill tape on lapel crease

Patch pockets ready to hand stitch on


seam grading on lapel

Here is a look on the dress form. The lining is bemberg rayon which I had in my stash in a gray/blue color.  (also on view is my new hobby which is getting orchids to rebloom, and I am having some success and think this particular windowsill is just the right amount of light for orchid happiness). 

IMG_1006

IMG_1007

I should press things better when I am going to photograph on the dress form but I think I have already worn this a couple of times so now it has that lived in quality and it's going to stay that way :) 

Burda blazer 03/2024

That's it for winter sewing. We thought spring had arrived but it is really chilly today and definitely not shorts weather yet. I have been so busy with garden projects but it is looking great now and I am pretty much caught up on all the outdoor projects I wanted to do before it gets blazing hot. Time to think about summer sewing! 

I have a couple of sewing classes coming up with Hello Stitch, How to Copy your Favorite Shirt on June 21 and a Knit T-shirt Class on July 13.

Happy Spring Sewing,
Beth

Today's garden photo, this nerembergia continues my purple theme. I bought this a couple of summers ago and it is living happily in my drought tolerant front garden. In fact I just propagated it with a cutting so I can have a couple more. 

IMG_1055

Tuesday, February 20, 2024

Remnant Fabrics to coat, Part 1: fitting and details

Looking back I see that I haven't made a new coat for myself since April of 2021 so I feel a tiny bit justified in starting a new one. With the caveat that it is not often coat weather here and when cold it is likely rainy too so I will probably be wearing a rain jacket. But I was reorganizing my fabrics and realized that I had some sizable remnant pieces from other projects that gave me an idea to combine them in one coat. I am so glad I did as I just love how this turned out and thought it was time for a detailed blog post with some fitting details.

outer shell finished

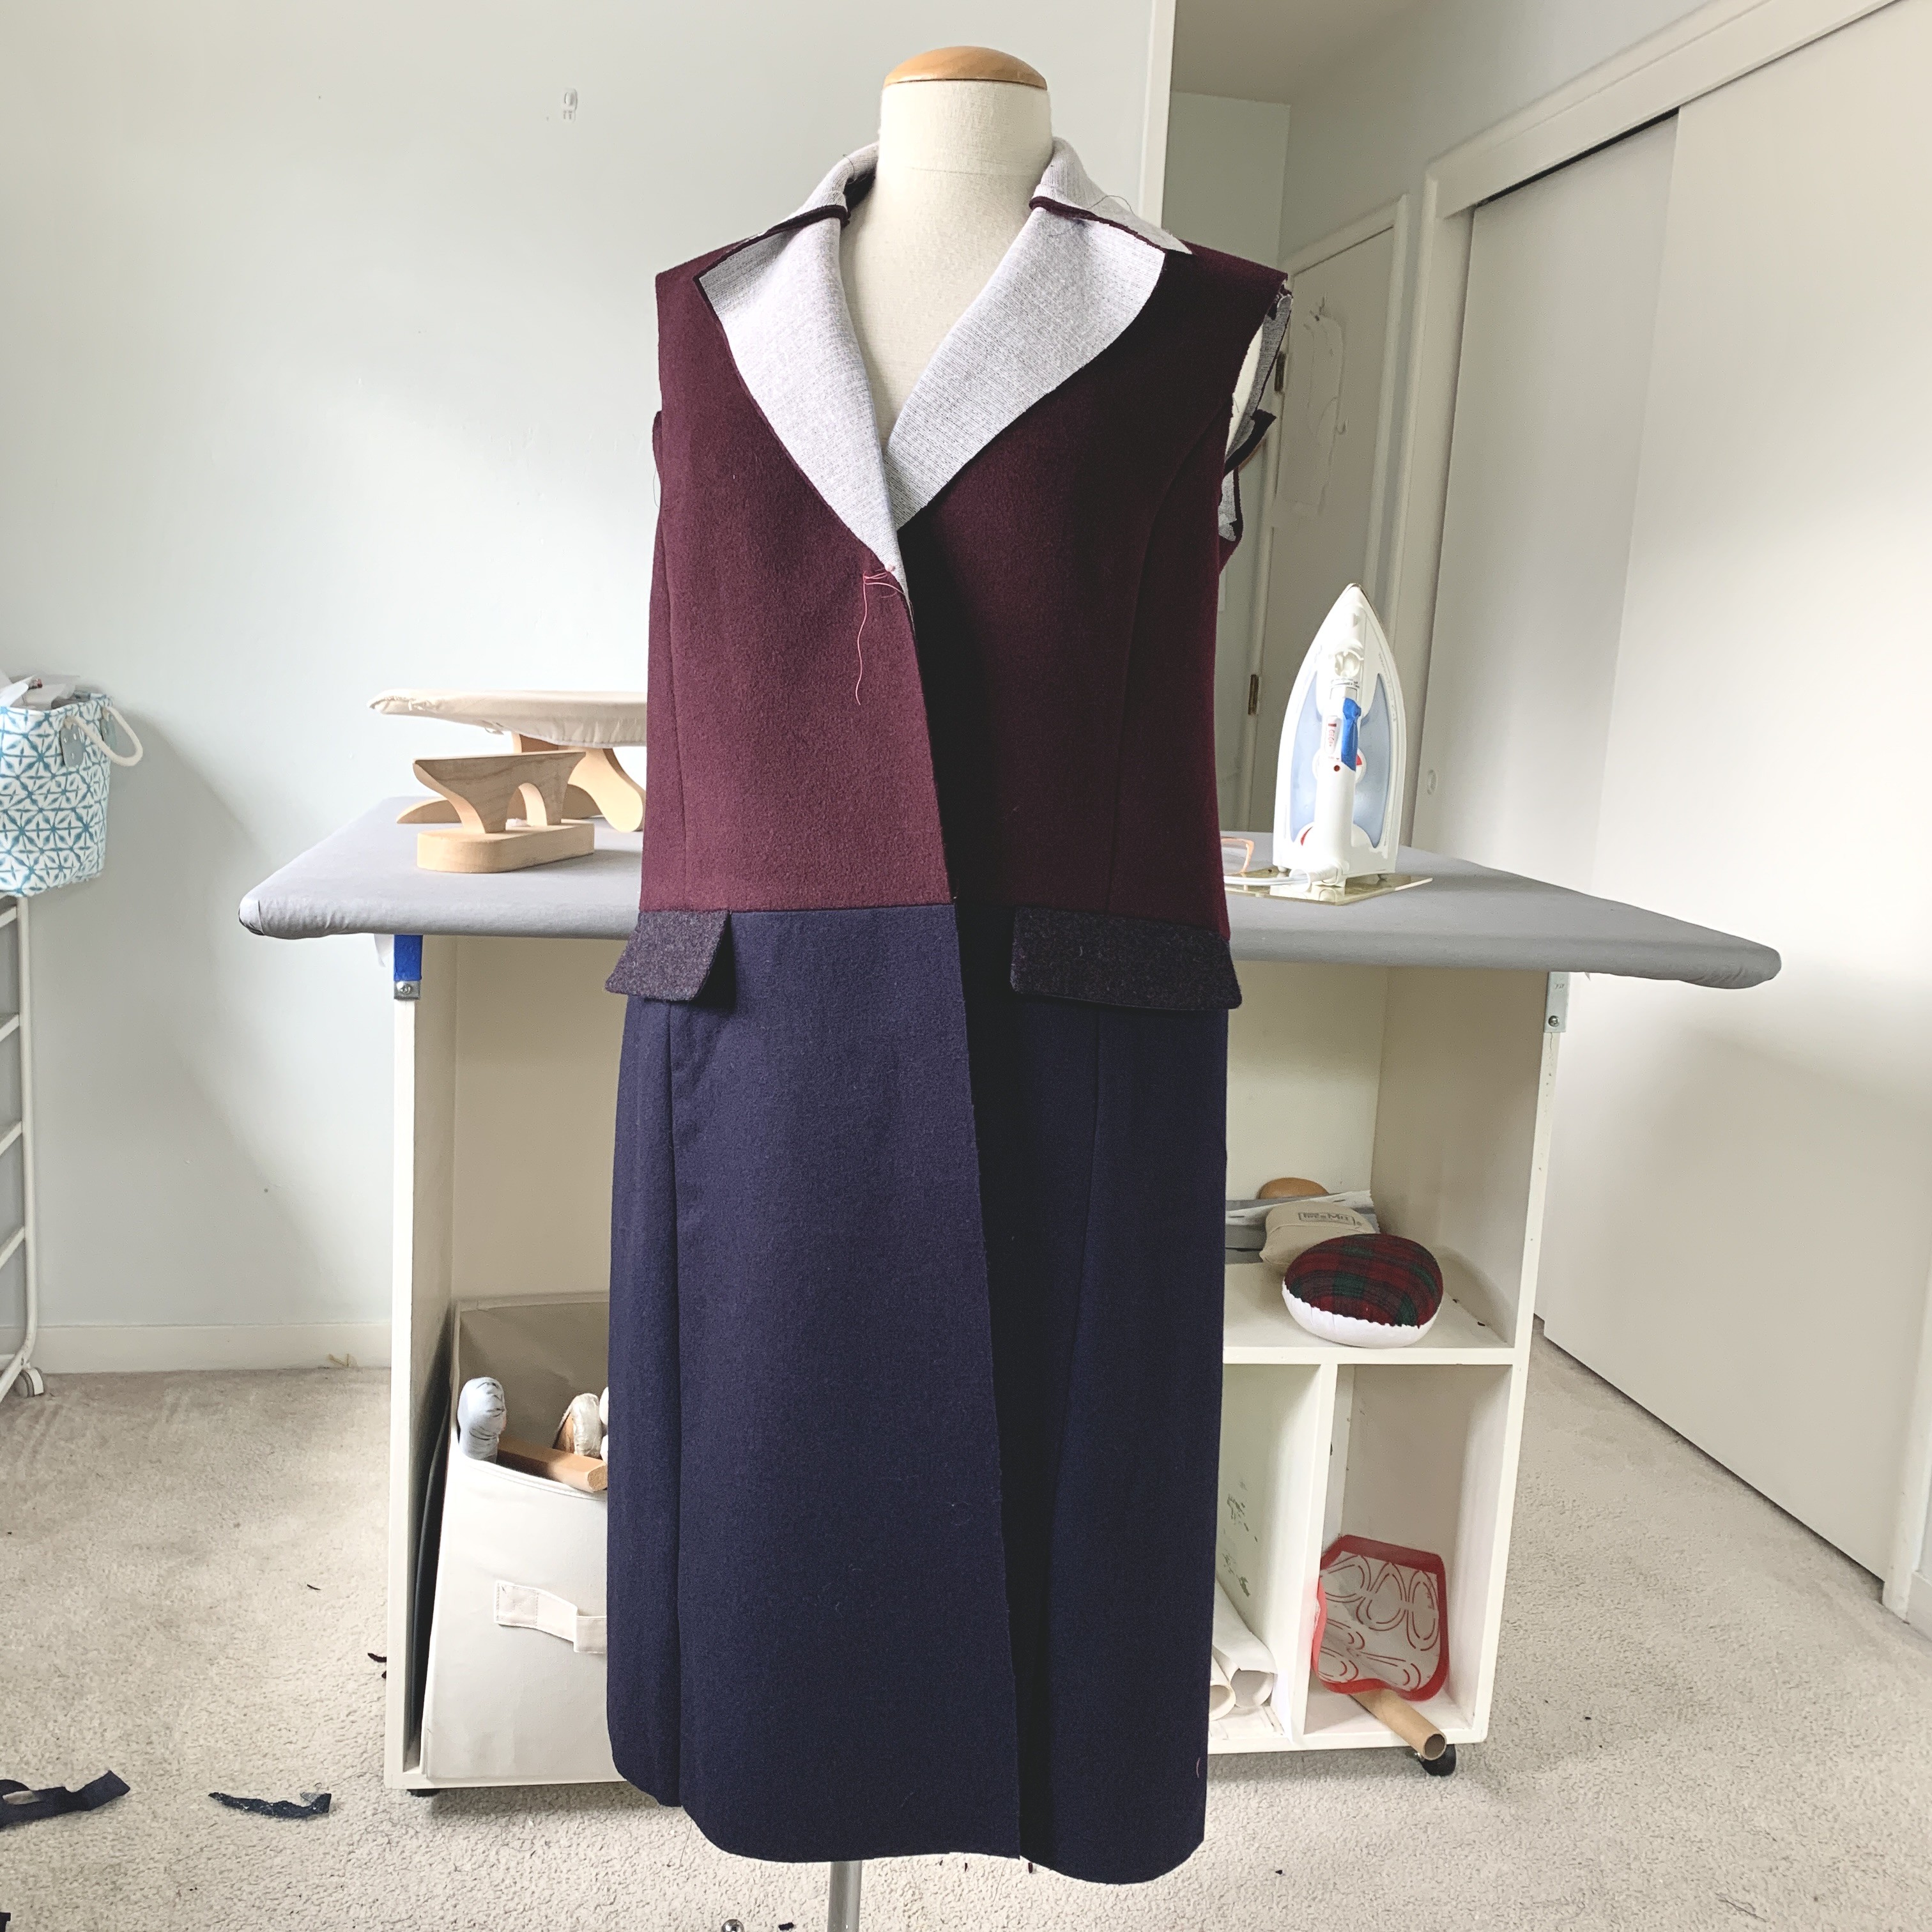
Here's a look at the coat in progress (with a very good view of my rolling worktable behind it).  I had the navy blue fabric leftover from this project, the burgundy wool is from this project, and the tweed sleeves are from a blazer that I made myself last year, although I didn't put it on the blog. But the fabric is the same as this one I made for Heather. I liked the fabric so much I bought some at Britex for myself. 
Something about the 3 fabric color ways goes together well and if I were an artist I might understand why, but I just knew they complemented each other. 
Here's the pattern that I used, and envelope pattern Burda 6845 which  has lots of versions online and is a really nice pattern. And it had the two-fabric version already in the pattern. 
IMG_0690IMG_0691

Let's talk about fitting.  This pattern has plenty of seams which I like as it makes adjusting for multi-size a bit easier. I made a muslin in size 38 graded to 42 in the hip and then evaluated that for adjustments. 
One of the reasons I like using Burda patterns is that the neck/shoulders/armhole etc of the size 38 is just right for me and I only need to adjust a bit in the circumferences.

I give a lot of credit to new sewers because if I was starting out and tried on some muslin test garment I might say nope as the test version is always so hideous and you really have to use your imagination to know the final product will be nice. I skip the sleeves (which I do not advise but I know they will fit me already) but I do put in the shoulder pads since that affects the drape and bust location. 
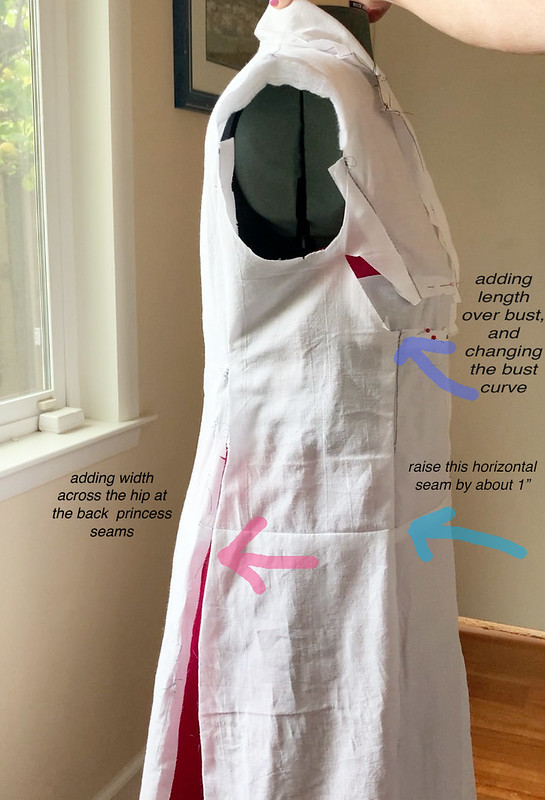
To resolve those drag lines indicated by the blue arrow I split the front horizontally and added more length and width at the princess seam bust area. 

drag lines coat

Here's another look at this adjustment. Actually not the adjustment but cutting across the muslin to create space. I pin fabric in the gap created and then check again. The major change was to add more length across the front princess seam, also to add some width at the back hip.  Keep reading to see the changes on the actual paper pattern pieces. 

fitting on form coat copy

Explanations in paragraph below. 

coat mods pattern copy

Here are the upper pattern pieces for this coat. I added length and a bit of horizontal distance in the front princess seam, using a wedge that tapered to nothing at the armhole. Then I added the similar amount of length to the center front piece. I remade the muslin test version and decided that the front princess seam edge was a bit too long so I pinched out a small wedge noted with the purple arrow. This just removes some length along that area and made it sew to the other edge better. Then I added to the center back princess seam down to the bottom, particularly around the hip area. However when I sewed it up it in the wool was a bit to big and shapeless at the back waist but it was easier to take in that seam in the final garment. Lastly I shortened all the upper pieces shown in the yellow sections above. I think I shortened about 1.5 inches. The seam needs to be below the waist but not too low so think I raised up that seam by the similar amount that I lengthened the front. 

I spoke about a lot of the sewing details on Instagram and have saved the series in an Instagram Highlight called "Remnant Coat" so you can see a lot of the sewing and construction details there. my Instagram is:   beth_sunnygal
This coat has a particular sewing order and the dart under the lapel is incorporated into attaching the collar. Which for some reason I don't like and since I rarely read the instructions I almost missed it. Although it probably would have turned out just fine sewing dart and the attaching collar. But their method is smoother in the sewing so I'm glad I took a quick look at the instructions. 

Collar and dart instruction

collar seam instruc

When it comes to working with coating fabrics I think the trimming and grading seams is the key to a good finish. If there is any spot with more than 2 layers of cloth and it can be trimmed, I trim it. Even tiny corner squares like this one. 

trimming upclose


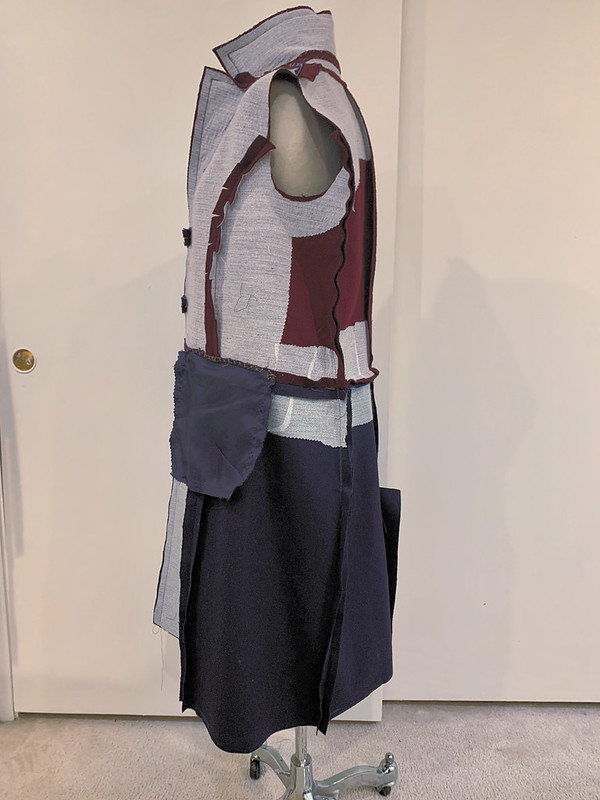
Interfacing inside coat
Inside before trimming and pressing. I think when you have some seams intersecting in two different wools like this then adding interfacing gives them a bit of structure and helps them to match together well and press similarly. Originally I didn't have any interfacing on either the blue or the burgundy around the horizontal seam but it just looked limp, particularly as compared to the front portion which had interfacing on the entire pieces. I had only machine basted it together just to double check fit so it was easy to detach some seams and add interfacing. Below shows the front with the silk thread tracing in preparation for the bound buttonholes, see how nicely that seam presses where the two colors meet. That was the result I wanted all around the coat so it was worth the extra time to go back and add the interfacing. I use Pro-Weft Supreme Light from Fashion Sewing Supply for almost all coat or jacket projects. 

thread mark for buttonholes

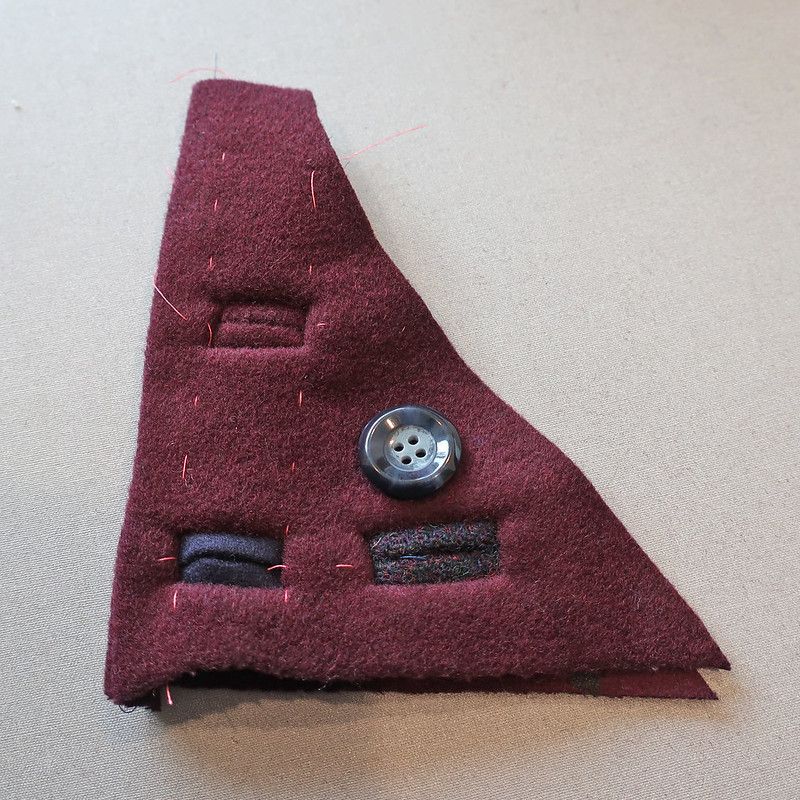
Coat starting to come together at this point and decided to use these buttons which I bought in NY in October at Pacific Trimming. I always make some test buttonholes and play around with size, plus see how the fabric behaves. Note that I sew two layers of interfaced fabrics so that simulates the actual coat front including the seam edge so I can really see how the real buttonholes will turn out. 

IMG_5308


Remnant coat on a sunny day

So that's some detail on the fitting and construction for this coat. And a look at the meyer lemon tree outside my sewing room window. Next up I will post the finished coat. Then it's on to a new project - whatever that might be!  I just was given some really cute vintage patterns from the 60's so I might get started on a summer dress. 

I'm teaching a combo "Learn to use patterns / simple pattern fitting" class this upcoming weekend via HelloStitchStudio but I think it is sold out.  April 27-28 I'm teaching a shirt class using the Kalle Shirt pattern from Closet Core which we just listed so there are spots open. (Location is Bay Quilts in Richmond CA, they have a really nice classroom space).

Of course there is plenty to do outside now with all kinds of weeks popping up and plants needing attention. Plus I just ordered some new plants this morning  - they're like fabric, hard to resist!

Happy almost Spring Sewing,
Beth

Today's garden photo, taken yesterday between the downpours. A cheerful daffodil is so welcome this time of year. 


Daffodils 2024 Feb

Sunday, March 21, 2021

Vintage Vogue Suit, completed

Time to post this finished blazer and move on to spring projects. I started this jacket back in late November, as I was looking for a time consuming project that would keep me busy during the winter months. As it turned out my stay-at-home time increased even more, with the weather making most outdoor socialization not possible and the surge of cases here in California very serious. So it was a project for the dark days of December and to be honest, I'm not all that wild about this jacket. In fact since I have so many other jackets which are more colorful I feel like I will probably never wear it and plan to see if any of my friends would want it. 

But onward to discussing the finishing touches. If you want to see the pattern look at my first post which was back at the end of January. The pattern is a vintage Vogue designer pattern, Vogue 1987 Yves St. Laurent suit, I think released sometime in 1978. I also made the blouse in the pattern but I don't like it at all, and then made some trousers using a different pattern however they have a very similar look. 

Tweed blazer sq

If you look at my previous posts you can see that I used most of the traditional tailoring methods for this jacket, with horsehair canvas, pad stitching, hand sewn patch pockets etc. In fact the pattern instructions specify all these techniques which was one reason I decided to use them. I haven't made anything using those techniques in a long time and probably won't again. It was rather satisfying to see all those pad stitches creating a shape but I do prefer using modern fusible interfacings.


IMG_5430


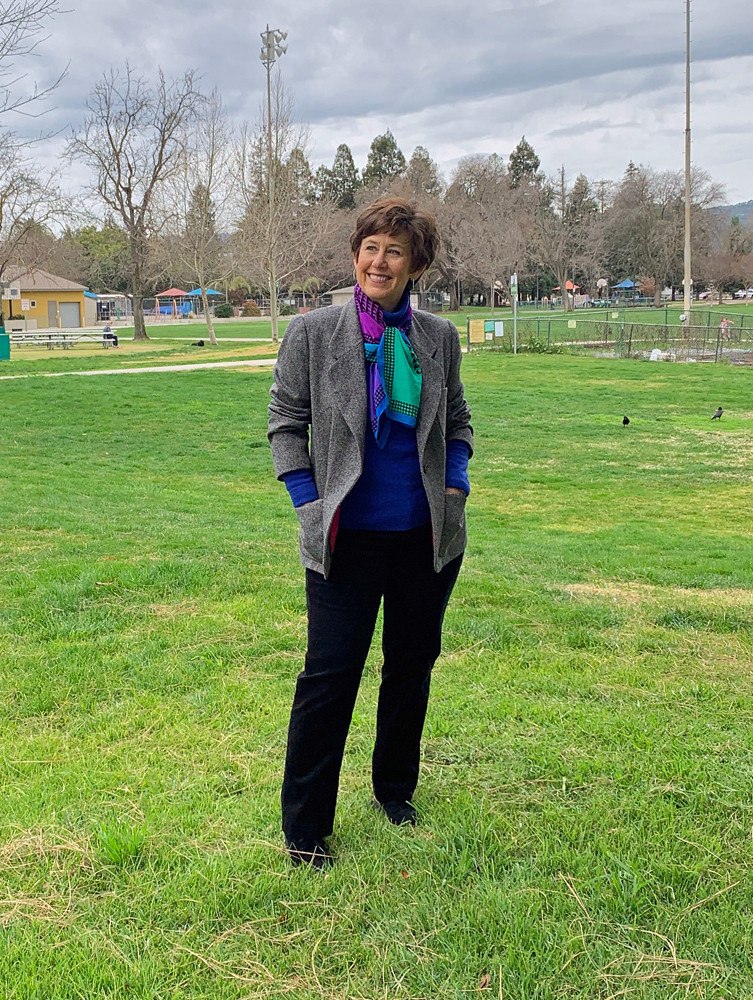
I finished the jacket a few weeks ago and on a rainy day when the light was nice I stopped by a friends and she took some pictures in the park. On the whole the fit of the jacket is ok, I did make a muslin and I feel that it is the right measurements on me, but I don't care for the exaggerated and lower lapel shape, plus there is something about the hang of the sleeves on me that isn't quite right. 

IMG_3654

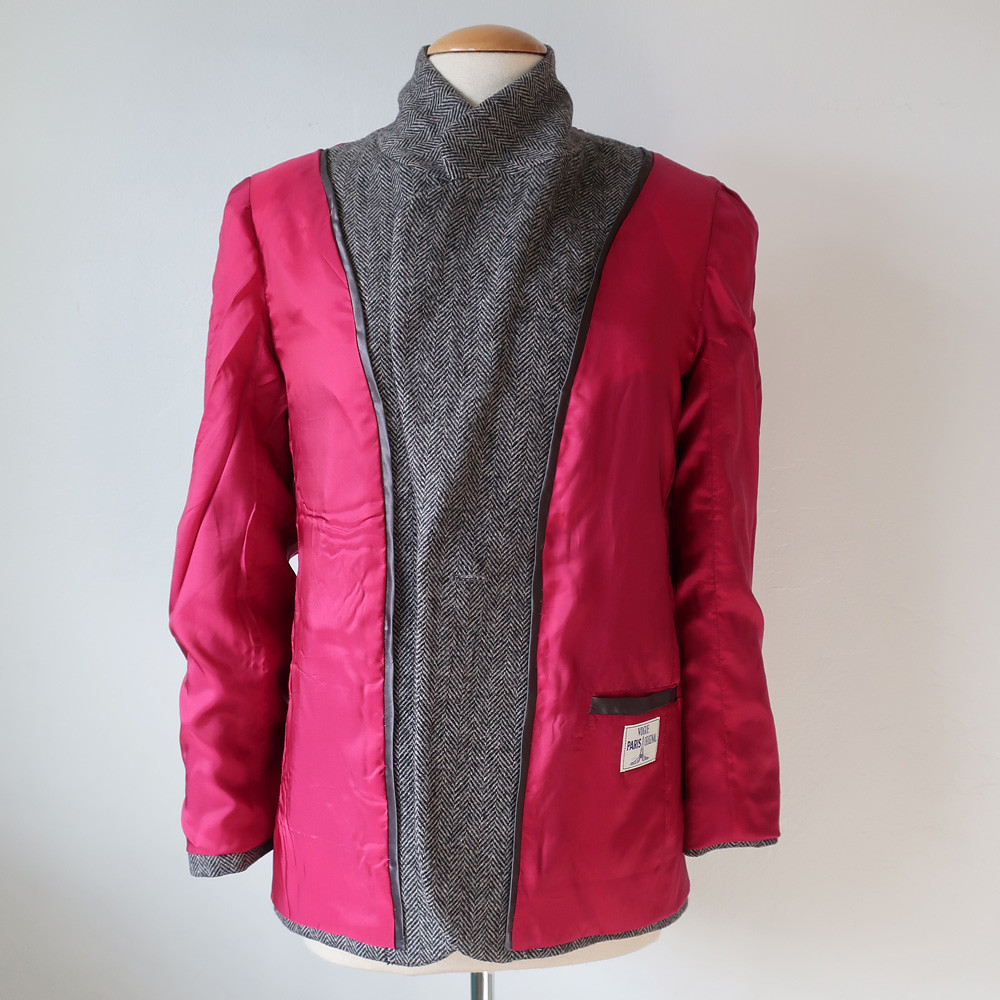
It needed some zing so I used this rose colored bemberg lining and with some remaining silk charmeuse from the pocket linings I made some flat piping for the edges. 

tweed blazer sleeve button

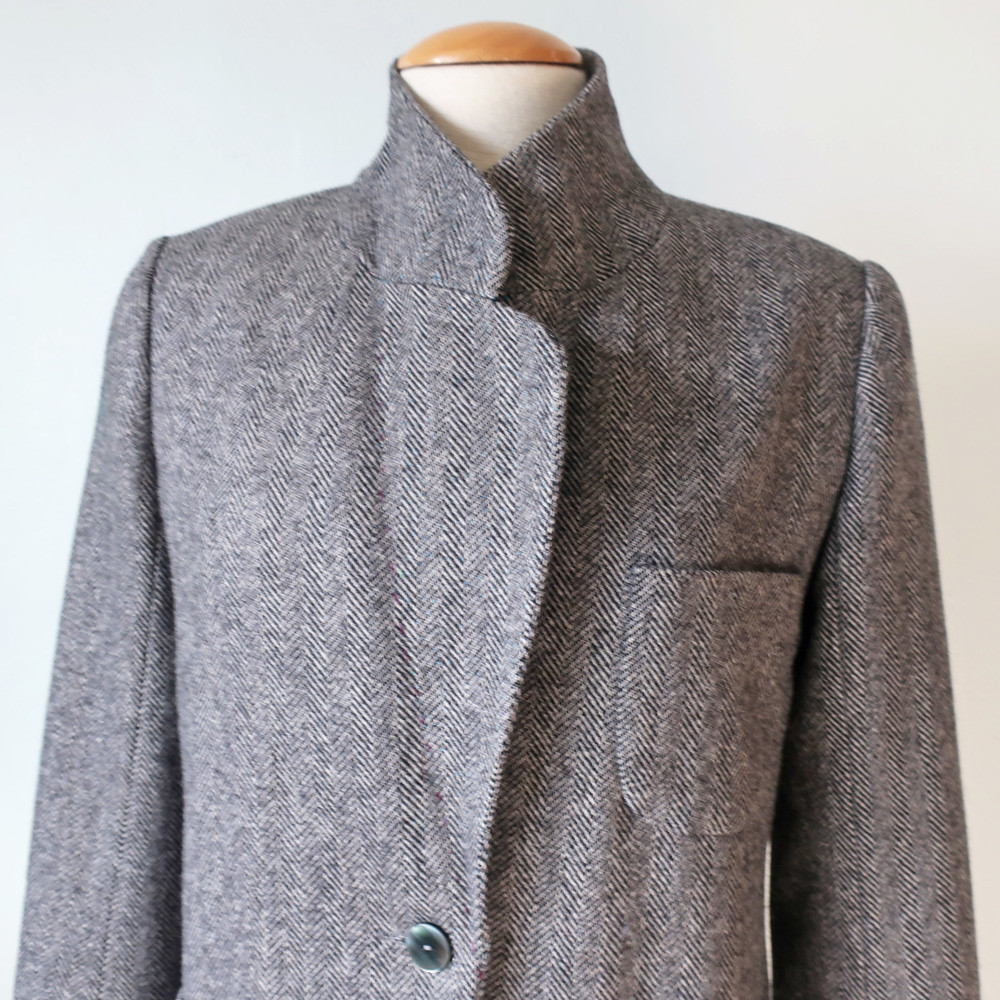
The sleeves do have a button opening but it is different from that you see on most jackets as it is a rounded end and just one button. The pattern was great to work with as it had every pattern piece for the lining, interfacing and jacket included. 

IMG_3653

I noticed on the pattern envelope it was one that came with this label, however my pattern which I got at at a Bay Area Sewists Meetup swap didn't have it in the envelope, perhaps the original owner used it on her jacket. In any case, I had a few of these Vogue designer labels but not this exact one so I ordered it on eBay. I added that welt pocket inside the front lining, it's not on the original pattern but I often add pockets in the lining of coats or jackets. 

Tweed blazer back sq

Back view, it's a more boxy shape than I've made in a while.  


Tweed jacket with black pants1


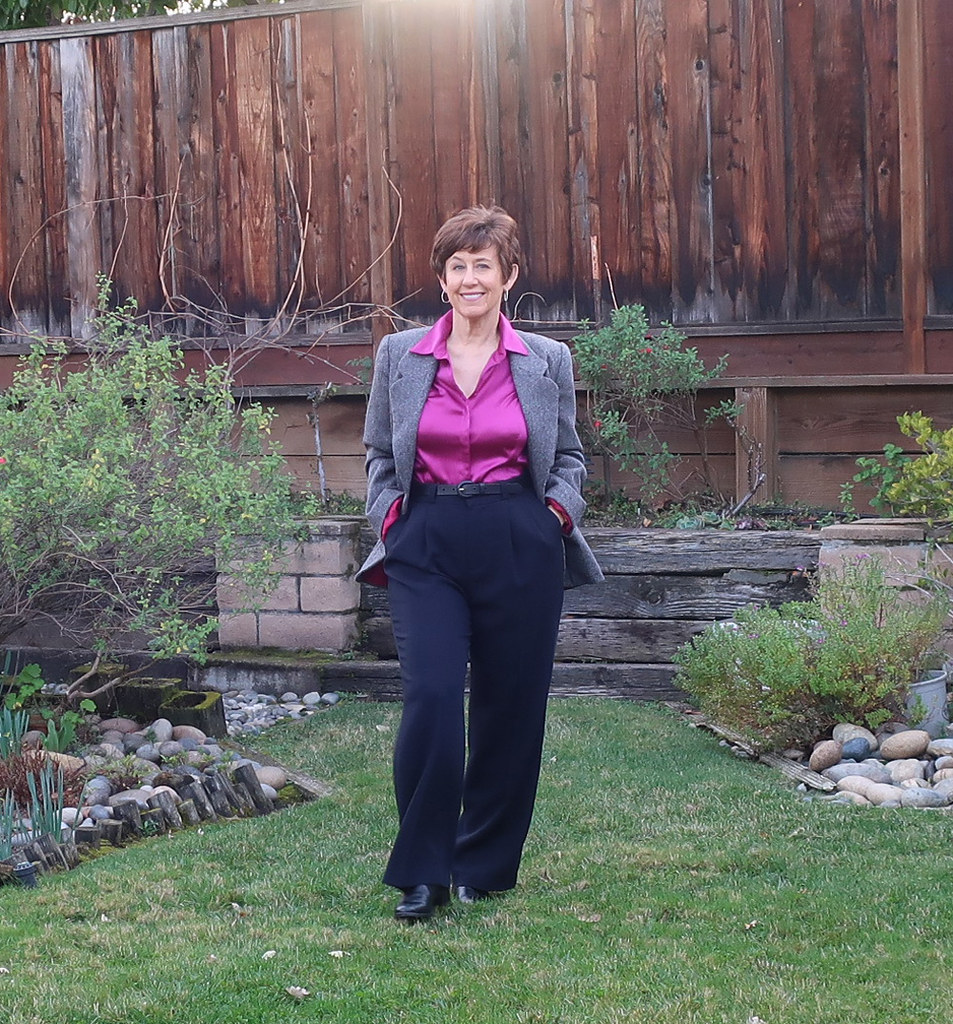
Here it is worn with a silk blouse and my Tatjana trousers made in black wool crepe. The trousers deserve their own blog post but I think that will wait until I make them in a fabric that shows up better in photos. The pattern is from my friend Delphine's pattern company, Just Patterns and this is the Tatjana trousers. It's a really great pattern and for experienced sewers it includes all the info you need but can skip the instructions, or if you are a beginner the instructions are quite thorough. 

IMG_5429

I think this is the combo of fabric and pattern that would become a slouchy and comfortable blazer, getting softer and more worn in over the years, and due to the wool tweed will probably last for ages. 
In the photo above I'm wearing it with a turtleneck sweater and black jeans, not the pleated trousers. 

Tweed blazer back of lapel

A look at that lapel crease and the upper pocket. I'm very happy with that pad stitching and the built in shaping it gives the jacket, it was a perfect combo with this nice herringbone wool fabric. 

IMG_3651

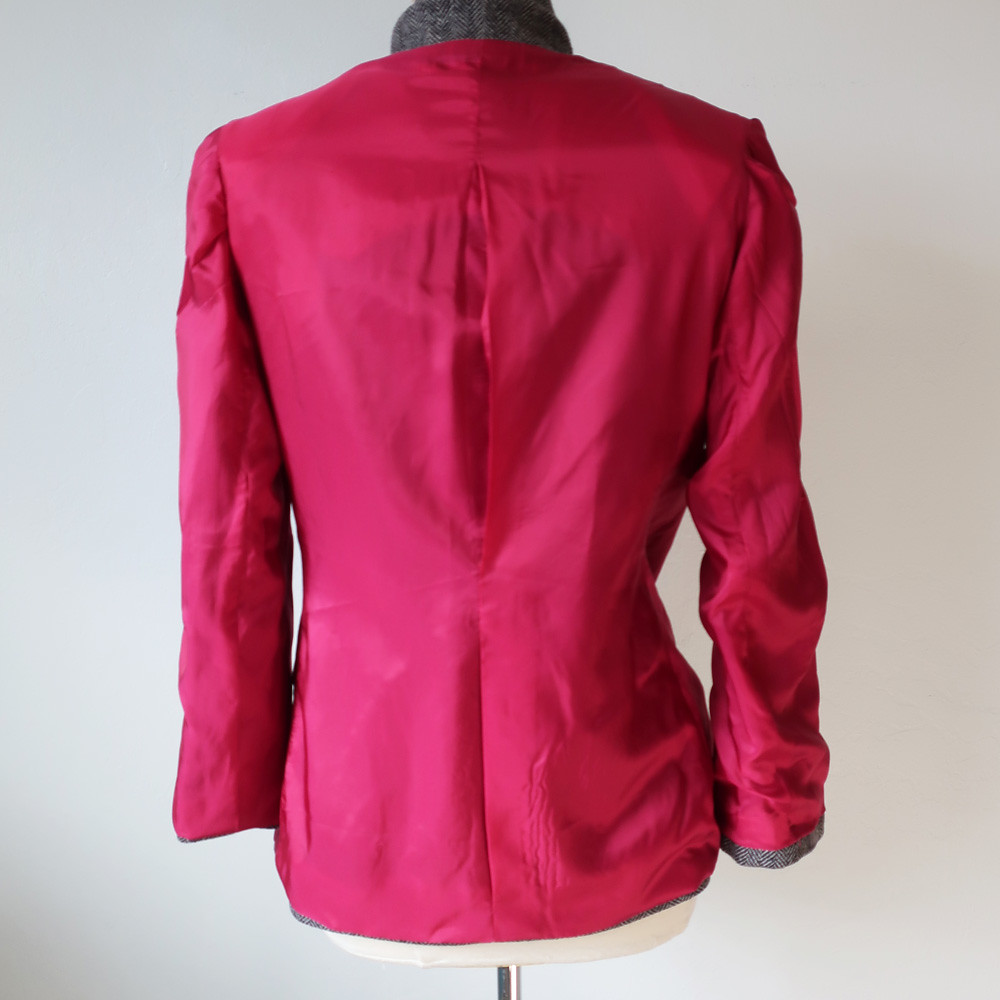
Back lining view which shows the center back pleat. I think the sleeve lining is a bit too long, as it wants to peek out when worn. I will go back and fix that. I didn't shorten the sleeves when I made the jacket (as I usually do) since I had a sneaking suspicion I would pass this one on to a friend.

Tweed jacket and pants2

Yeah baby, the 70's are back. As the expression on my face says, No thank you to the fashions of that era. Big shoulder pads and pleated trousers, not something that I think looks right on me but perhaps it might with some modifications. I've seen so many ruffles, pants shapes and dress styles from that decade reviving now - not one of the best fashion eras but perhaps a lot better than what came next, the 80's which don't deserve any repeat!

Next up some jumpsuit sewing, or actually boiler suit and/or flight suit sewing, as our Hello Stitch Studio class in April is just that. Plus I've a few silk fabrics that are just longing to be sewn up into spring tops. 

Happy Spring Sewing,
Beth

Today's garden photo - some very reliable dianthus that are blooming right now. Dianthus are also called pinks and I think they are the most sewing themed flower, with the edges looking like they have been cut with pinking shears. 

IMG_5568

Sunday, February 28, 2021

Vintage Vogue Suit part 2

Time to pick up where I left off on this vintage Vogue pattern. It's all finished and on a rainy day (one of our few) I took a couple of outdoor shots. That may be all there is. I'm actually not crazy about this jacket, while I'm glad to have it finished it might just be another one of those 2020 items I give to a friend. However it did pass the time during the winter and reminded me why I like to use the quicker tailoring techniques to make things. Further down in this post I will pick up where I left off with sewing details in my previous post.

It has been finished for a couple of weeks, but it just feels so strange to add substantial items to my wardrobe with basically nowhere to wear things. In fact I was at Trader Joe's this week, wearing my bright blue wool blazer (here's the link) and one of the guys stocking the freezer cabinet turned around and said "great jacket - love the color!" So perhaps I need to wear some of these items for my mundane outings. Fingers crossed that summer is a lot different around here - I don't even want to talk about it (going on 12 months of social distance here in N. Calif 😩. 

As to what I've been sewing - not all that much as I just finished a month of teaching several online classes  via Zoom for Hello Stitch Studio. I can say they are a lot more to prepare than teaching in person but I'm happy to do them. We structure the classes as part instruction/learning time and part social time. I think we all miss our sewing social events so much and while I talk often and even see some friends periodically most of my friends don't sew. (and think that making clothes is a mysterious and unfathomable activity).

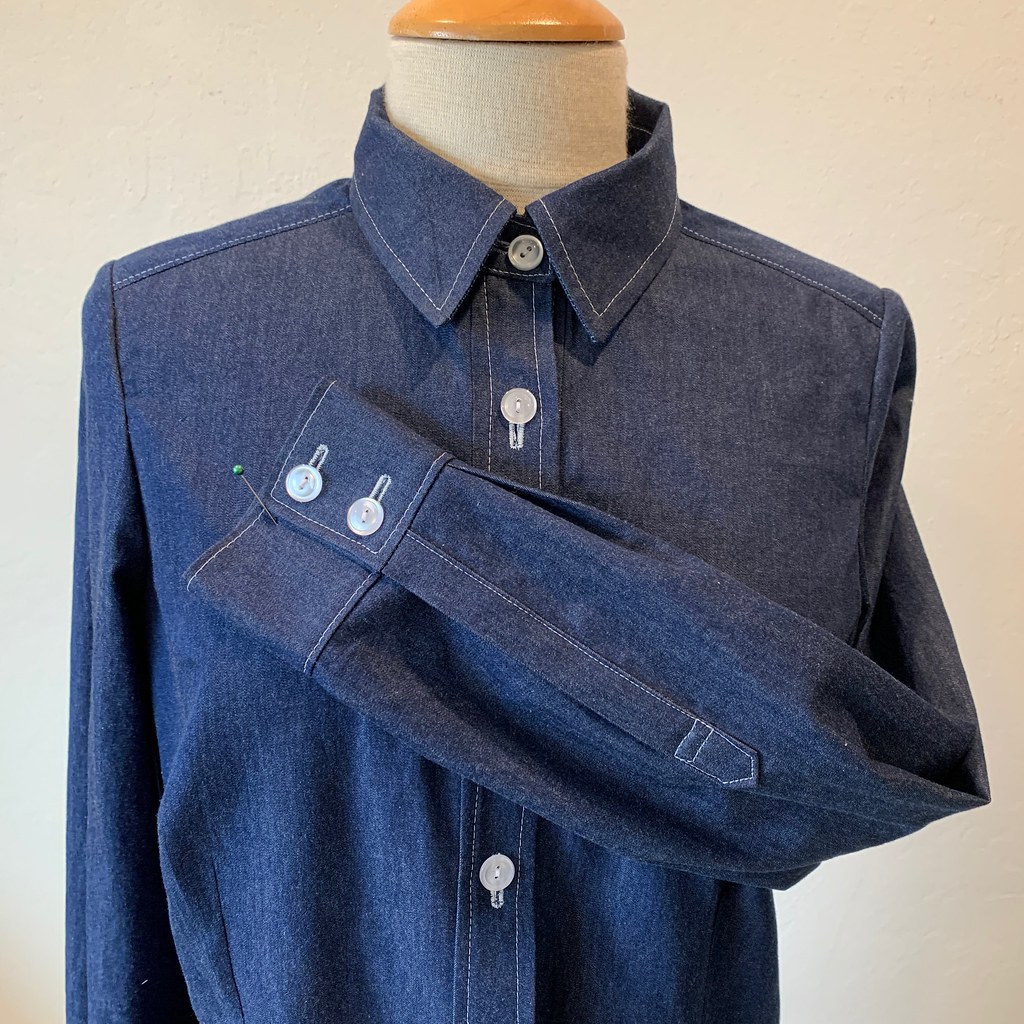
We have two classes in our monthly sewing club starting this week, the Button Front Shirt class which is an early session (4-5:30 pm pst ) and you can use any shirt pattern.  Also we have the  Myosotis Dress class 7-8:30pm. If you want to join in this class it would be fine to use shirt dress pattern that you already have. One upside of this whole situation is that people from outside the bay area can join in so it's been great to meet (virtually) some new people.  Here's the link to Hello Stitch Studio for all their other offerings. I made this chambray shirt in the class a few months ago, so I will be looking around in my stash tomorrow for fabric to use in new shirt project in the class. 

Chambray shirt

OK, back to jacket construction. In my previous post I ended with the start of pad stitching on the lapels. The next pattern piece to be pad stitched was the collar. I really feel I am out of practice with this stitching technique but wool tweed is a very helpful fabric and my stitching seemed to work. I like to use a contrast silk thread color as it make me happy to see the stitches marching along in turquoise rows, plus it doesn't show on the other side since the needle takes an invisible bite into the wool on the right side. 

IMG_4929

Next step is attaching the under collar to the jacket front. At this point it is sewn on but not trimmed nor the seam pressed.

IMG_4980

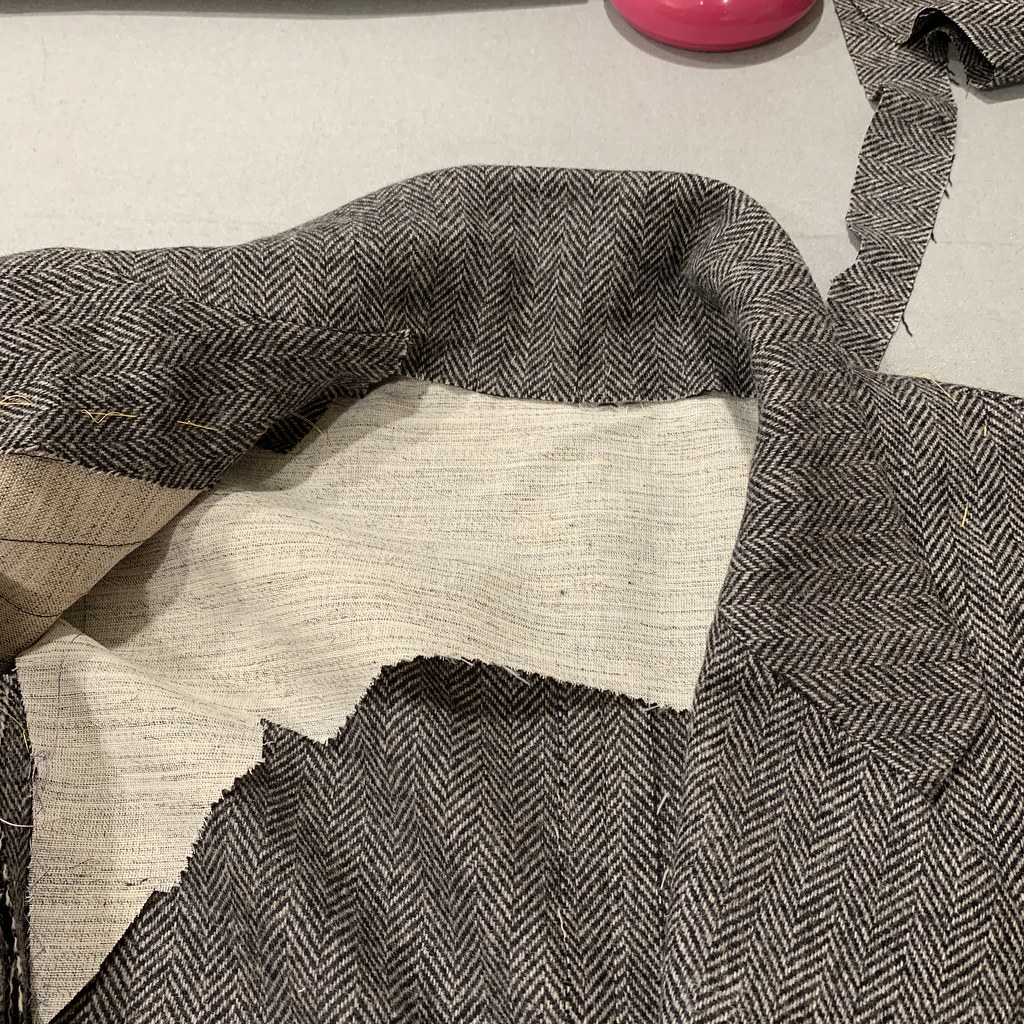
My next step is to press that seam which joins the collar to the lapel, trim and catch-stitch it down with silk thread. I do this same process also when I have made a jacket using fusible interfacings, it keeps the seam allowances smooth inside the jacket and then the upper collar and lapel can overlay with out any seam allowance getting in the way. 

IMG_4982

Onward to the upper collar and lapel. Here is where in deviated from the pattern instructions, they didn't have any interfacing on the upper collar but I don't like the way that looks, although in this fabric it might not have been as noticeable as it might be on a solid or light color fabric. In any case I put some lightweight fusible on the upper collar and the jacket lapel facings.  The seam there was also trimmed and then catch-stitched down.

IMG_4981

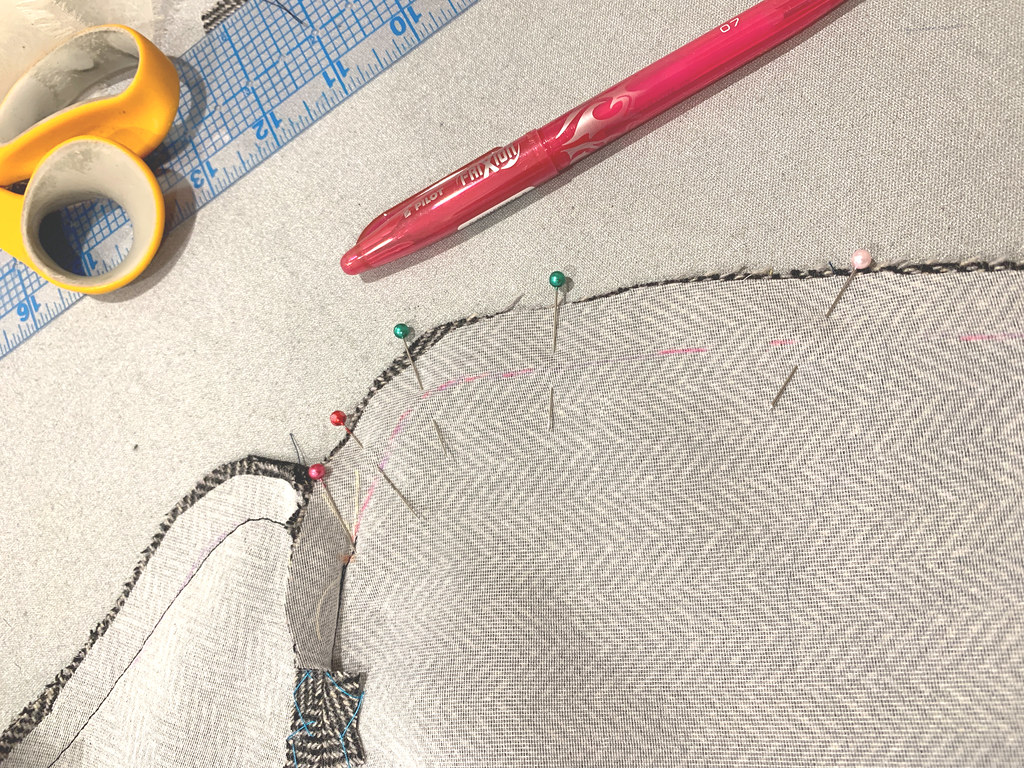
Time to sew the upper collar/lapel facing to the jacket body. I have no reservations about marking my stitching line on curves, angles etc. It just makes the machine sewing more accurate and avoids having to redo things. Soft lead pencil, chalk or Frixon pens all work fine for this purpose. 

IMG_4984

More trimming. Grading the seam of the collar.

IMG_5006


IMG_5007

Pressing open the seam on the edge of the collar and lapel, and notching the curves which need space when the seam allowance is on the inside. 

IMG_5018

Collar and lapels done. Onward to a couple of steps that I have never done before. Hand sewn patch pockets! I had doubts but I do like them. So sleeves, pockets and a few finishing details will be in the next post which I intend to do later this week. I like to blog projects as I go and this has been lingering a while. 

IMG_5016

That is a very satisfying lapel :)  The herringbone stripes show off the collar angle nicely. So that's the mid-point on this jacket construction. I did make the shirt that is shown on the pattern but it is just way to 70's for me (the collar puts it out of the range of wearable for me) but I will post it you can see how it looks. The start of this jacket as well as a look at the Vogue pattern and the muslin are in my previous post here. 
Stay well and Happy Sewing,
Beth

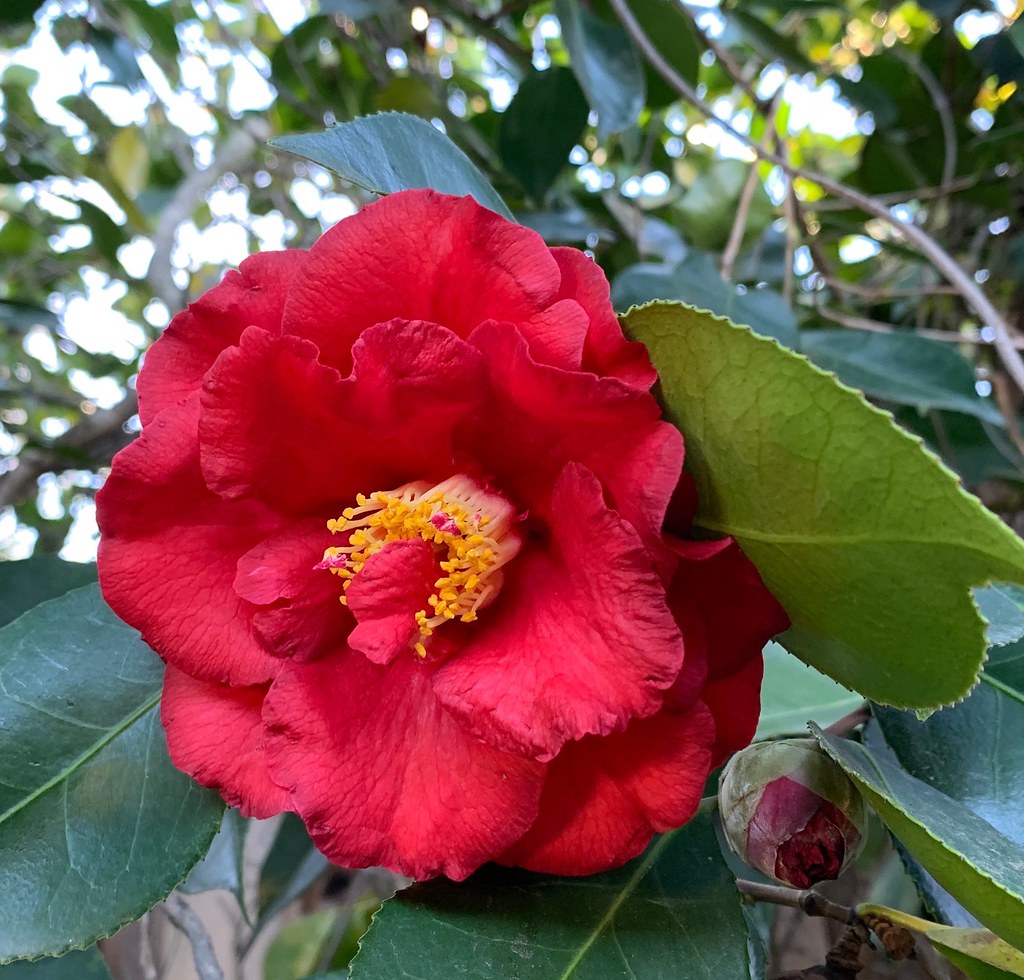
Today's garden photo, not a lot blooming right now although the roses are all trimmed and sprouting their new leaves and stems. There were tomato plants for sale at the nursery this week. I have a new neighbor who has moved here from Michigan and she was saying that this California garden thing is quite confusing - I can imagine. Apparently they have plenty of snow on the ground in her former neighborhood while we are out walking in shorts and dealing with our drip irrigation in anticipation of the dry year to come. Here's a camellia that always puts out so many of these huge red blooms, filled with nectar for the bees and hummingbirds. 
red camelia