Showing posts with label invisible zipper. Show all posts

Tuesday, May 22, 2012

Color Blocking, Part 2 of how to adapt your own pattern

The previous post showed how I take an existing dress pattern and make new pattern pieces to create a color block look. Now it's time to do some sewing. I will show the sequence only on the back of the dress, but sewing the front is the same as the back. Easier, as there is no zipper to match there!
Before you do any sewing, some preliminary steps.

  1. Interface all the band pieces.  I didn't do this on my first test dress, and found it really needs it.  
  2. Mark all the dots on the pattern pieces. Matching the dots on the band and dress insures that the band pieces lay smoothly and the curves fit together properly.
  3. Stay stitch all the edges of the band pieces and the dress pieces. Since we are going to clip the curve, this is necessary, plus it keeps the band pieces from losing their shape.
OK, finally some sewing!


Step 1: Clip the curve on the band piece (the convex curve). 


Color Block part 2 step 1

Step 2: Pin the band to the dress piece, matching the dots. Stitch the seam.

Color Block Part 2 step 2

Step 3: Trim and clip the seam, press seam allowance toward the band. Now it's starting to take shape.

Color Block Part 2 Step 3

Step 4: Similar method for the upper band.  Clip the band (convex curve). Here it is shown on the fabric right side, so you can see how the dots match up (marked with tailor's tacks, yellow thread)
Color Block Part 2 Step 5

Step 5: Same as Steps 2 and 3 above, pin and stitch seam, then clip and press toward band.
Color Block Part 2 Step 6

To finish, use the same process for the front of the dress, doing the side bands first and then the neck band.  Of course if you have designed a different color block it may be different.  Another color block look that I like is horizontal bands of color and that is a little easier to work with. To do that, divide your pattern into separate pieces, add seam allowances and sew together.

And now we come to a slightly less fun part of this project, the zipper. For any zipper that bisects pattern pieces you want the lines to match up, but it is so much more noticeable with the color block layout. I was pretty happy with the result, although I didn't get it on the first try.  My method for this type of zipper is to just sew the top 5 inches or so on each side of the zipper, get that intersection point just right, and then proceed with sewing in the rest of the zipper. No need to rip out the whole thing if it is not right. Definitely another reason I don't use an invisible zipper foot.  To see how I do the invisible zipper with a regular zipper foot, check out this post. 

Color Block Part 2 Step 7
Normally on a dress like this I would apply the facings (which are matching bands with no interfacing) however I wanted to put the zipper in right then. Once the zipper is in then you can't pull through the shoulder seams.  Here is a look at the facing.  I used the regular facing for the dress.

Color Block Part 2 Step 8
So here is the finished dress, side view and front view. That is another spot where the seam has to match, under the arm where the bands meet again. For a simple dress there are lot of little details to consider!

Color Block Side ViewColor block blue dress bodice view

Anyone interested in trying to adapt their TNT pattern with this style of color-blocking?
It's a great way to get more mileage out of a great fitting pattern with a whole new look.


Here is the previous post, on how to make the pattern pieces.

Here is today's garden photo, not really matching but a very nice spring color, gladioli in front of the pink jasmine. 

Pink gladioli

Tuesday, July 27, 2010

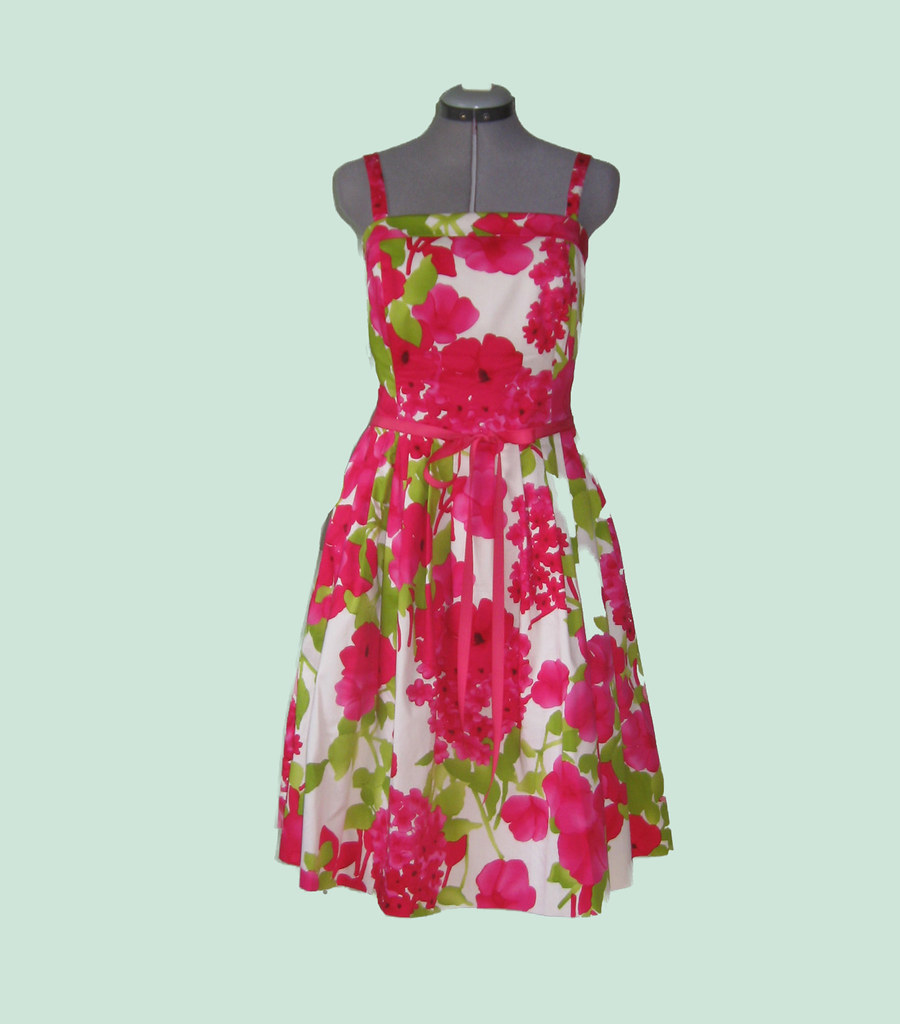
Floral Dress for a Sunny Day

Last Saturday I went to my cousin's wedding in Napa, CA.  I don't think I have ever been to a wedding with a yellow color theme, and it was beautiful.  The flowers were gorgeous and the cake was delicious, frosted in butter yellow icing with white snowflakes as a nod to their Colorado connections, with a Mr. and Mrs. snowboarder on top.  So cute.


In between my other projects, I quickly finished the dress I wore.  


The fabric I had written about in another post.  (purchased from FashionFabricsClub)  For this dress, I decided to do a simple square bodice and then add a full skirt.  I used New Look 6457 for the bodice, and raised the top seam up about 1".  I was not sure where the waist should end up, so I lengthened the bodice pieces which ended up causing a lot of extra work later because I had to fiddle around with the placement of the skirt, and I was not totally happy with it, could have been up another 1/2" or so.  (But only I would notice it.)
I used the dress form to fit the bodice, and then fit the lining pieces the same way.
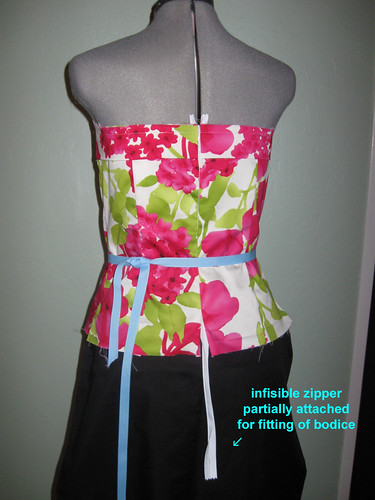
The one construction tip that I have been using lately is to sew the zipper into the bodice and then the bodice can be fitted on the body or the dress form, without the skirt being attached.  After I am happy with the bodice fit, then I take out the stitches about 1-2" above the skirt placement, sew on the skirt and then finish sewing in the zipper.  Here is a photo of that process, with the zipper shown unattached to the skirt.  I was so clever and put some text on the photo with Photoshop to indicate the zipper and now I see I spelled "invisible" wrong, and can't figure out how to re-edit in Photoshop.  oh well.


For the skirt pleats I just cut the front and back, and then made 1" pleats using a clear ruler.
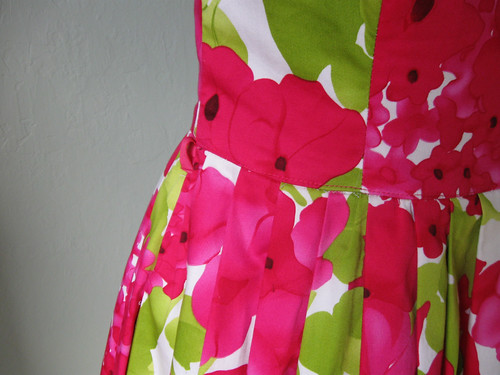
After I sewed on the skirt, the waist was a bit bulky, so I trimmed it a lot and did a row of stitching to hold it together. 


I used my favorite construction method of sewing all front pieces and then all back pieces, adding the zipper, and then fitting on the body.  Patterns rarely have you do this, but it makes fitting so much better.   See below, the top facings are sewn into the side seam, but I hardly think it makes any difference.  Added shoulder straps as I am never comfortable with strapless dresses.   Under the back facing, there is a hidden strip of elastic across the top, which is a clever idea that gives it a bit of hold.  I will have to remember that for future dresses.


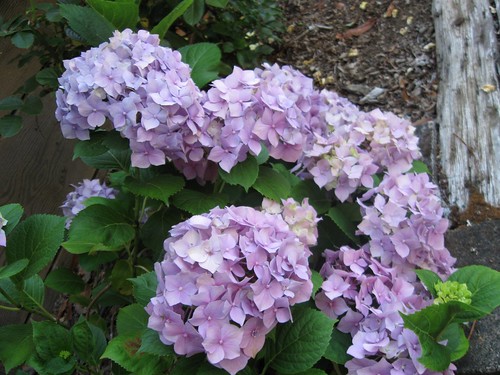
And in honor of my very flowery dress, today's SunnyGal garden photo, some lavender hydrangeas that live in a shady corner of the yard.