Do you ever make something and then you just can't wait to wear it? Do you ever start with a piece of fabric that just seems "meh" and turns out to be a wardrobe workhorse? Who knew that the exact thing that my closet was lacking was a neutral tone jacket. So versatile - mixing with most any top I have. Well probably a lot of you knew that already but my disdain for most things neutral - be them beige, brown, gray or similar shades is well documented.
Lately I have been trying to branch out in my sewing, trying some colors I ordinarily skip over and testing out some new shapes. So far - so good with this experiment.
Also an experiment - pattern testing. By this time I have sewn a few Pauline Alice patterns and even tested her Quart coat pattern so I was glad to test this new one, her
Saler jacket pattern.
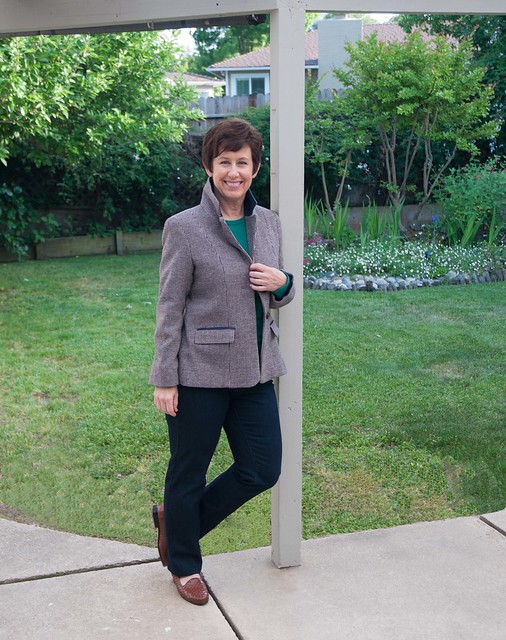
I will give you the lapel casually flipped up view first, to slightly conceal my small bit of creativity with this not so exciting fabric. Although I am excited at how it turned out, and as mentioned in the first paragraph I have been wearing this
so much already. It is looking a bit rumpled but that is due to my casual lean against the post here. Gosh, how to models do it - look so relaxed and yet perfect? Nearly impossible for us mere mortals.
OK here is a better view on the dress form. I am very happy with the proportions on this jacket in terms of the width of the neckline, fit in the shoulders and chest which are the important areas for a well fitting jacket. All the rest, such as the hip width etc. can be fitting based on using different cutting lines of a multi-size pattern and one's own measurements but the shoulders and neckline are really important. Also the width of the sleeve, and the slope of the shoulder. All those details are what I look for in a jacket pattern and so far I think Pauline has a good sensibility for the design in that area. Or perhaps they happen to fit me. Although I made the Quart coat for someone else and that had a good shape as well.
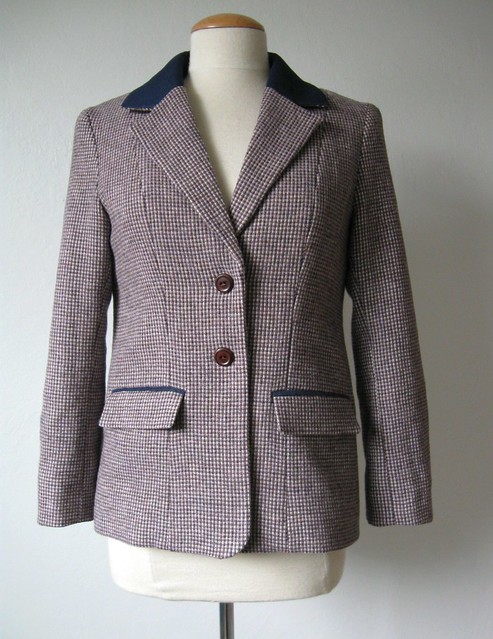
My creativity and also a nod to the very traditional English tweed jacket was to add a little contrast to the upper collar and the pocket welt.

I used her test pattern version so mine looks slightly different from her final result. I changed the location of the pockets, made them lower and I think she has done that also on her final version. I also moved them away from the center front. I might have changed the angle a bit but I was kind of improvising since they were in an odd place on the tester version.

For the contrast fabric I wanted to use some navy blue suede so I searched around for a scrap. But the only suedes I had were odd colors - like a orchid pink or jade green so that was not happening. I have a really old navy blue suede coat that I bought in Florence years ago and seriously thought about cutting that up but stopped myself. (Although that will probably happen one of these days). And then I had a light bulb moment - DENIM! As I have said before, everything is better with denim :)

This view shows that the collar is actually a two piece collar which is a nice traditional touch. However I think it is a bit too small - so it is more for looks since it doesn't land on the the roll line of the collar. Which is kind of too bad as I do like a two piece jacket collar if it is designed to assist in the roll of the upper collar.
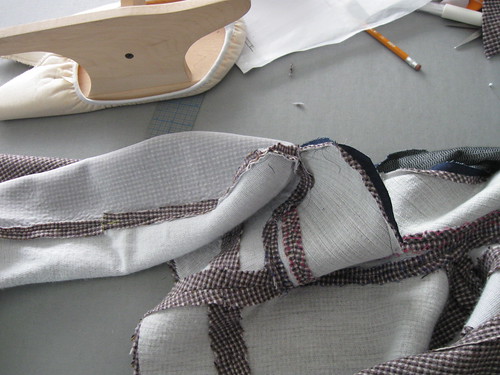
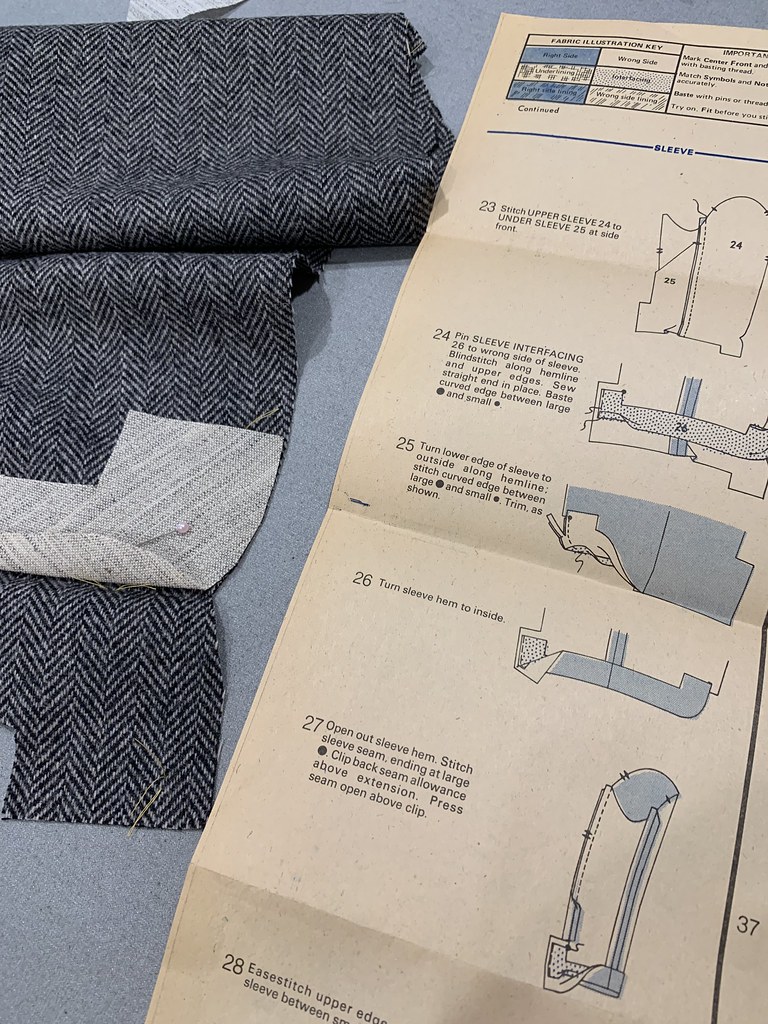
This wool fabric plus the interfacing becomes slightly bulky although it did press with steam beautifully. Before I put the jacket together I trim and grade all the seams, edges and corners and then press all the seams open (flat) before then turning and pressing the actual collar and lapel shape. That wooden object at the top of the image is invaluable for all pressing. I think it is called a "June Tailor pressing board". If you search using that you will find it. I also use a clapper, and a sleeve board. And sometimes even a wooden spoon for certain things - although not this time.
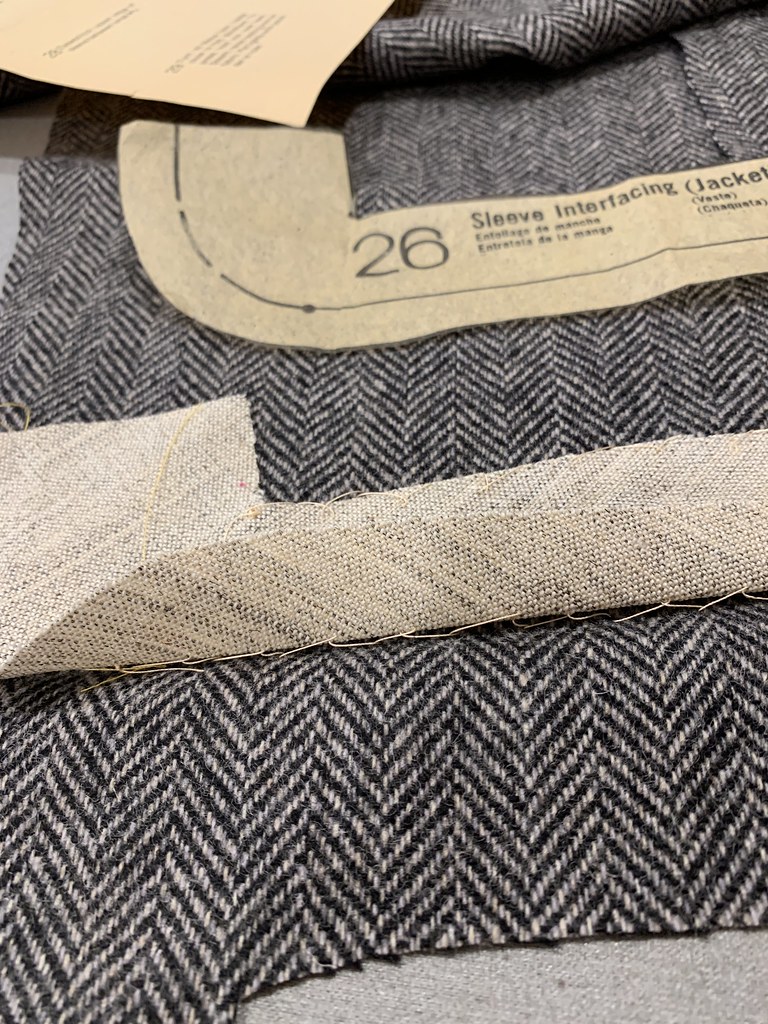
On the inside - lots of interfacing. On the jacket body, lapel and under collar I used Pro-Weft Supreme Medium, and then on the upper collar and lapel I used a mix of more Pro-Weft (to give the denim which was very lightweight some heft) and then ProSheer Elegance on the lapel facing. All interfacing are from Fashion Sewing Supply.com - and they are having a sale on right now: 15% off. Their interfacings are all I use these days, it is so convenient to order - plus they are wide, mostly 60" so I think a good value.

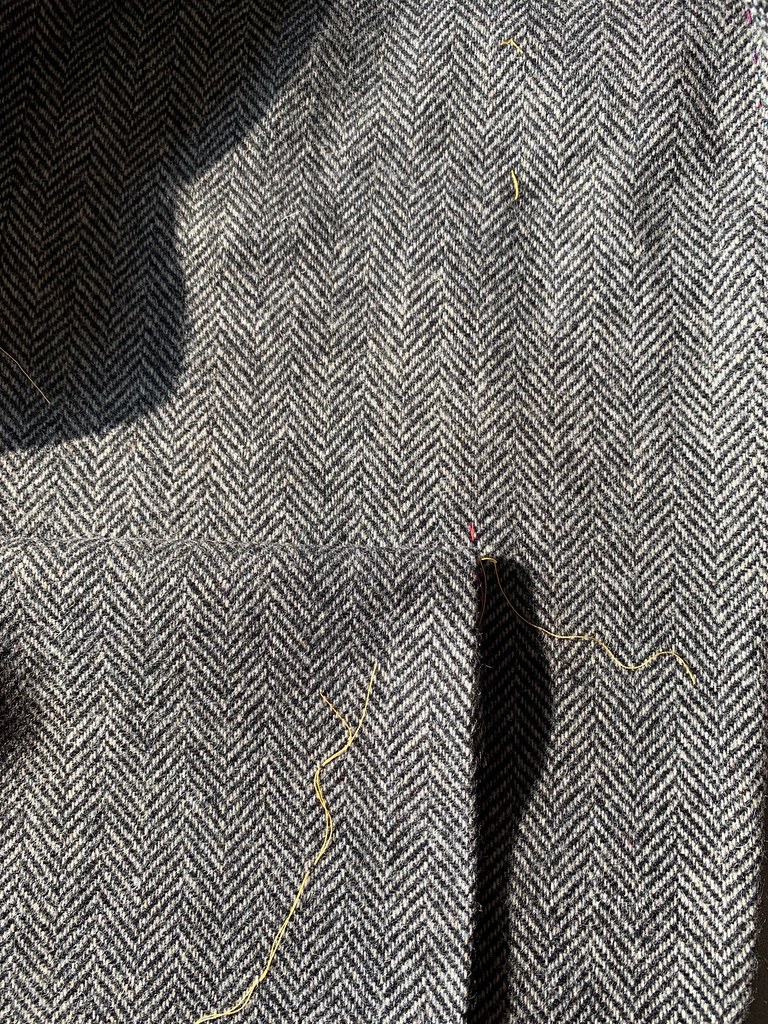
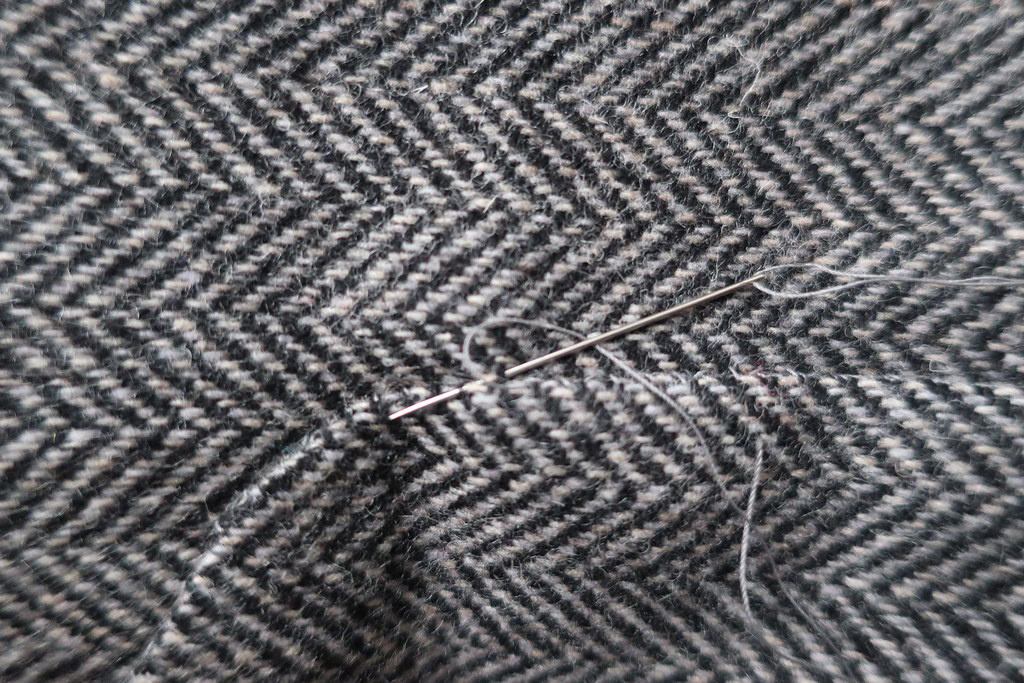
For the under collar and the seams on the upper collar, they are all stitched down with a catch stitch using silk thread. You can see the two pieces of the collar, and that horizontal seam.
I actually made a pre-test test version - if that is a thing - when I first received the pattern PDF from Pauline. That one I made from a piece of fabric that I probably bought for a buck thinking it would be useful for a jacket muslin. A poly-wool blend that would withstand who knows what - and it resulted in a very hideous jacket muslin that said "make me again in a better quality fabric". Although this fabric you see now is also, shall we say, "2nd-tier" in my stash. Also bought at a garage sale or some such for a few bucks. Also with muslin making in mind. But I am glad I gave it a try.
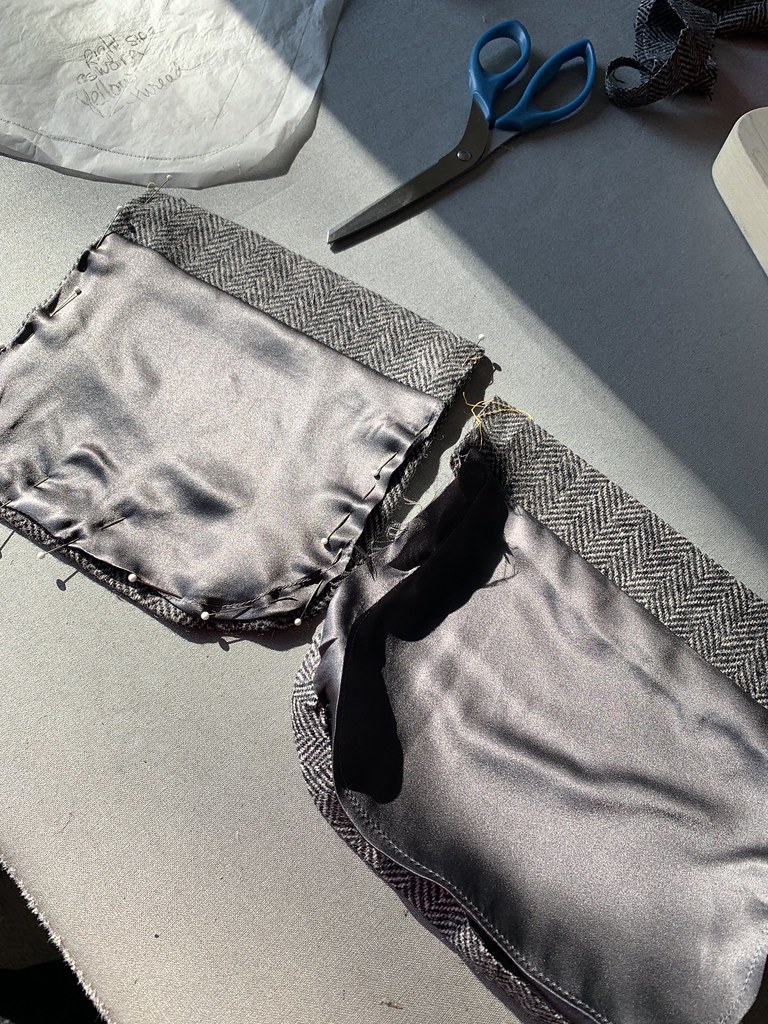
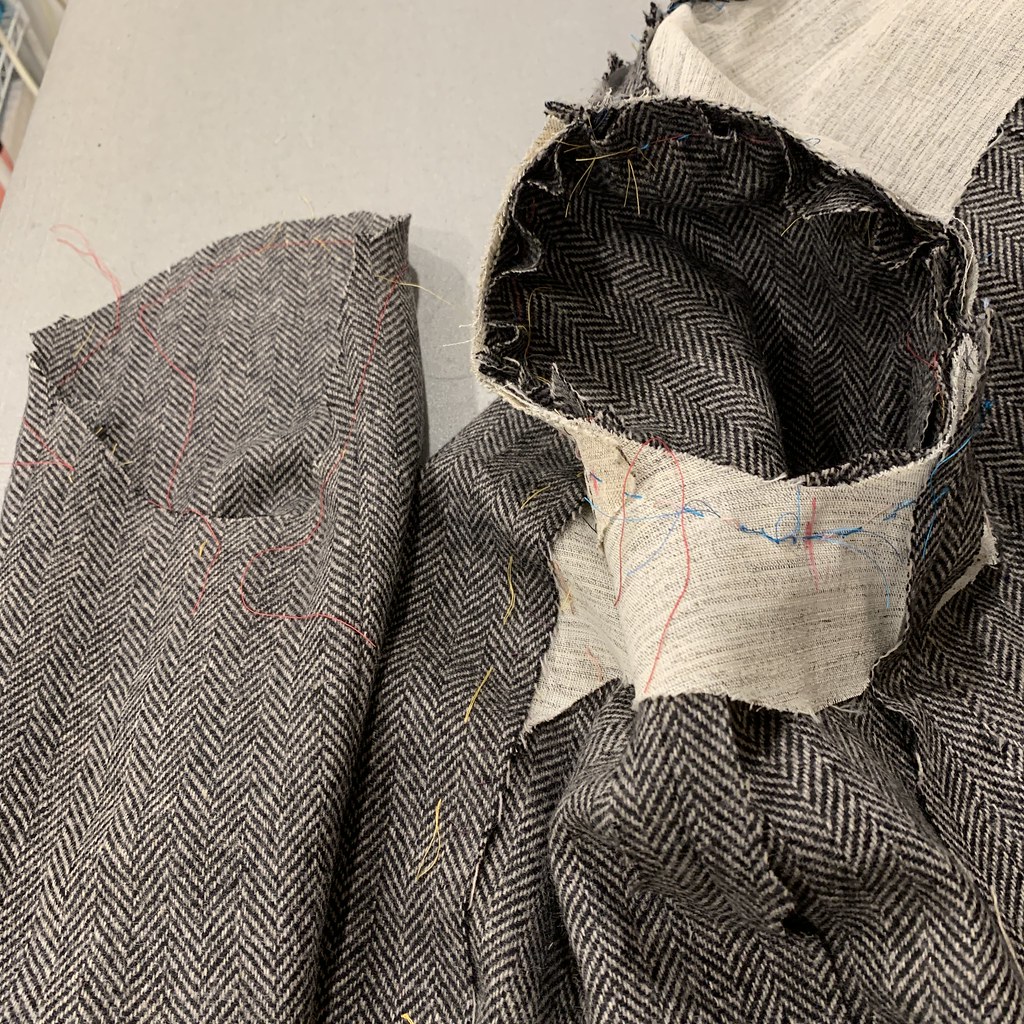
Perhaps you have noticed that I changed the lining so there is no back neck facing. I just can't stand to have a piece of wool on my back neckline - too itchy in that spot. Another thing I don't like is bagging the lining - while it is more "ready-to-wear" unless you know a specific pattern fits to perfection (including hem length and sleeve hem, shape at waist etc) then I much prefer to do some fit adjustments as I go along, and then just sew the lining in by hand. The back neck facing is just incorporated into the back lining.
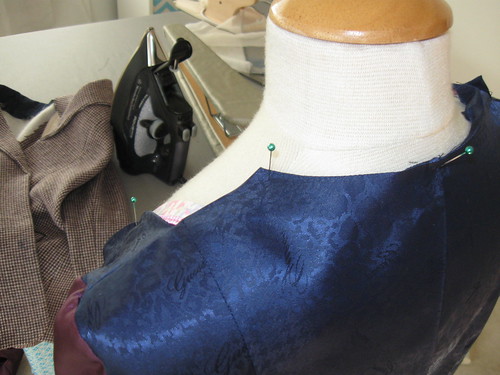
Plus I really enjoy doing hand sewing. To me it is relaxing. Anyone else think so?

One other change is curve of the bottom front edge. If you see her pattern it is sort of a cutaway shape and I'm not crazy about that so I added some to that edge. I also lengthened the jacket by 1 inch. Which might seem counterintuitive as I am not tall but I just have very specific views on where a jacket should land on me. These are the small changes that make me happy to sew my own clothes so I don't have to live with some small detail that might not be to my liking. The part below the red line is what I added.

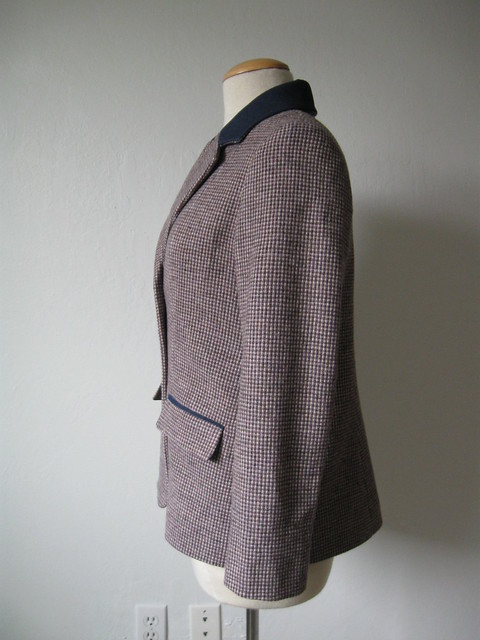
Since it is a pattern and I took these here are more views of the jacket. The sleeves on this were spot on. Also her instructions seem very good and she includes pattern pieces for everything including interfacing which is very helpful if you are new to jacket sewing.
Back view. I forgot to mention that this pattern has shoulder princess seams, front and back which are really great for fitting and also look very nice. I addd some width at the hip and I split it up all around on the princess seams which is a good way to do it and keep the proportions.
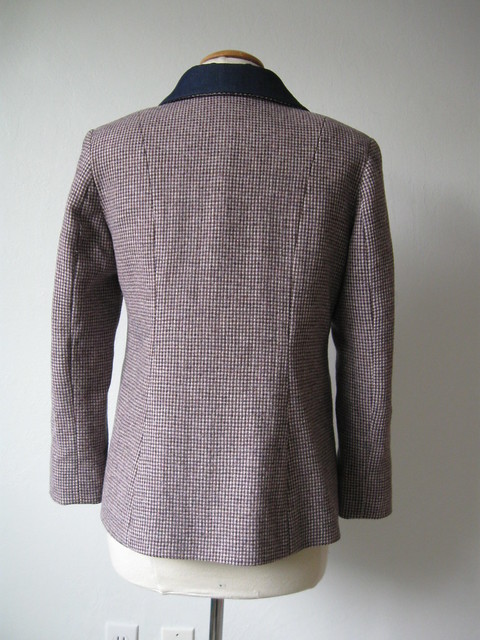
One last parting shot - I am so happy with this denim collar. And pattern love - I might even make this in a knit, unlined or partially lined. Buttons from my button cookie tin - yay! and they are just right. A lucky dip into the button tin that day.
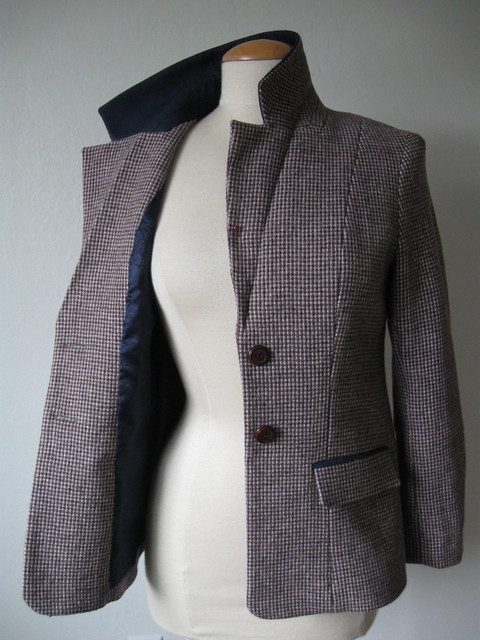
In summary - another very nice jacket pattern from Pauline Alice. My version looks so different from her version in her pattern store - I think hers is in a cotton twill maybe? It just shows that a pattern can be whatever you make of it depending on fabric choice. I will do a review on Pattern Review soon with more details, and maybe on The Foldline. I signed up for that site and then have not been back much.
So this really is the last non-summer item! Onward to a silk crepe de chine print and some eyelet. (broderie anglaise for my AU and NZ friends).
Have a great week - I will be hoping on Thursday that I will not be in Jury Service! EEEK! ok it is our civic duty but......so many other things I would rather be doing, right?
Happy Sewing, Beth
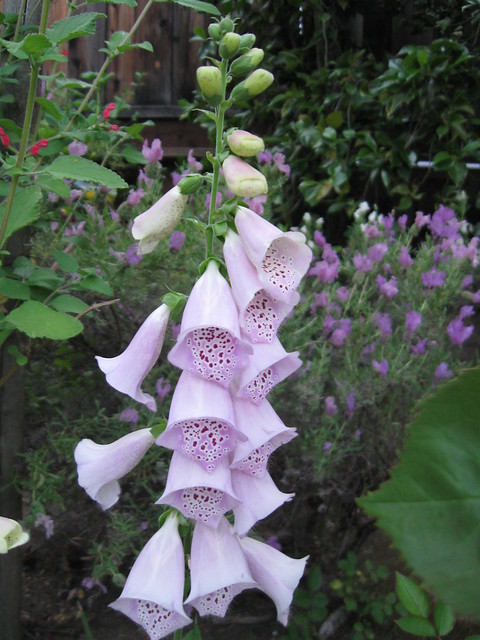
today's garden photo - these foxgloves. This is maybe the 3rd or 4th year since I discovered these would grow here. This year's crop are a bit wimpy, I think you have to get them in the ground at just the right moment but in any case they are so pretty. And give that cottage garden look which is very hard to achieve here. The salvia and lavender in the background do so much better in our dry climate.