
I mean, really? I blame Stone Mountain fabrics. In the best possible way 😊.
One day I was there to get a specific color lining - or something very practical like that and just out of the corner of my eye I spied a bin filled with all kinds of interesting furry remnants. The first thing I pulled out was this one - which is a black faux fur on one side and a shimmery black faux leather on the other side. And the piece was $ 12. Madness overtook me and I bought it. Thinking maybe to use for collars or some such details. But no, the idea of a vest entered my mind and here we are.
However the sewing was a saga. It seemed interminable!!! Perhaps because I wanted to retain that leather side, I decided to make it unlined. This seemed like a shortcut but no. More on that later. I wanted to use a simple pattern and I wanted it to have some kind of collar as my neck is always cold, so this pattern seemed like a good choice, as it was a vest and had an interesting collar. In the end I made it work but it was a long way to get there. McCalls 7693 is the pattern I used.

First up - a little pattern alteration. I realized that the collar piece is cut on the bias. But my fabric had no give at all, behaved like leather, so I had to create a rounded back neck section to do with shape what a bias pattern piece could do. I did a small adjustment on the front to lengthen, and then copied all the pattern pieces so I could cut everything at once instead of flipping or cutting two layers which with this odd remnant was not possible. Here is the layout, I cut with the fur facing down, and still have some sizable chunks remaining for future luxurious embellishments on yet to be imagined projects.
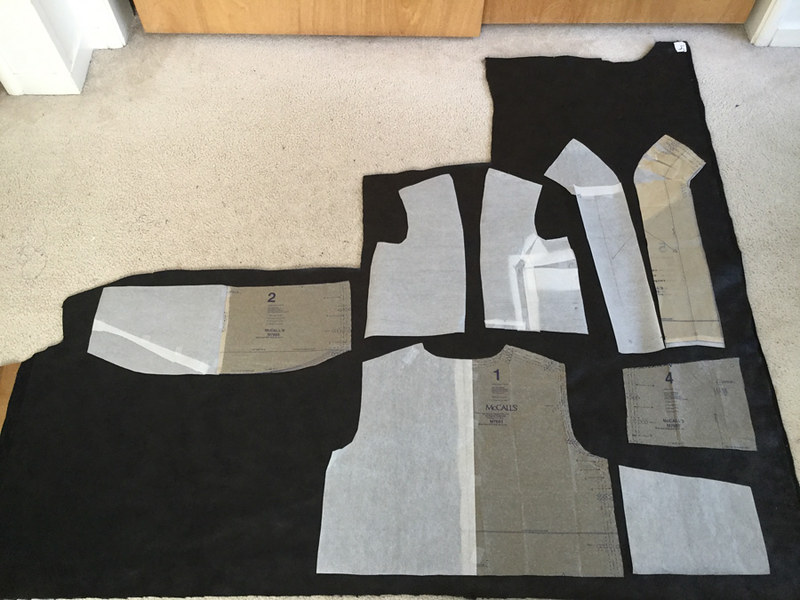
And to think I wasn't going to include pockets. Good thing I came to my senses during the construction because now they seem absolutely necessary.
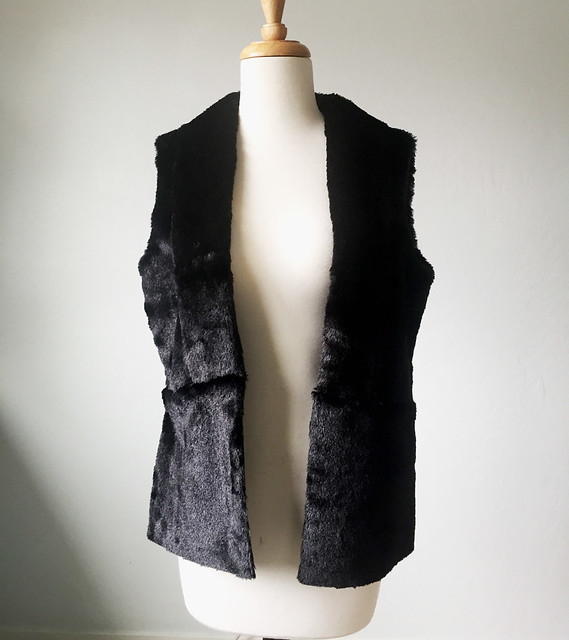
Back to sewing. Here it is completed. This neat and tidy photo does not indicate the amount of fuzz that I have recently endured in my sewing space. And on whatever I'm wearing. And find in every room of the house. I finally came up with a technique which can be referred to as shake the heck out of it and let rain all those little hairs until every pattern piece had shed its fuzzy edges and was relatively safe to handle.
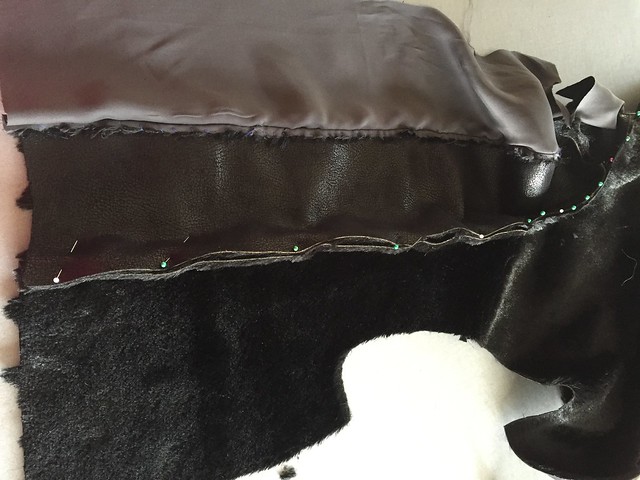
Details of the sewing conundrum. Since I decided not to line it, then the collar needed some kind of finish on the underside. So the collar was lined and I flipped the seam to the underside of the shawl, so it is actually clean finished on the inside of the neckline and then covered by the lining under collar. Hard to explain but if you sew this pattern it would make sense. This photo below shows the shawl collar with the lining, which is machine stitched at the outer edge, and then hand stitched to the vest where all the pins are. It gave a tidy finish and I got through a few movies while sitting and stitching.

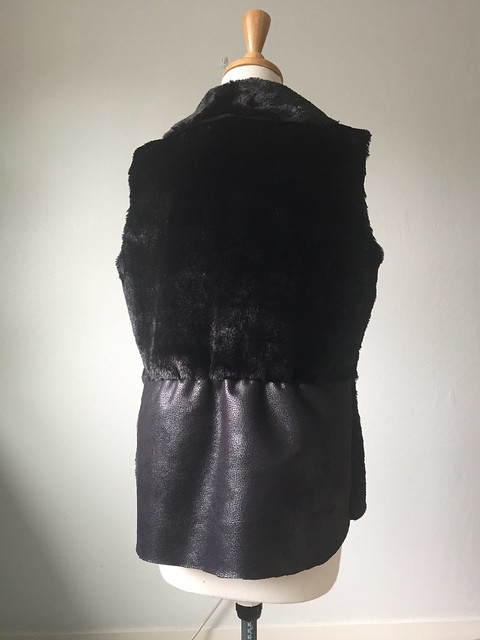
Note the two piece back. After I was putting it together, I was really sorry that I cut it in two pieces, because the seam did nothing for the fur look, and just made it stiff. But as always, a few hours of dress form time gave me an idea, so I flipped the bottom piece so the leather was on the outside. And to me much better. Also the pattern has no shaping, and in a fabric this might work but the stiffness of the faux fur/leather made it look like a barrel in the back. So I put elastic in the back and it gives it some nice shaping and interest. I think it makes it look more like real leather.

Back to hand sewing. Call me crazy but I didn't like how the seam allowances behaved once it was stitched together, so I hand stitched every one flat. And in the case of the collar I hand stitched them down before enclosing with the collar lining. Which is a scrap of charcoal grey silk charmeuse I found in my lining scrap bin. Despite all the hand sewing, the actual machine sewing was a breeze. No special treatment - no walking foot, used pins, regular 80 universal needle.
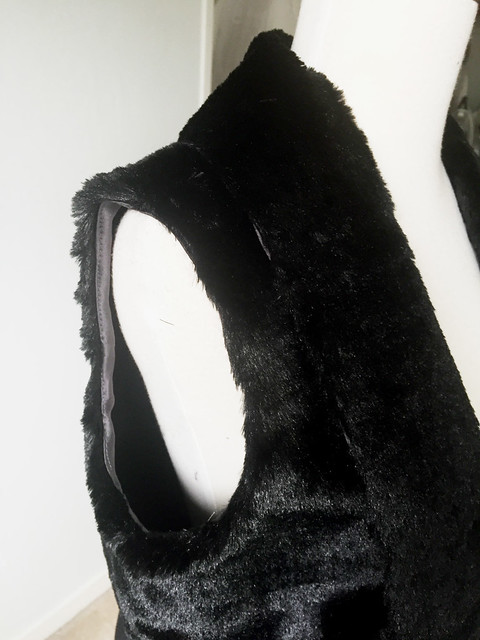
The armholes are also bound with the silk charmeuse.
All in all I'm very satisfied with the way the collar turned out, it feels great and has the right amount of shaping for a nice shawl collar.

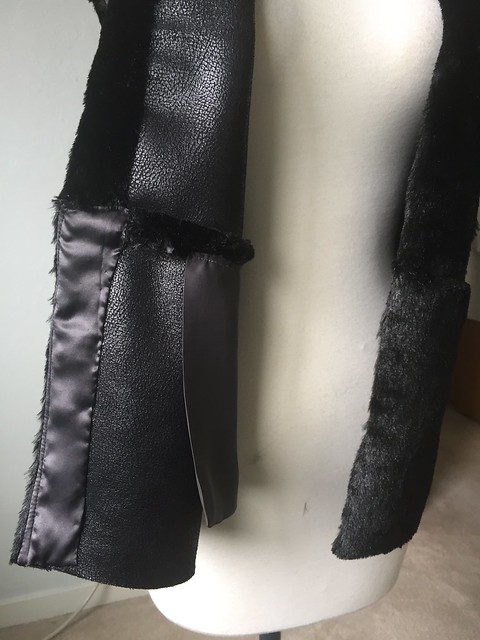
The last spot that I had to do a bit of improvising was at the center front sections below the waist seam. In the end I decided to finish them off with more silk and then leave the bottom end raw. The pockets are attached to the waist seam so they won't peek out below the hem edge. I really like the leather side and wish I could have figured out a way to use more of it.

Every once in a while it's nice to sew something completely wacky, just to stretch the creative muscles. And astound your friends by declaring that you made it.
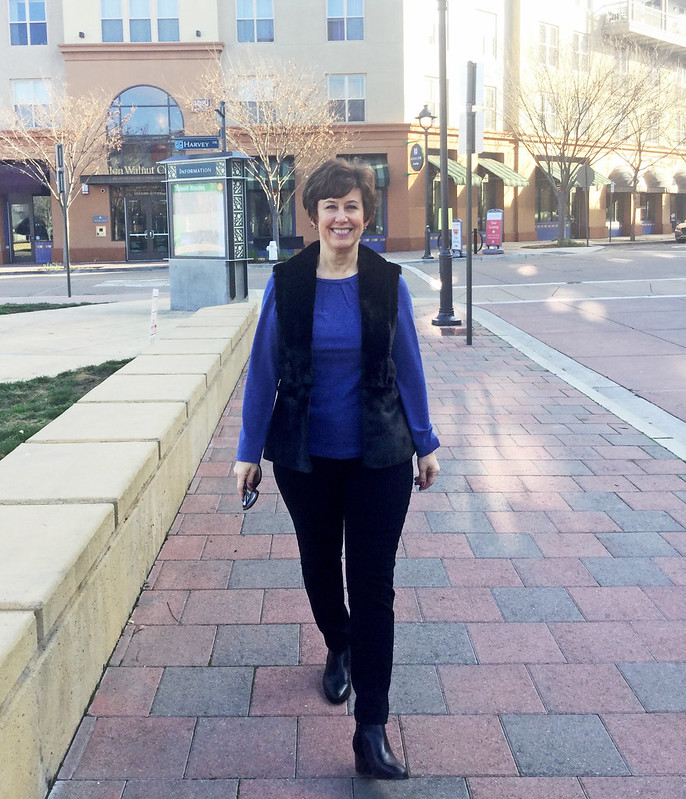
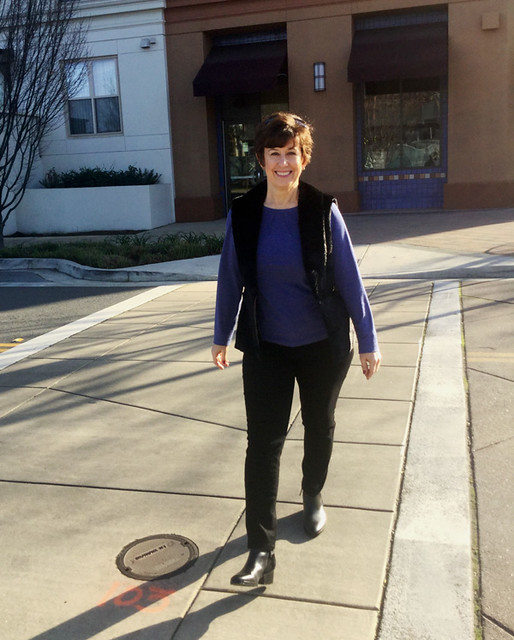
Time to dash - (can you tell I am enamored of the action shots these days, although I spared you a GIF...next time)
Happy New Year Sewing,
Beth
By the way, at Hello Stitch Studio in February we have the Copy A Garment class again so if you have a beloved item that is getting past it's prime - clone it! My next blog post should be my copied pants which I am really happy and plan to make pants in any color that strikes my fancy.
Other classes are listed on their website, and if you have a particular class. specific garment or pattern you would like to do in a class please let me know - we're open to any class ideas.


That's GREAT, you are one clever lady!
ReplyDeleteThat turned out pretty! I don't often make something on a whim as I tend to overthink most projects. But somehow, when I do, those impulsive projects always seem to work surprisingly well. Guess this relates to more parts of my life than sewing alone...I love the shaping you added to the back and the pretty finish on the collar!
ReplyDeleteI love it! You did take a circuitous route to this vest, Beth, but it turned out great!
ReplyDeleteThis is such a great piece ! I love the way you used both sides of the fabric & easy to explain alterations . I’ve been looking for a pattern like this -thanks
ReplyDeletePS - I enjoy all of your Craftsy posts - I’ve tried without success to comment on them , but they are all so helpful -thanks
I made this vest pattern too, in a red/black/white/silver grey houndstooth type check. It sewed up pretty quickly and it livens up an ordinary solid color top.
ReplyDeleteLove the vest -- great job!
ReplyDeleteI made this pattern and also thought it would be pretty straight forward not to line it since I wash using boiled wool. Wrong! I had to do all sorts of workarounds including some Hong Kong seams (thanks to all you bloggers who introduced me to them!). But I really like the finished vest and wear it all the time
ReplyDeleteWhat a fun piece! Looks great.
ReplyDeleteIn spite of it all, your vest looks good on you!
ReplyDeleteFun garment!
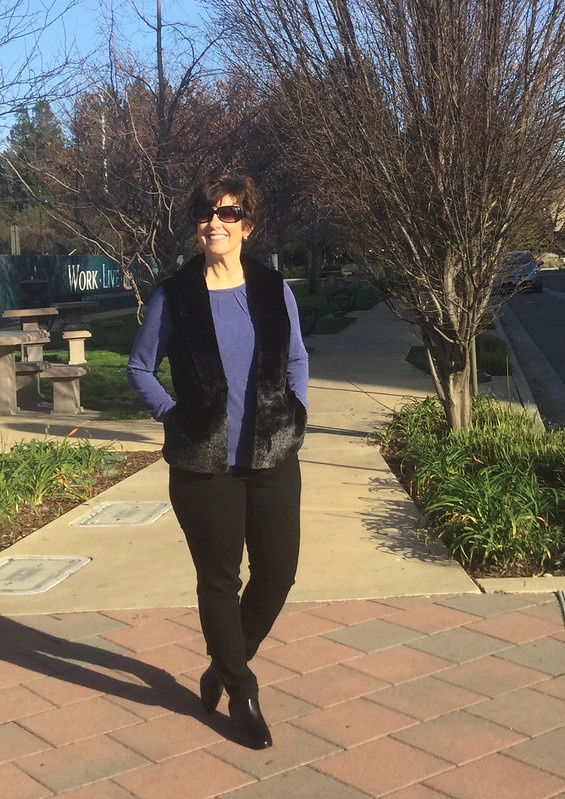
ReplyDeleteUmmmm in the pic of you in the sunglasses, you are looking very modelish! Good job on the fur vest!
ReplyDeleteThat is a great looking vest, beautiful combination of fabrics.
ReplyDeleteI love it! Very chic!
ReplyDeleteVery nice and definitely a trendy look. Love the upgrade you got when you flipped the bottom back piece!
ReplyDeleteLove this!
ReplyDeleteThe vest fits you perfectly! Very stylish and lovely. LOOOVE it:)
ReplyDelete