
Time to finish my blog posts on this jacket - as I have sewn several other things in the interim and I want to get caught up with my sewing/blogging. The previous post covered the collar and lapel construction, with all the pad stitching and pressing details. Next up were the pockets. I don't think I've ever made a jacket with hand sewn pockets but I decided to follow the pattern instructions and give it a go. 
The jacket had the pattern pieces for the pockets plus separate pattern pieces for the actual pocket lining. I actually traced the pattern pieces and placed them over the jacket so I could match the herringbone stripes in the fabric.

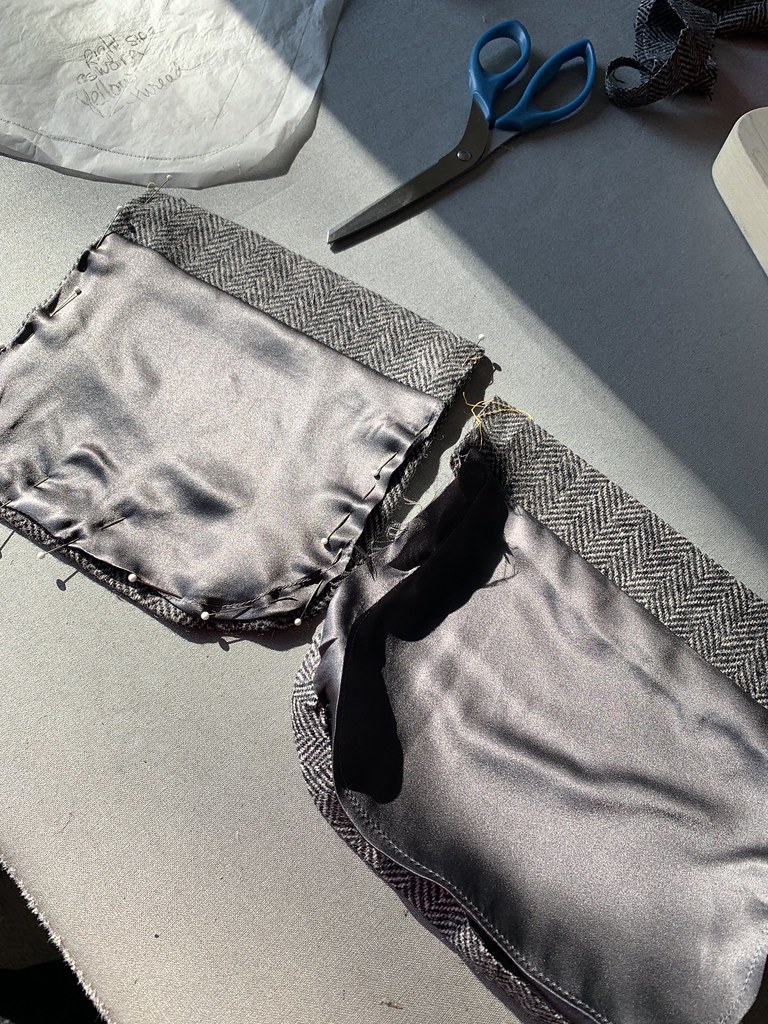
The fold line is marked by my yellow tailor's tacks, and then the left and right pockets are differentiated by the yellow and green basting threads shown on the pockets above.
I did put some lightweight fusible interfacing on the wrong side of the pockets. It just seemed to need a little more structure so they would lay flat and not sag on the jacket front. I trimmed the fusible away in the seam allowance before applying. I made a pressing template from a manila folder, which is my go-to item to cut up and make templates. It really helped with getting the rounded corners of the pocket to press perfectly and all match.

Behind the pockets on the inside of the jacket the instructions said to stitch a rectangle of firm cotton fabric, to give the stitching at the corners of the pocket some reinforcement. That is the spot that might ultimately tear a bit on a pocket. I did baste it down a bit more than they indicated, so that I wouldn't mistakenly stitch it down with a crease when hand sewing on the pockets.

Next was applying the pocket lining. I rummaged around in the scrap bag and came up with just enough of this grey silk charmeuse to make the linings. Which was also hand sewn to the pockets.
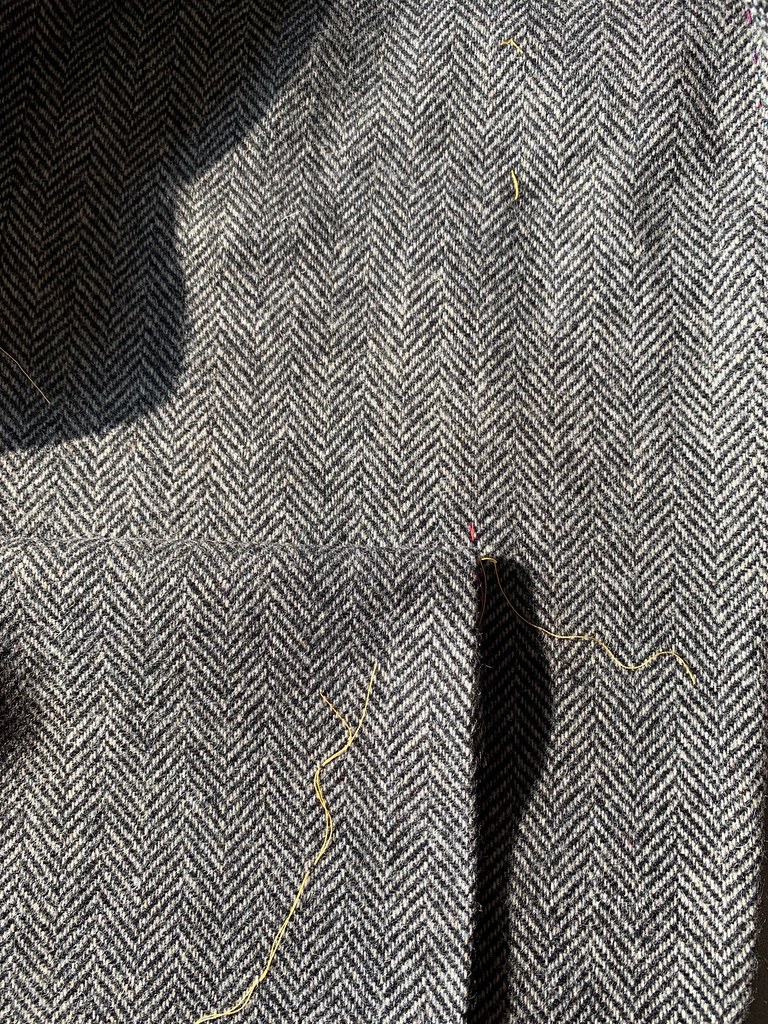
Here's a look at my pattern matching, a detail that will be lost when the jacket is viewed as a whole but I just had to do it.
Then the pockets are basted on, and hand stitched all around. I went around each pocket twice, plus extra reinforcement at the tops.

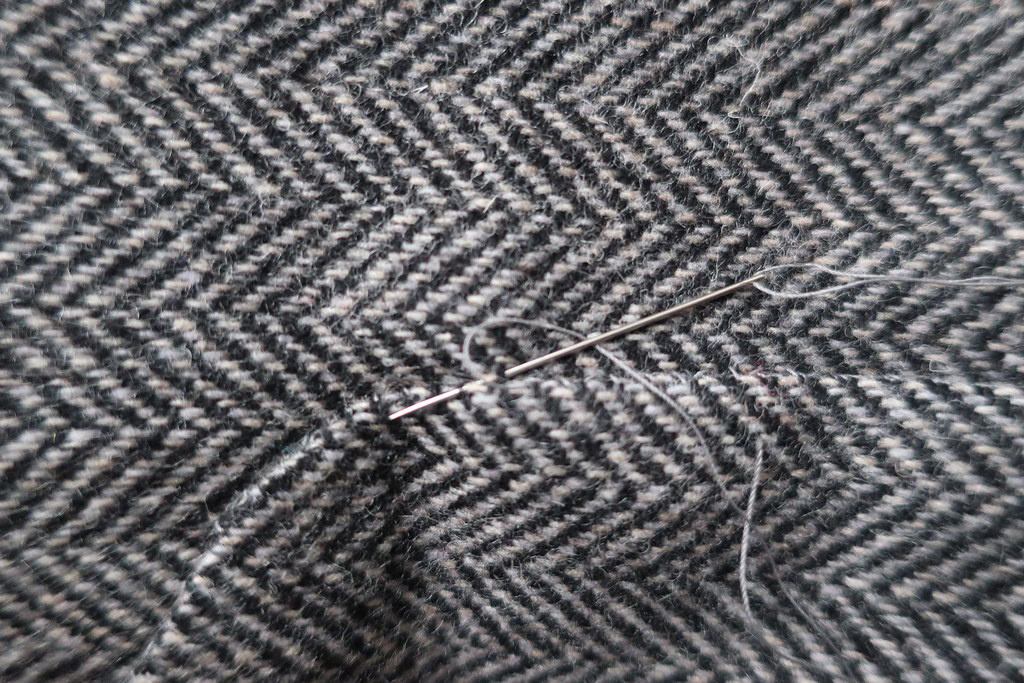
Which seemed like it took forever but was worthwhile. I found the trick was not to pull the silk thread too tight as the patch pocket needs to be secure but also almost float on top of the jacket front.
Once the pockets were completed then the sleeves were next.
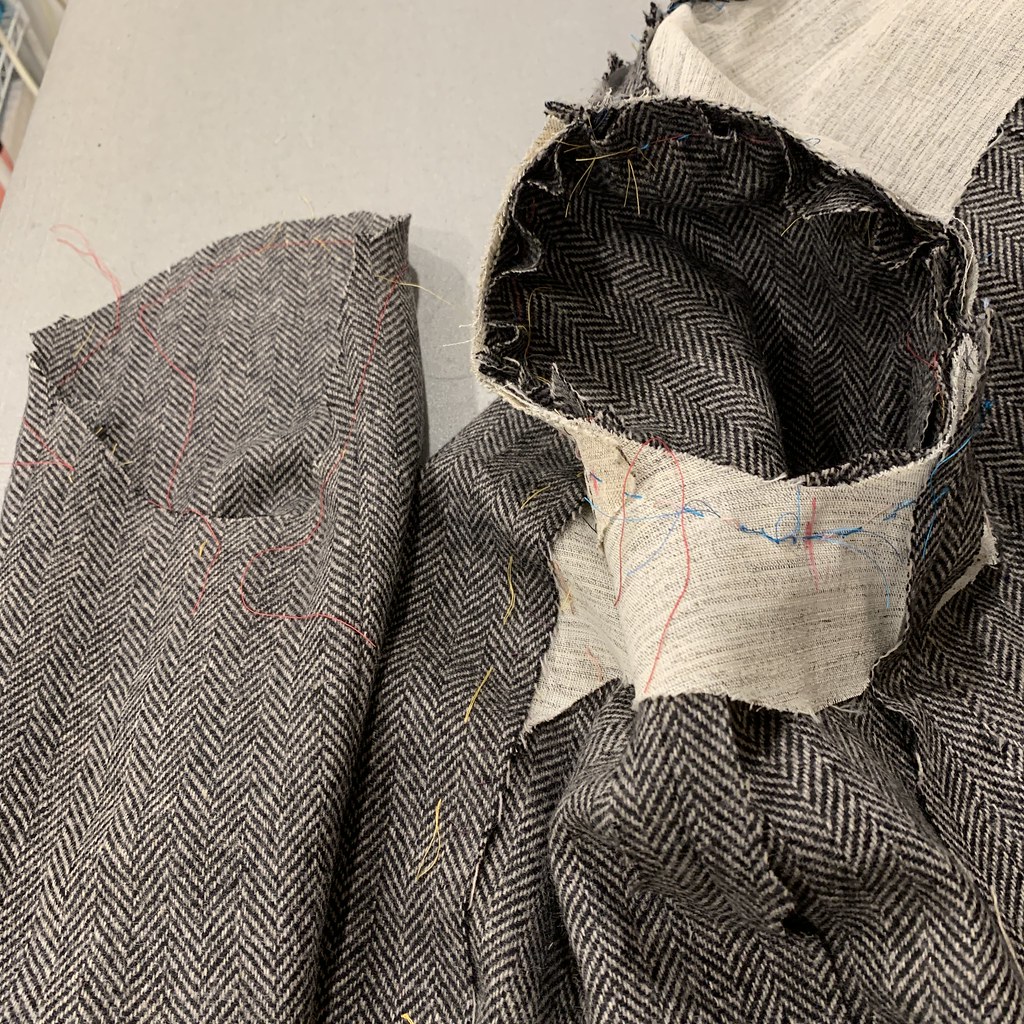
The pattern came with a specific piece for the hair canvas interfacing which goes at the sleeve hem.
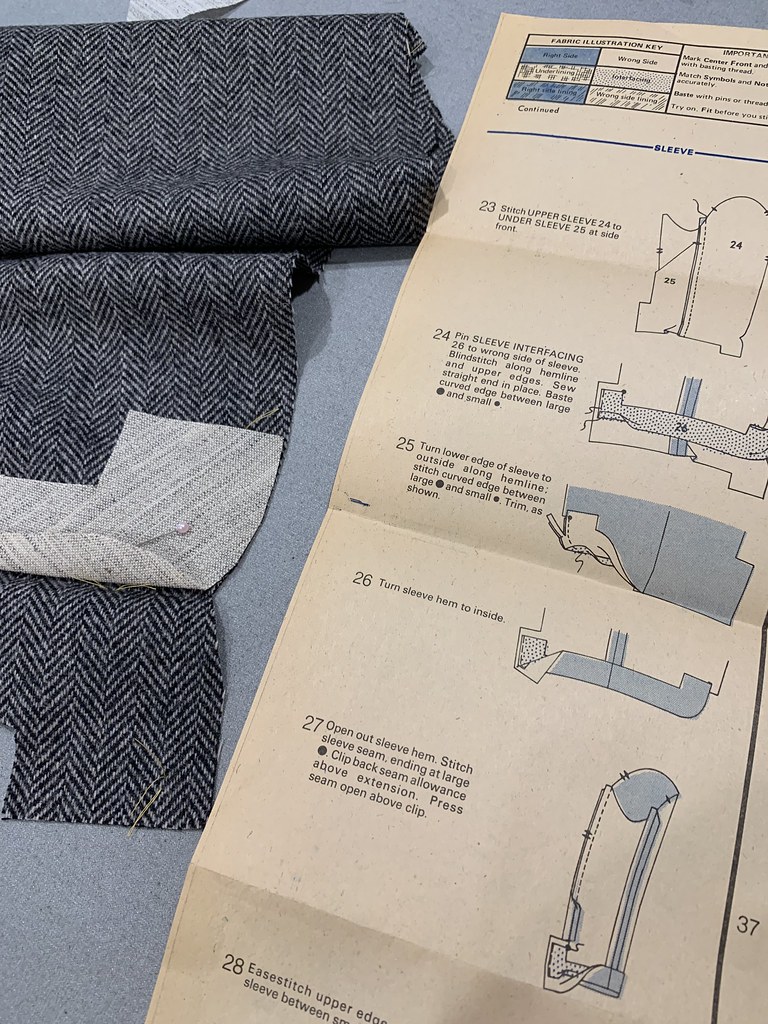

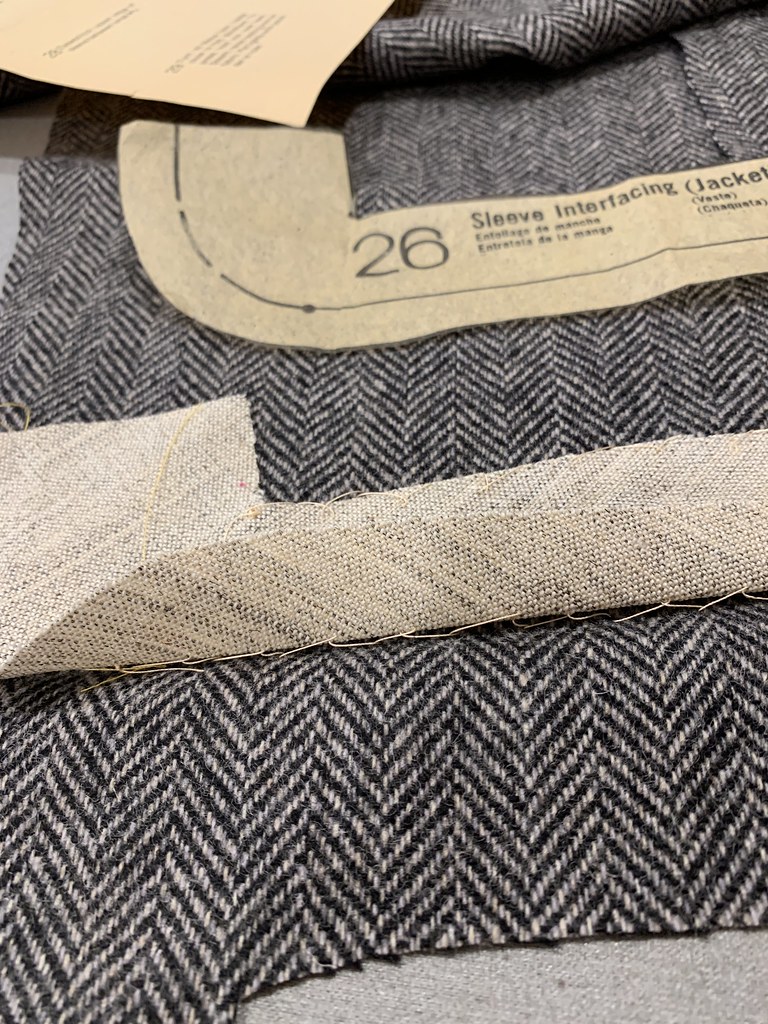
After stitching on the hair canvas, then the sleeve seams are sewn up, with the curved self-facings.
Next up, sewing in the sleeves.
I basted in the sleeves before sewing the on the machine. As it turned out, the sleeves are the one part of the jacket where I'm not really happy with the fit. I just sewed them in according to the markings and didn't really try it on. Now I think I could have rotated the sleeve a bit forward to change how they hang, which I often do with other jackets.
The pattern called for a 1/2" shoulder pad but it also needed a sleeve head so I added that, but didn't take a picture.
After that, it was hemming the jacket, then putting in the lining which I did in the same manner as I have in other blazers I've made. So sewing all the lining pieces together, and then hand stitching it to the the jacket facings and hem.
Here's a look at the finished jacket - but I'll have more photos in the next post, including the lining and wearing it with my Tatjana trousers from Just Patterns.

So that's this jacket almost completely blogged - and I'm ready to move on to other things. Which include a plaid coat that I finished as our warm weather is arriving. Another coat I'll have at the ready for next winter, when hopefully we are going out of the house!!
Happy Sewing,
Beth
Daffodils blooming everywhere now.


The outcome is just amazing. Thank you for the comprehensive step-by-step, it is very clear and will be very useful for future tailoring makes (I'm working on a waistcoat). I love this 'end-of-winter' period : it's still cold but
ReplyDeleteit's the very start of the blooming and we already have first scenes of the show that will take place throughout the spring.
Really interesting to see the traditional techniques in use - very time-consuming but so worthwhile to achieve such a beautiful jacket. Thanks for sharing.
ReplyDeleteWhat a beautiful jacket and so beautifully sewn. I quite enjoy handing sewing, is quite relaxing and gives a lovely finish.
ReplyDeleteI have done this years ago and it is a lot of work! The first one I made was with the help of my trusty Vogue sewing book back in the mid 70's. The second one I made in a couture sewing class I took in the early 80's. Those are the only two jackets I've made with hand tailoring like this. Of course the pattern was a Vogue designer pattern and it was beautiful. That was enough but it's a learning experience. I have used some of what I learned in other jackets and coats. But, I'll take fusibles when I can. It's just a beautiful jacket made with the quality wool it deserves. I love seeing your process, as I'm sure I've said before. I look forward to your coat, and I am off to the sewing room to finish my winter coat, hopefully getting to wear it at least once this year!
ReplyDeleteI really enjoyed seeing how you made the jacket. Your photos and explanations are always so clear. The finished jacket looks amazing. I wish my hand sewing was that neat. I do enjoy hand sewing and I think it's well worth the time to get a beautifully finished garment. My skills don't extend much beyond hand hemming but don't like the look of machine sewn hems so I am always happy to hem by hand. I'm going to have a go at hand stitching lining in my next jacket. Thanks Beth.
ReplyDeleteWow! It looks really wonderful. The hand sewn pockets are a beautiful detail. Inspired!
ReplyDeleteI'm a new reader and need to go back to the beginning on this one. I did a lot of tailoring in the 70's & 80's but just haven't done anything like this in a while. Herringbone is one of my favorite weaves and this just came out glorious!
ReplyDeleteI greatly enjoyed reading through your posts about the making of this jacket. I had been working on a coat/jacket using another YSL Vogue pattern from the 1970s, started last year around the beginning of the pandemic and then picked up again and completed this month. The lapel, shape and pocket details are not the same as yours (mine is Vogue Paris Original 2930 - topper coat with silk dress underneath), but there are a great many similarities, unsurprisingly. It was interesting to reflect on the sewing that I did and to pick up new tips from you! (For example, I love the manila folder form idea, which I didn't think of. I spent a lot of time making my pockets by hand and trying to get them to be symmetric (the pocket shape is interesting on mine - a bit angled and asymmetrical anyway). I made mine in a dead stock plaid fabric with a story behind it that required quite a bit of matching. I also like your addition of an inside pocket, which I will copy the next time. I find hand sewing relaxing, and so although I am not by any stretch the seamstress you are, I am happy to make another coat/jacket using hand tailoring techniques so I have already started a spring version of the same coat in bright yellow (one bright spot in a difficult year). Thanks, as always, for your detailed and helpful posts.
ReplyDelete