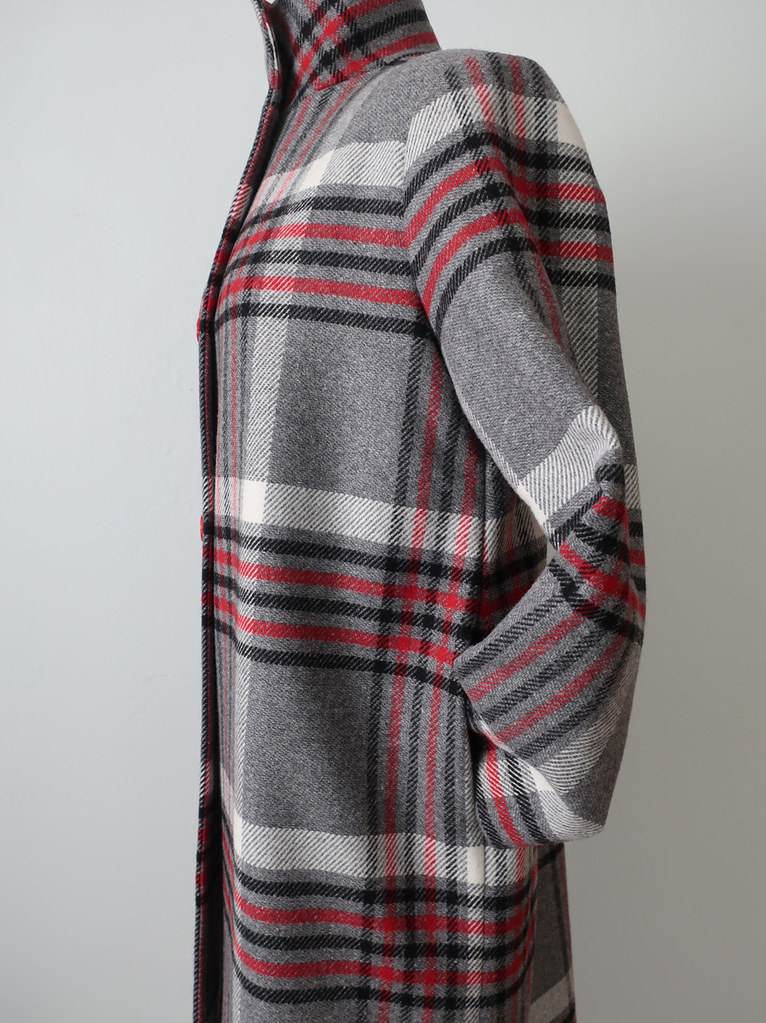
Oops I've done it again, sewn up a nice winter coat as our weather changes to sunshine and no layers required. If I look back on the blog I seem to have done this a few times. Note to self, make the coat before November. Yeah, that's not going to happen as it is still quite hot here then so I couldn't deal with sewing a wool coat. Consequently I have another one that I may keep for next winter or pass on to a friend. That seems to be the theme of my pandemic sewing, which is just as well since my closets are bursting and I don't need anything. But there are so many interesting patterns and beautiful fabric that I want to sew up.
I will get to the coat in a minute - this will be the first of two posts about it as it had a few interesting details. But what I have been busy sewing lately are a couple of different jumpsuits in anticipation of my April sewing class with Hello Stitch Studio. For this class we're doing coveralls. I think that is a great catch-all term for what are variously called boiler suits, flight suits, and jumpsuits. They all have a bit of a mechanic's workwear look and I had to be convinced a little, but now I'm fully on board. However I haven't made one for myself. (see above paragraph re: bursting closets)
So to familiarize myself with these patterns I sewed the Merchant and Mills Thelma Boilersuit for Stacey, one of the owners of Hello Stitch.
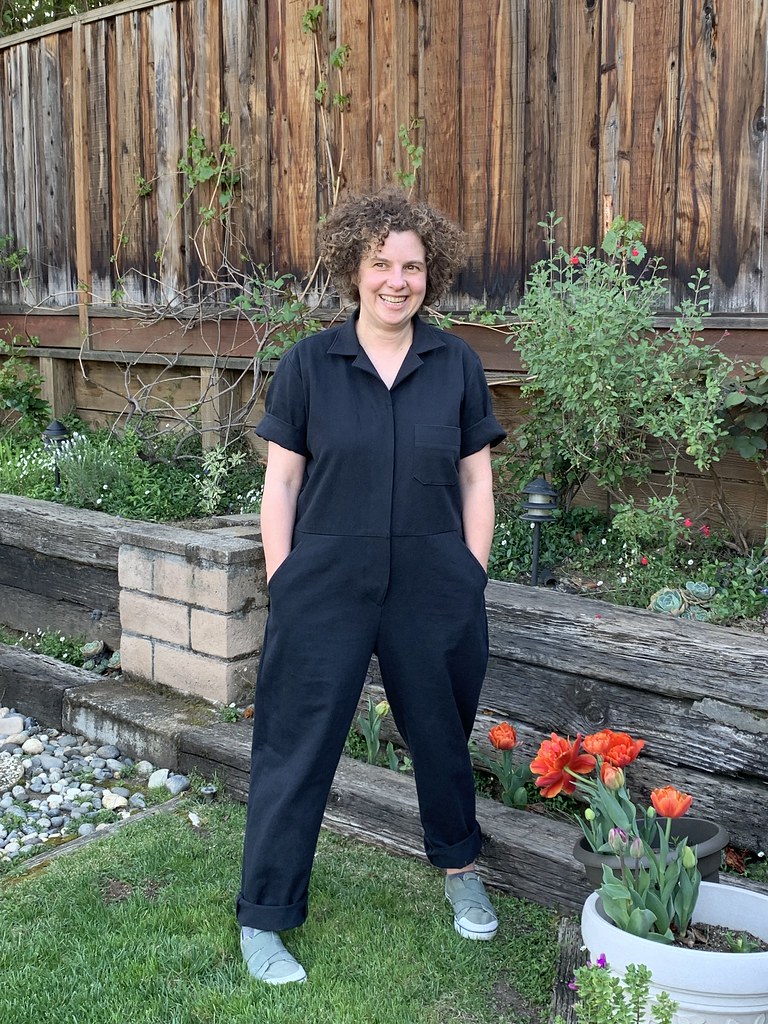
What a great style, it has just the right amount of ease to be comfortable and plenty of pockets to carry everything. I did puzzle a bit over the instructions but that's why I sew up things before my class so I can explain the construction details.
Not to be content with making one coverall, I managed another one for my friend Halnya (
@zigzagstitching on IG). This is the Blanca Flightsuit from Closet Core Patterns, in a mystery fabric which came in the big stash of fabrics an estate clean-out gave me earlier this year.

Both these patterns have some clever details and some opportunities to learn new skills (hidden buttonhole placket, center front zipper with placket, both a bit tricky!)
So if you are interested in making a coverall style jumpsuit the class starts next
Tues. April April 6, 7pm. for four weeks. By the way - if you aren't interested in this specific type of jumpsuit but want to join in the class anyway that's fine, on Thursdays we sew together, check progress, I answer questions and troubleshoot how things are going. Plus we all get to have some sewing conversation with fellow fabric lovers.
By the way, for both these garments I chose a size based on their measurements and the fit was nice so I think these styles have a bit of wiggle room and fit is not such an issue - although I have some ideas about construction allowing you to fit as you go.
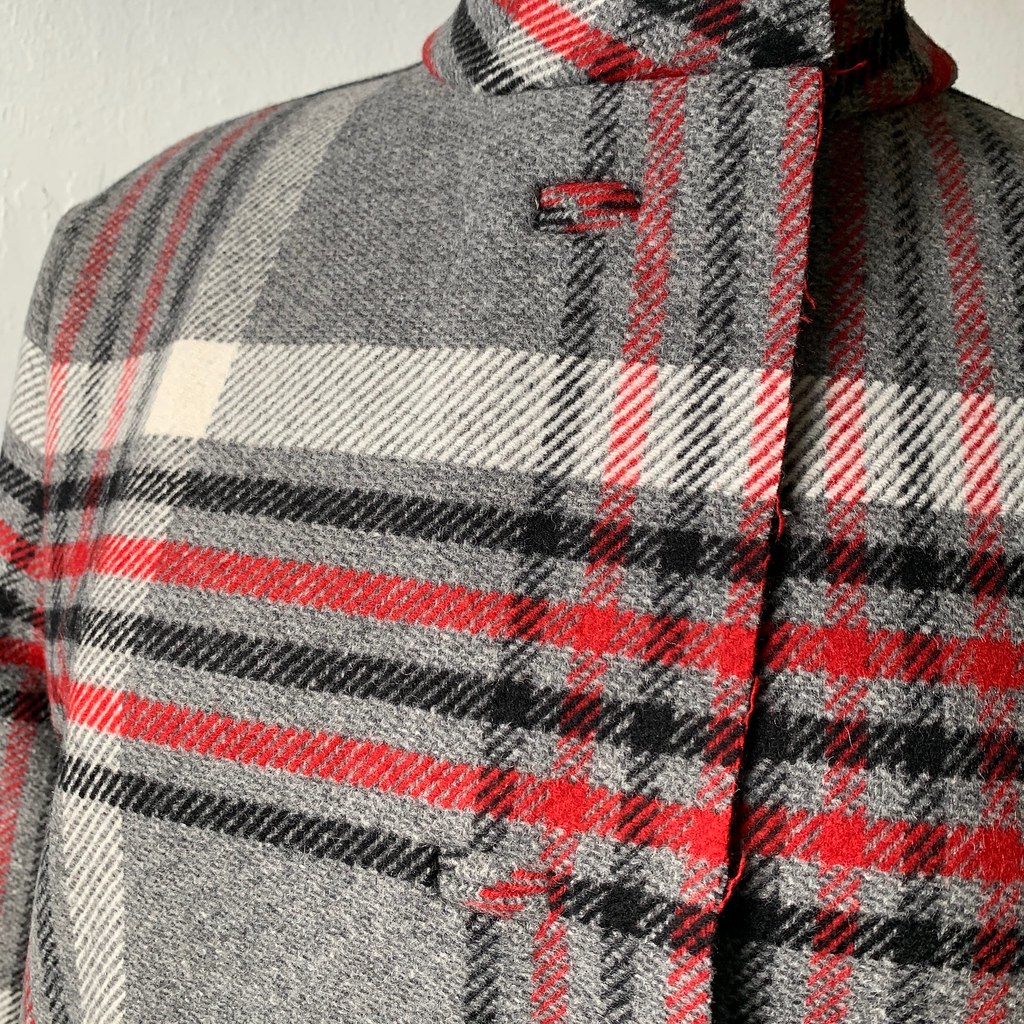
Back to the coat. When I saw this fabric choice as a Minerva Ambassador I was really excited as I've seen a lot of very cool fashion-y plaid coats this past winter and wanted to try one. The slight trouble with plaid outerwear is that you have to choose your coordinating outfit kind of carefully, but I thought that the grey/red/black combo would work out with things I like to wear in the winter. Note I received this fabric from Minerva.com in exchange for sewing it up and posting about it.
Here's a look at the fabric and a bit about how I match the plaid. This step was cutting out the coat front facings. I like the facings to match the plaid lines exactly as the outer part, and fortunately I had enough fabric to do so with a tiny adjustment which you will see later. For big stripes like this I draw them on my pattern pieces and it really helps to get everything lined up. I generally choose one dominant stripe and use that as my guide line, so here I used the white line.

Note that this is an uneven plaid - meaning it is not symmetrical so you have to approach it carefully and decide where you want the prominent lines plus how you can lay it out so it doesn't look unbalanced on the back, for example.
Here's another look at the plaid matching. I think this was matching at the side seams, front and back. Also for coats I often put a cut-on extension on the pocket area so that you don't see the pocket lining, so much easier than sewing something on.

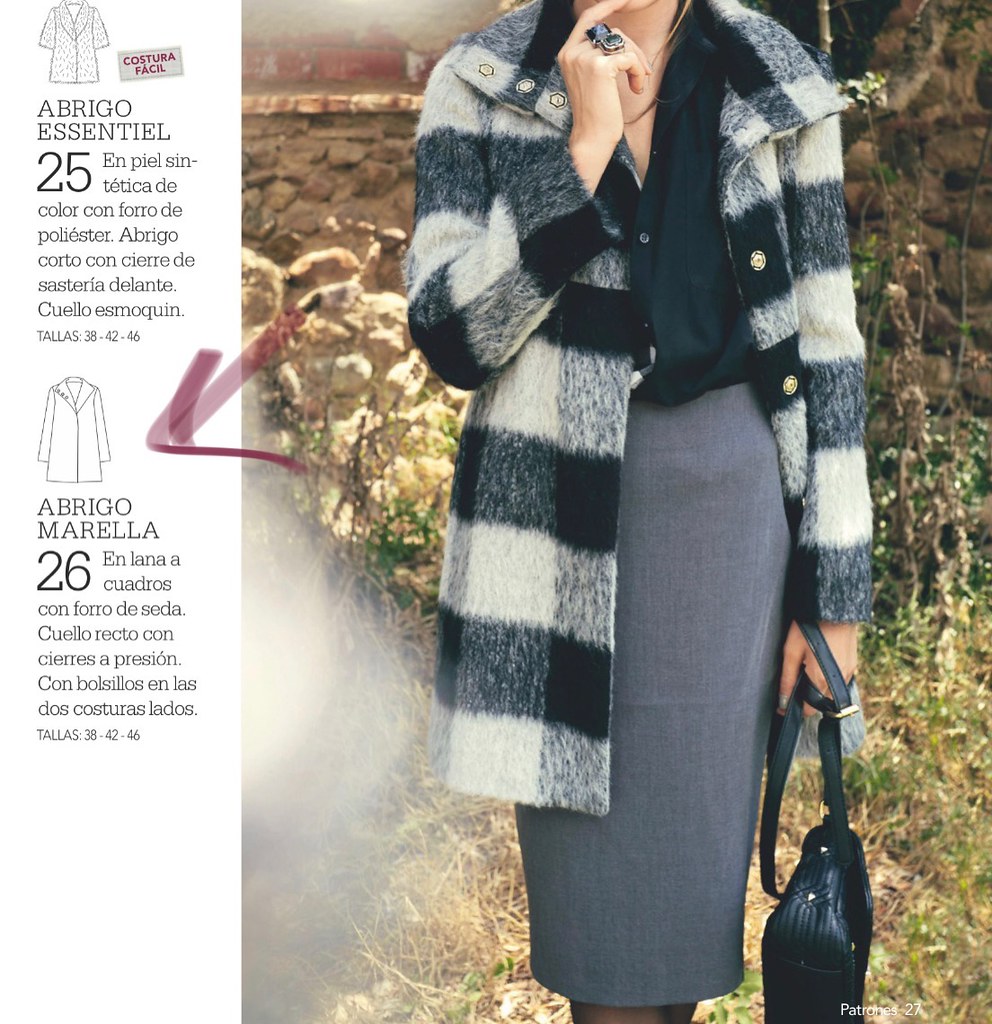
This is the pattern I used, it's from Patrones digital app, I will have to look up which issue it's from. But my main goal was to use a pattern with minimal seaming and thus simple pattern matching.
I did a good rummage through my button box and found these 4 red buttons, which were entirely suitable. If I was running out shopping for every little thing these day I might have chosen some larger buttons but these are just fine and had the added bonus of being right there in my stash!

That's a test buttonhole, extra large but I was trying to see if doing it on the bias was noticeable. I decided it was so I went with that.
Since I took the photos as I went I'm just going to include all the bound buttonhole process photos for those who like details.
1. Thread ladder

2. Pin welts on outside of coat, mark stitch end with chalk
3. Stitch on right side, turn and press
4. later when facing is attached I slice open the facing, turn in edges and hand stitch to rectangle of buttonhole on that side. (I don't use the "window" method)

Here's a look at the coat in progress, with buttonholes mostly done but before I attached the facing.
So that's what I've been up to. Spring has definitely arrived, time to get out the sandals although we all wish it would rain again - it's going to be a very dry summer.
Perhaps my next project will be a spring dress for meeeeeeee! I have my first vaccine and with the next one a couple of weeks away I think this summer will be a big improvement over last year.
Happy Sewing and stay well.
Beth
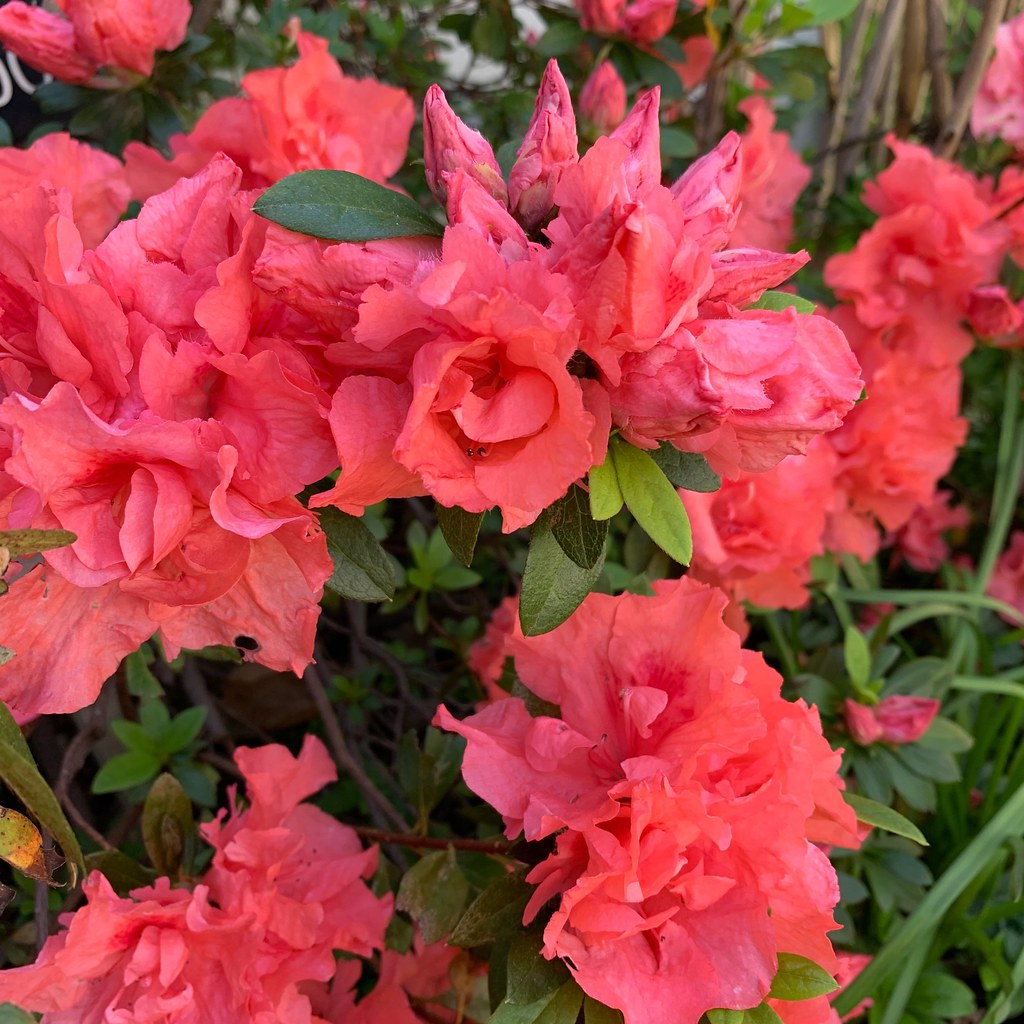
today's garden photo, I don't think much of azaleas, as they bloom for a short while and then they are done - but oh when they do, the color is fantastic.
