
I used my basic shirt pattern which is Simplicity 2339. This is the definition of a TNT pattern as I have now used it at least 12 times since I started blogging.
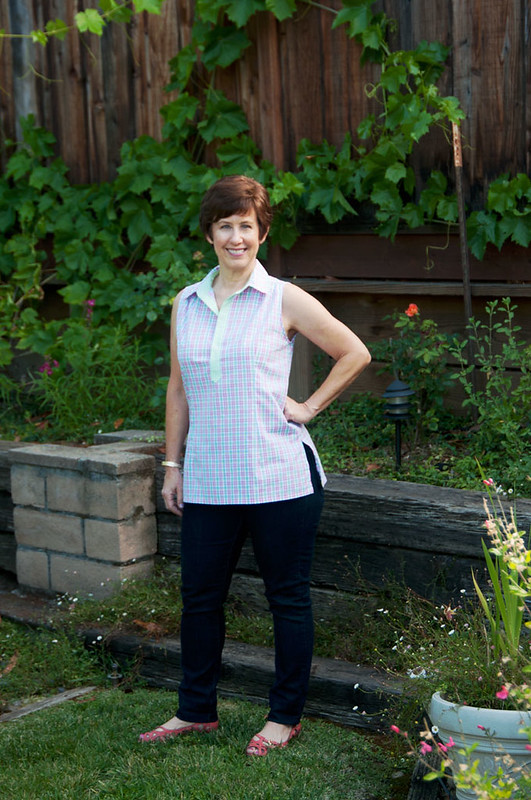
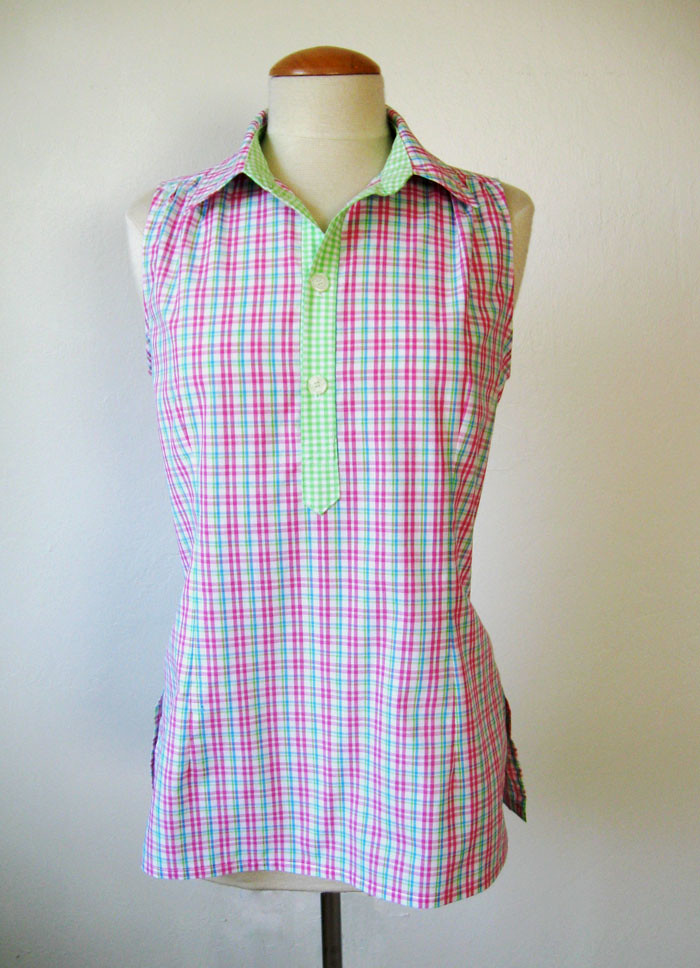
Here is the top on me - and I see in the pic that the buttons are done up a little wonky making that slight crease near the bottom of the placket - which I swear is not there in real life. Oh well, I am not blinking or making some weird face, so the picture will have to do.
I got this fabric at Joann fabrics, I was just looking for a fabric to make this shirt as I was writing a post for Craftsy, and wanted something that would show up in photos, be easy to press etc. And didn't cost much! I had a couple of suitable fabrics in my stash but actually I didn't want to devote them to this shirt, so instead I bought this with a coupon for about $ 8.00. And then decided it needed the contrast placket, and found that contrast gingham at Stone Mountain.
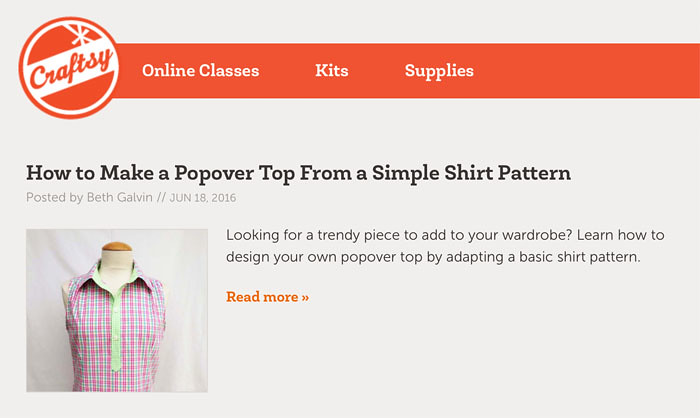
Here is the link to the How-To post on Craftsy. It is kind of long so I won't repeat it here, they also made it a downloadable PDF which you can print or save.
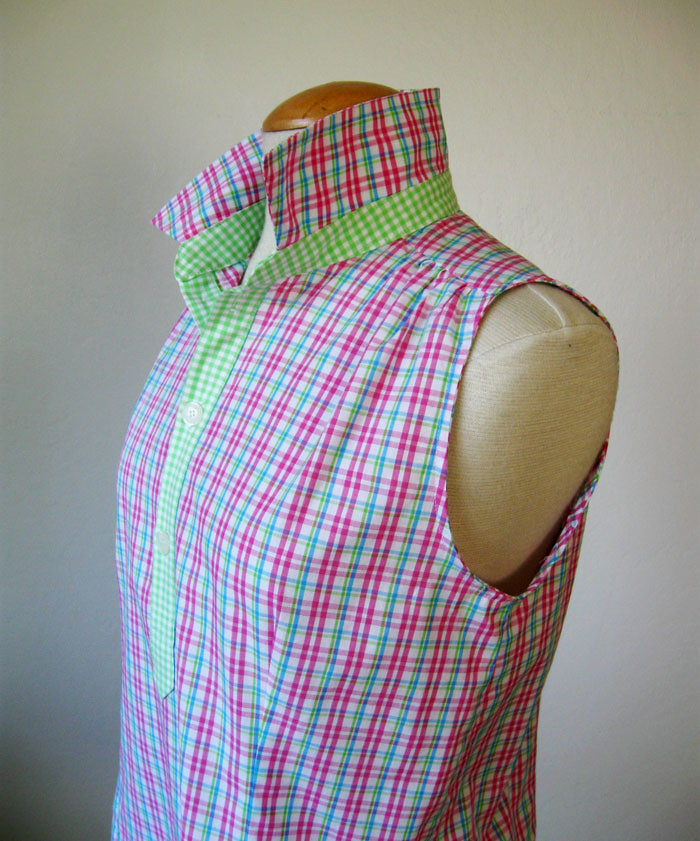
Changes made on the pattern, I used the version with the horizontal bust dart rotated to pleats at the shoulder (my first version here and the Craftsy post with pattern work details here). I also cut in the shoulders a bit for the sleeveless version, there is a good visual for that here on my recent post for the first version of the popover shirt.
This fabric is actually really nice - there is an occasional winner among the mostly not so great yardage at Joanns.
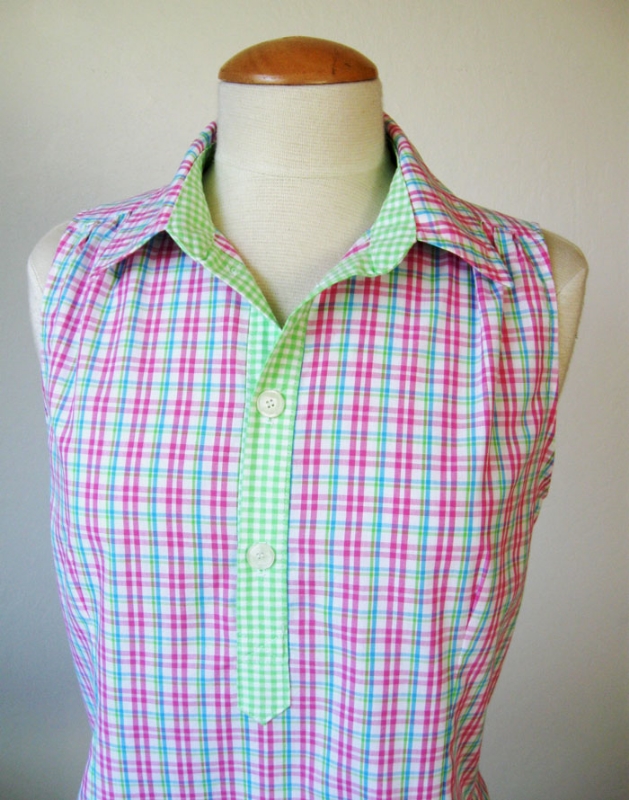
Ok back to the placket. Which I know is not the reinvention of the wheel but it is nice to be able to adapt any shirt pattern to add this feature. Also if you don't like button up shirts because they strain across the bust despite fitting well - this is a option to consider. I could see doing the placket kind of short - just enough to get it over your head and then putting a zipper in the side seam. Which you may think sounds like a lot of trouble but in order to get a well fitting shirt that is comfortable AND stays closed over the bustline might be totally worth it. I am going to make a shirtdress version for my friend Heather with just this technique. (it was her that made this clever observation :)
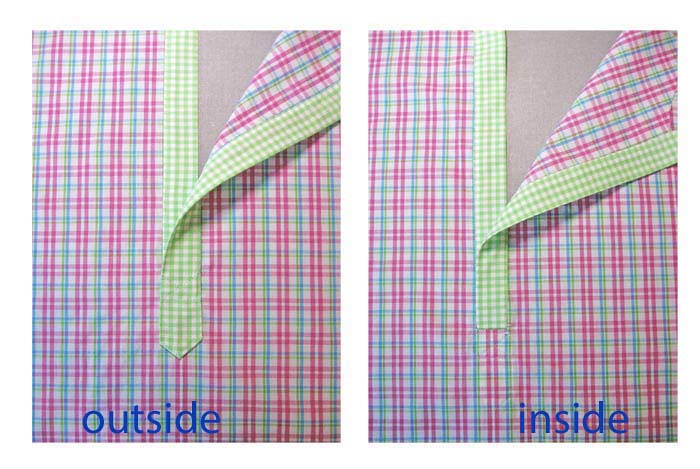
Placket inside and outside view before buttonholes. This fabric pressed so crisply and was really easy to sew. Also the small plaid was good to keep everything straight, so that is a plus.
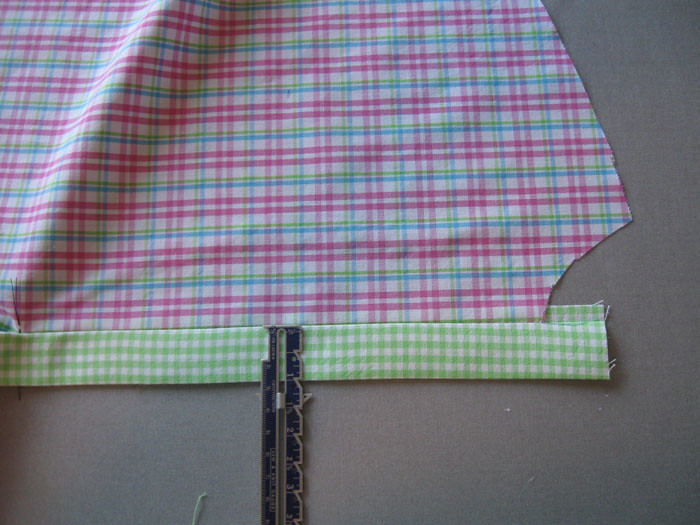
Here are a couple more sewing tips that didn't make it into the Craftsy post. I decide on the width of the placket, usually just the same as the finished width of the button band if the pattern has one. Which is typically 1 inch so I suggest you go with that. When I fold the placket back I don't make markings where I will fold it under, I measure it once sewn and create a 1 inch wide placket, and then tuck the remainder under and topstitch. I find if you press that 1/4" seam allowance previously then due to the turn of the cloth (which is small I admit in this thin fabric but you would be surprised how much it affects the result) then you get a even width in the placket.
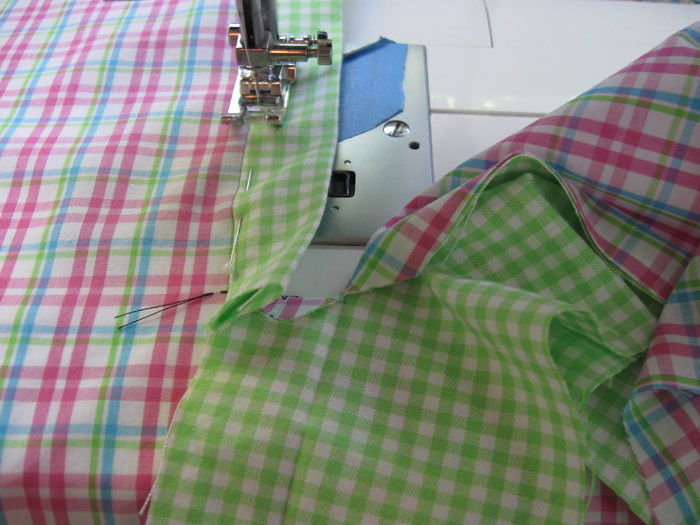
Sewing the placket down, start with the under side placket. Note my tailor's tack there. I use them on everything, not just on jacket tailoring projects. And stitch on the right side of the placket, so you get a nice straight edge. If you look at the Craftsy post this will make sense (I hope).
More sewing details. It always surprises me but one of my most frequently pinned posts on Pinterest is this one on how I sew collars. That is from my early days of blogging - small photos and if I had known it would be read so many times I might have done it differently (better :).
But that is the method I use to get the round part of the collar stand to be flat and have no extra bulk. Although there are a couple of different ways to attach the collar and I am planning one of these days to try another method I saw in a shirt making book. So here is the final step once the band is complete attached to the shirt, the last step is to close up the top of the band - in this case by stitching all around the band.

More shirt pictures. I made this one more of a tunic length, with side openings at the hem. I included the vertical darts both front and back, I think they give this pattern nice shaping.

I did the back yoke on the bias because I just can't resist that with a plaid. Plus it looks cute and then there is no need pattern match the yoke to the back.

This would also work on a knit top - that would be a great way to make a collared shirt in a knit fabric with the placket. Mental note for the future!
Someone saw this shirt on my dress form and commented that it looked like something to wear to a picnic. I do see that. No picnics here today but it is Father's day so I am cooking. Also it is supposed to be heading towards 100˚F which is great for the tomatoes but less good for sitting outside on the patio at cocktail hour. Oh well....time for the air conditioning, which I almost never turn on except when guests are coming over in the summertime. (not entirely true - when sewing on a deadline on a hot afternoon I do use it then as well. Sewing is steamy work, right?)
And thank you everyone for the nice comments on my previous posts. A lot of people weighed in on the question of posting the same images on Instagram and the blog and don't mind (prefer actually) seeing the pictures repeated. Or don't do IG so seeing the photos here is new. In any case - I plan to continue blogging and will always go into more detail here so stay tuned. Thanks for reading!
Happy Summer Sewing,
Beth
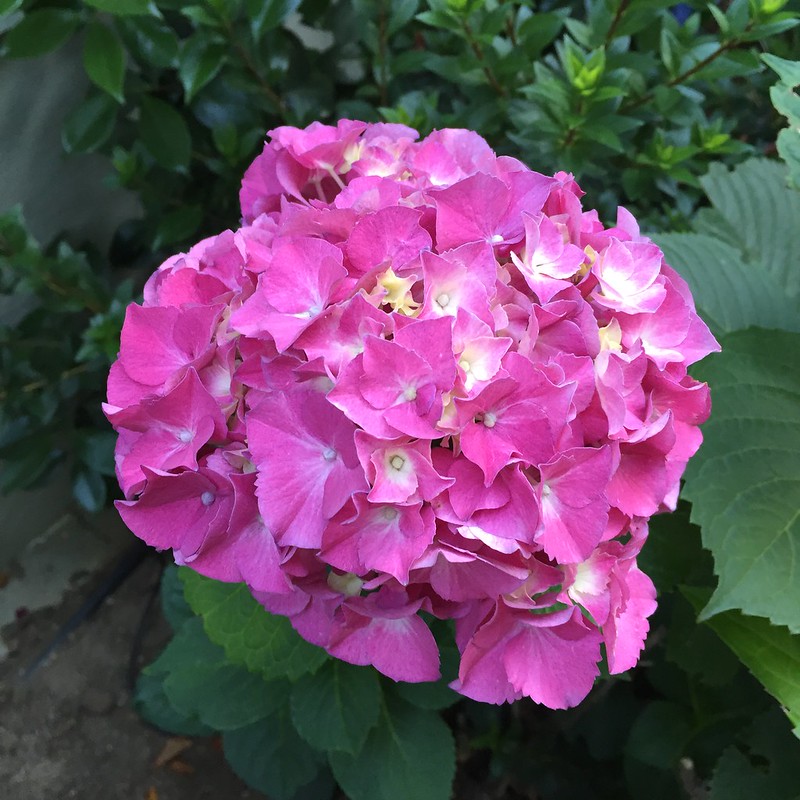
Today's garden photo - a pink hydrangea that has remained pink - someone asked me what I put on these to keep the colors. Answer - nothing. I do fertilize all the hydrangeas and gardenias with fertilizer for acid loving plants (when I remember to do so) but otherwise they have to produce on their own.


Thanks for the tutorial. Very cute and less buttonholes to do :)
ReplyDeleteAnd if you wanted to, you could widen the front for a center front pleat for an interesting variation. Given a lightweight material to reduce the bulk, it would make a nice breezy shirt or tunic. I'm craving one right now as it's up to 115F today.
ReplyDeleteTheresa in Tucson.
Love this sleeveless shirt with placket. I will have to down load your pdf as this is really cute. I can see it for casual and under a jacket/sweater for work.
ReplyDeleteA nicely color coordinated post - plaid, hydrangea and all… I do like the look of the top with the dart rotated into shoulder gathers.
ReplyDeleteBeth, I read your great post on Craftsy yesterday. It's a great tutorial and I just love the results! I'm looking forward to trying this one soon! Thanks for posting!
ReplyDeleteI love this shirt and love your fabric choice and colors.
ReplyDeleteHi Beth! This is really a great shirt. I just read your Crafsy tutorial and am anxious to give it a go. I'm a real fan of collared shirts especially sleeveless ones so it's a win win! I'm enjoying your garden vicariously thanks to the wonderful photos. Che bella!
ReplyDeleteMolto belissima!
This comment has been removed by the author.
ReplyDeleteVery nice blouse. I am wondering why the placket crosses left over right, is it intentional or did it just happen that way? some of your other blouses/shirts cross the other way which is the female way, so was wondering why the switch.
DeleteHi Julie, not intentional - I just make the placket and don't think about which way it goes :)
DeleteSimply Stunning. Love your pattern mixing.
ReplyDeleteWhat interfacing do you use and where do you buy it?
I really, really love this shirt and I will definitely check out your post on Craftsy! Thanks for sharing!
ReplyDelete