Sometimes you see a sewing pattern and know you
must make it. That's how I felt when I saw a BurdaStyle pattern last summer, I immediately told my friend Heather that I had the perfect pattern in mind for the next time she needed something in the formal/cocktail dress category. The result was fantastic and I told her I want to make another version quickly while I still have all the little adjustments and customizations fresh in my mind. A denim sleeveless version for summer is my suggestion, maybe a charcoal grey/black.
But time to talk about this version. And for those of you who like sewing and construction details, there will be plenty. Usually I like to write longer posts and ramble on but today will be lots of photos with fewer words. My to-do list for the weekend is way too long and tomorrow I will be at
Hello Stitch Studio all day, teaching a zipper class in the morning, a couple of private lessons mid-day, a Bay Area Sewists Meetup in the the afternoon, and if time permits a stop at Stone Mountain Fabrics on the way home.
The dress:
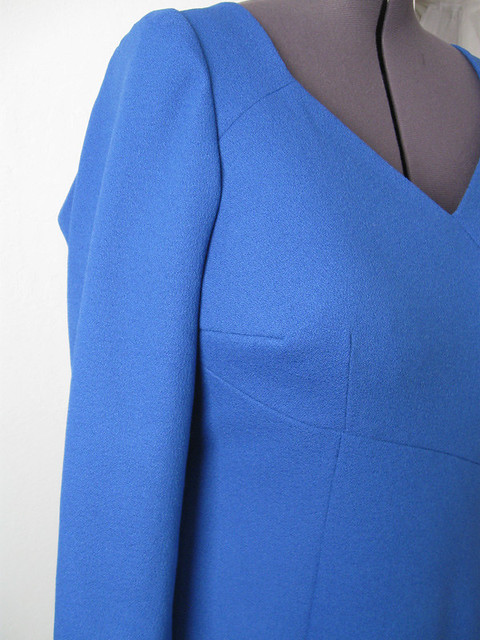
BurdaStyle 07/2017 # 124. The fabric is wool stretch crepe (labeled Oscar de la Renta) from Mood Fabrics and it was sensational to sew. Just a dream fabric and the color was gorgeous as well. Really exceeded my expectations and at $ 30 per yard seemed a bargain for the quality.
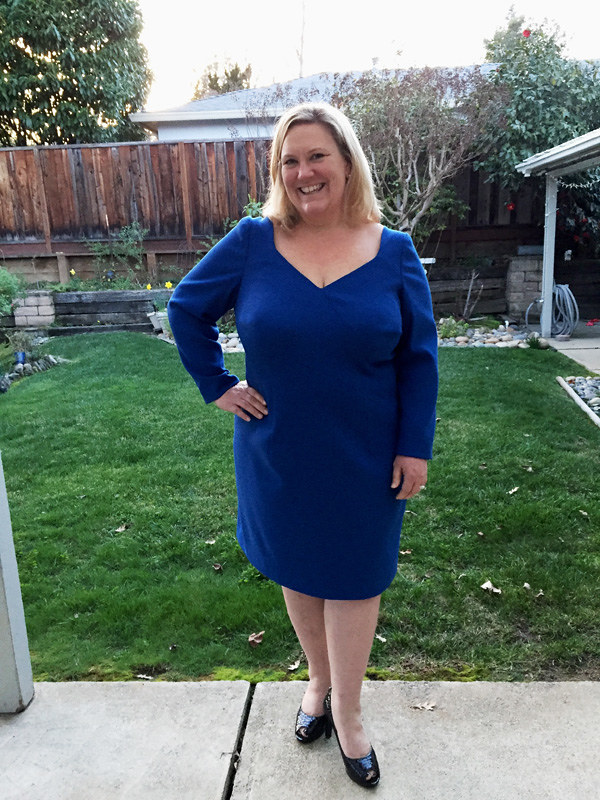
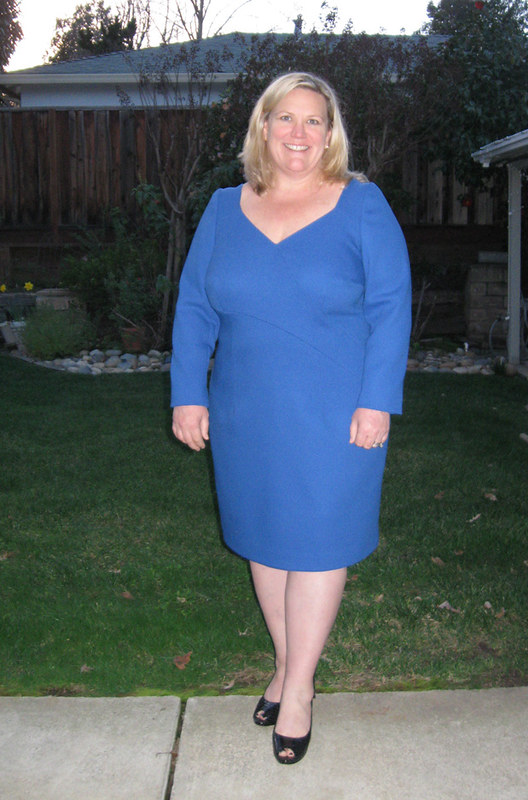
When Heather and her daughter came over to pick up the dress and the
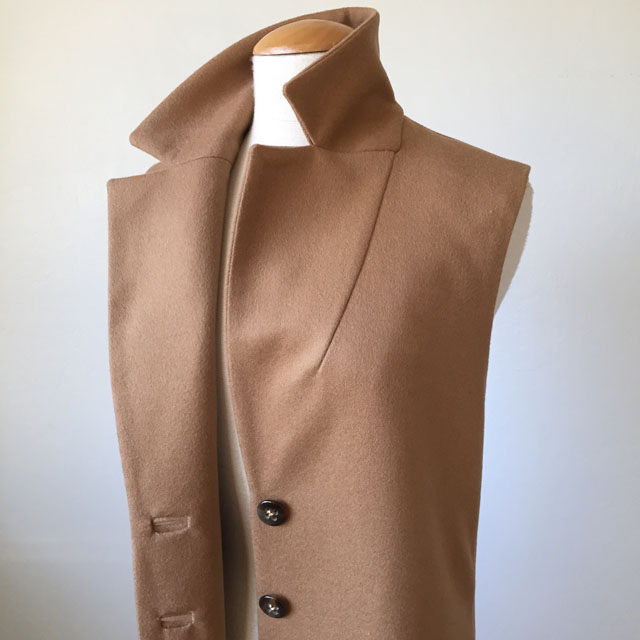
Hemisféric coat (which I previously posted) the sun was rapidly setting when we took pictures. I have adjusted the brightness in the various photos so the details are visible and thus the color looks different than the real thing.
The BurdaStyle website photo has the model sitting down, actually kind of lounging which looks very elegant and seductive, but is not great for showing how the dress actually looks on a real person. But no matter - that neckline and seaming was enough to convince me. This is a Burda Plus pattern, so European size range 44-52 which roughly translates to bust measurements of 39 inches to 50 inches.
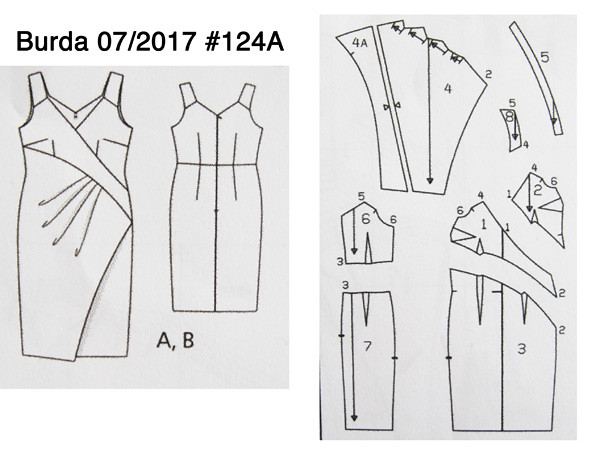
Technical drawing and the pattern pieces. Obviously a couple of substantial changes, I omitted the front drape, which was nice in theory but in reality was a bit bulky. The dress bodice and neckline have enough glamour that we felt it was a bit much in terms of design details and opted to make it a sleeker look. And then of course sleeves. It's winter after all. So she wanted sleeves and I would too in a wool dress to wear to a evening event in February.
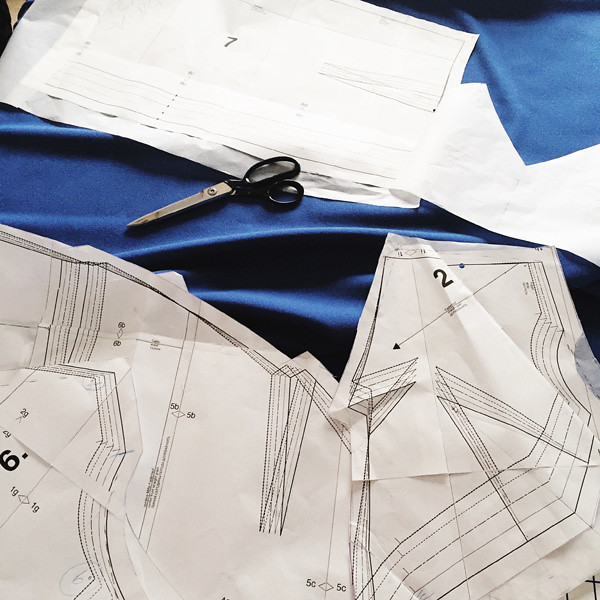
This one definitely goes in the category of advanced or complex patterns, with both the sewing and the fitting requiring a good amount of attention. Above are jus a few of the pattern pieces.
I've made a number of Burda patterns for Heather and I think they are really great (
my fav being this one). Do you know this phrase "there's nothing like a convert"? Used to describe someone who became a Catholic prior to marrying into our family. Implying their enthusiasm is perhaps a bit more fervent. Lately that's how I feel about Burda - since I am a recent convert to using their patterns. I find they have a really good selection of different patterns and their plus size patterns are outstanding. Sure, they have the typical number of goofy things that look ridiculous on anyone as all pattern companies do, but for garments with details, tailored separates, jackets and coats, the selection is great and I am always telling students to check out Burda.
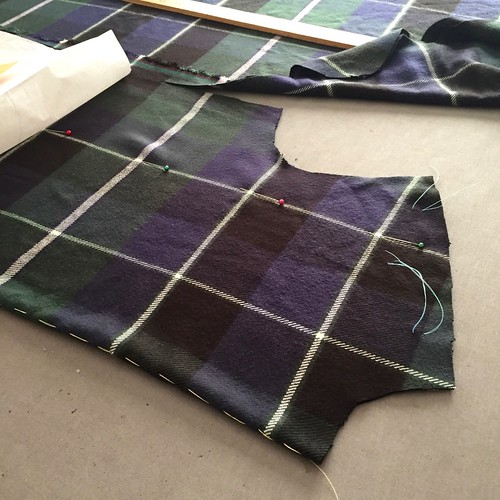
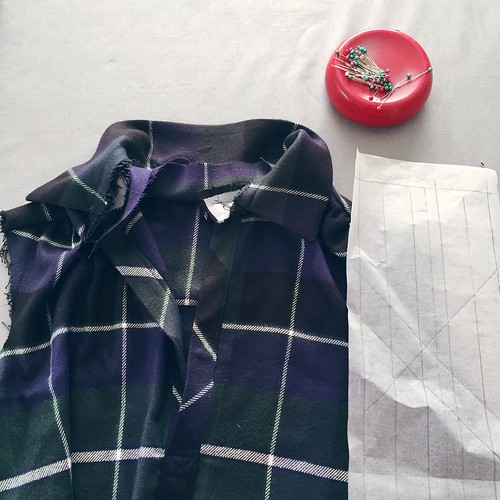
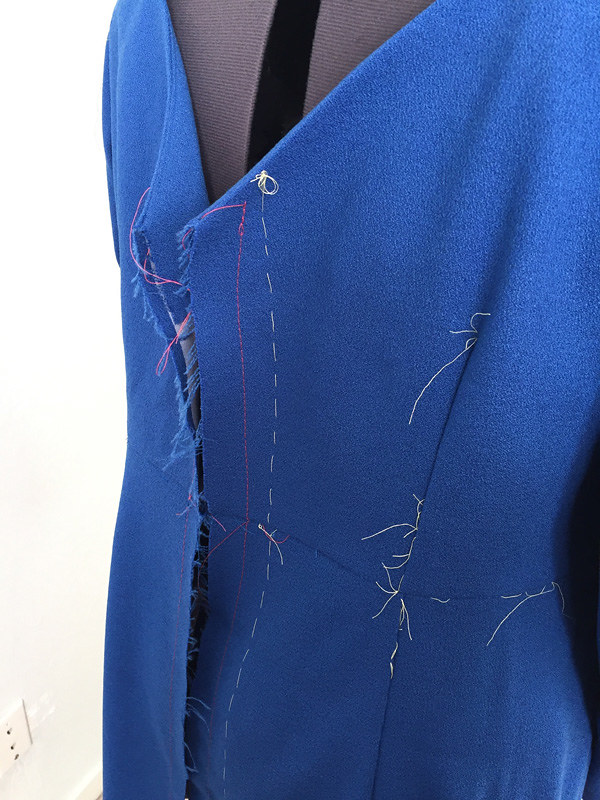
Sewing details: here's a look at the dress on the form, probably mostly basted together. I never take out the tailor's tacks threads until I'm mostly done, it's not a problem to leave them when you stitch and then I feel like if I need to make any fitting changes my roadmap is still there.
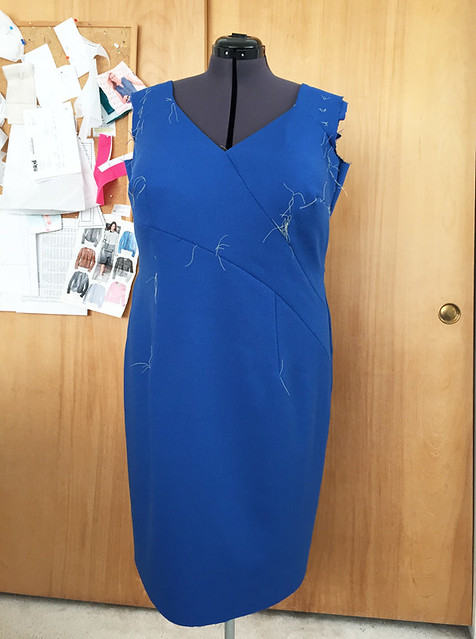
She has narrow shoulders and a full bust so that can be tricky for fitting. So many women tell me that if they buy something that fits in the bust it can be swimmingly large in the neck and shoulders. And that's why we sew - to make what works and fits nicely. Since this dress actually was designed to be sleeveless the relatively narrow shoulder straps worked in favor of a good fit.
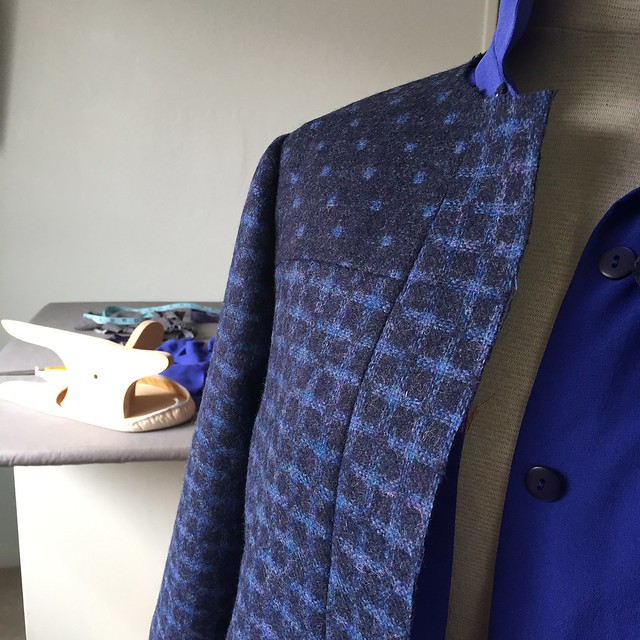
You probably know my sewing motto: More Interfacing! here's a side by side look at some of the places I added interfacing.
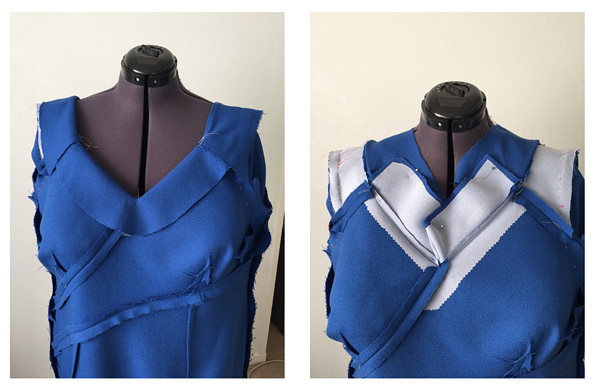
Left is the garment neckline facings, right is with the facings flipped up so you can see that both the dress edges and the neckline facings are interfaced, it makes the edge of the V-neckline hold its shape well. Also the strap area, interfaced on the garment side. Similar interfacing on the back neckline.
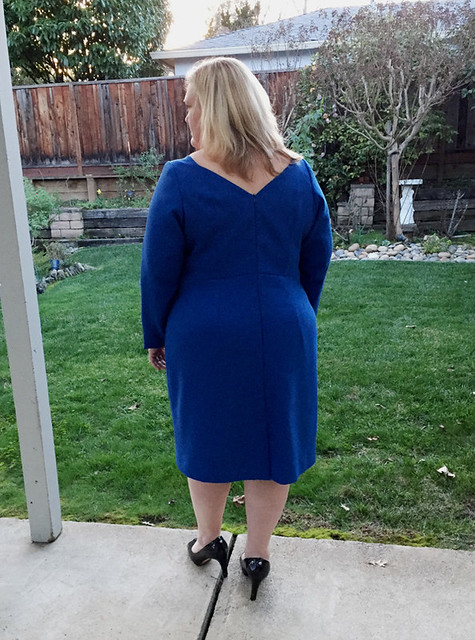
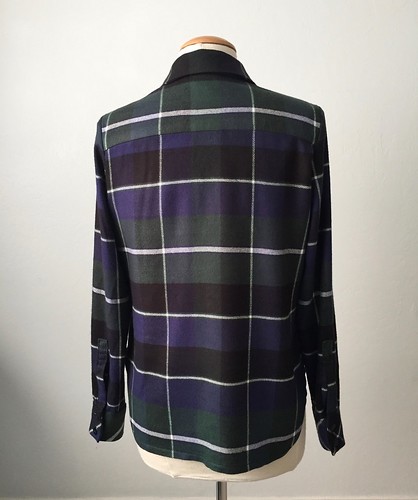
I'm really happy with the fit in the back as well. We lowered the V in the back, about 2 inches lower than the original pattern.
Also with those inside of the dress photos you can really see all the seaming and darting. I wish I had taken a picture during the muslin stage but was too busy actually finishing. I might try to add some of the adjustment info in an upcoming post as you might not believe it but I raised the center V in the front about 1 inch. Not an exercise for the faint-hearted.
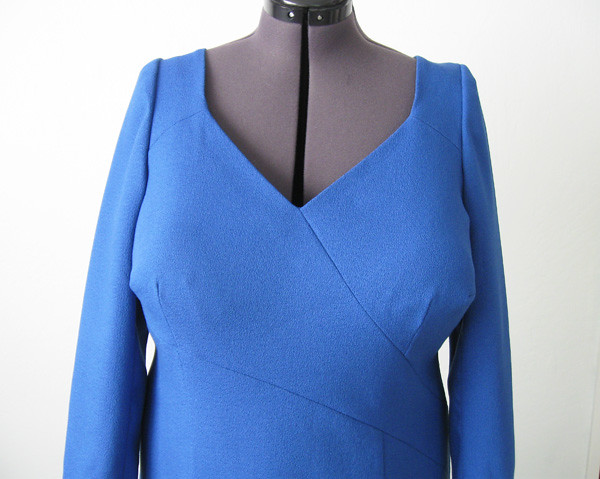
As that involved redrawing the angle of the seams and making sure the bottom of the V remained in the exact center. And I also took out some gaping across the upper chest. This was an epic project in the fitting stages but it paid off in the end.
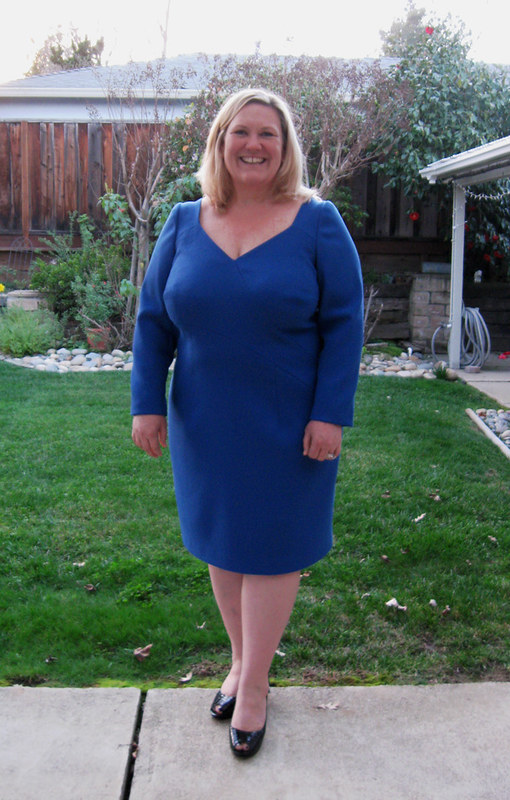
Sleeves - a slight challenge. I actually used a sleeve from a Butterick pattern that I had which was standard two-piece sleeve, measured the armhole circumference on the dress and then made the sleeve match, plus fit her comfortably. It has minimal ease which I think looks quite good and results in a very smooth sleeve cap. Plus this fabric has a touch of lycra so the sleeve armhole and the dress armhole could be very close in measurement and still be comfortable.
We played around with the sleeve length but decided that long sleeves looked most elegant. Getting dark when I took this photo and the flash went off - which actually makes the seaming visible. Now picture this dress with the pleated overlay - just too much fabric and not as sleek. Although in a silk or other light fabric it would be very pretty.
I never put in the zipper until I have the final fitting worked out. Then I pin fit the garment on the body, mark a line of pins where the stitching of the zipper should be, then run a thread trace on one side. That way I can put in the zipper later whenever it's convenient.
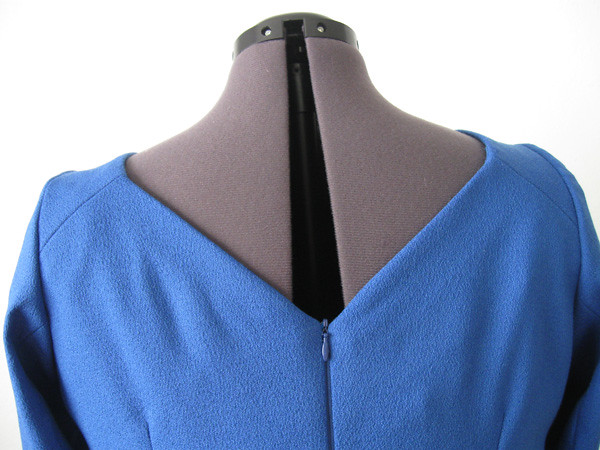
And sometimes the top of the zipper comes out perfectly :) why doesn't this happen every time? but I'm glad this one did.

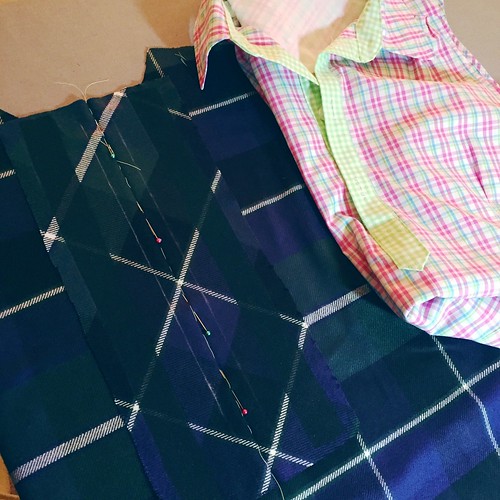
When it comes to linings I like to wing it. I created a front lining piece by overlaying the front pattern pieces together and including the vertical and horizontal darts to make a one piece, cut-on-the-fold front lining fabric, and then for the back and sleeves used the regular pattern pieces. I sewed it mostly together on the machine, and then used the dress form to pin the lining in place, folding the top edge over and pinning.
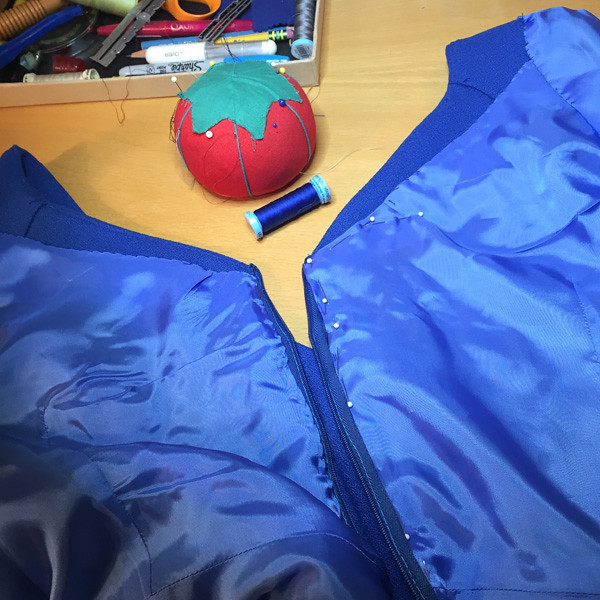
I hand stitched the lining into the dress, which gives so much better control and placement. Also I had tacked down the facings where possible to the seam allowances so that neckline is not going to shift at all.
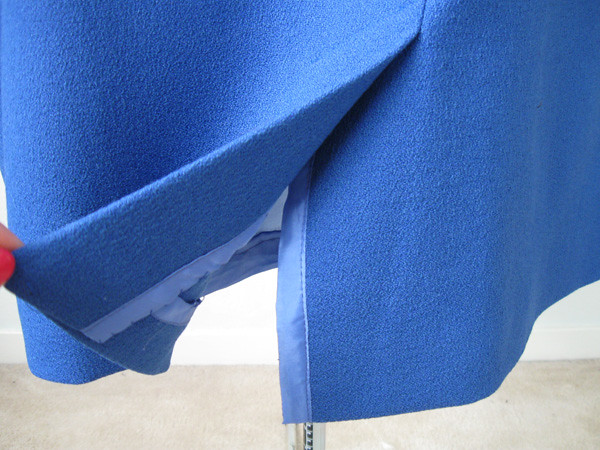
For the edges of the walking vent I end up encasing the edges in the lining fabric, and did the same for the bottom hem edge.
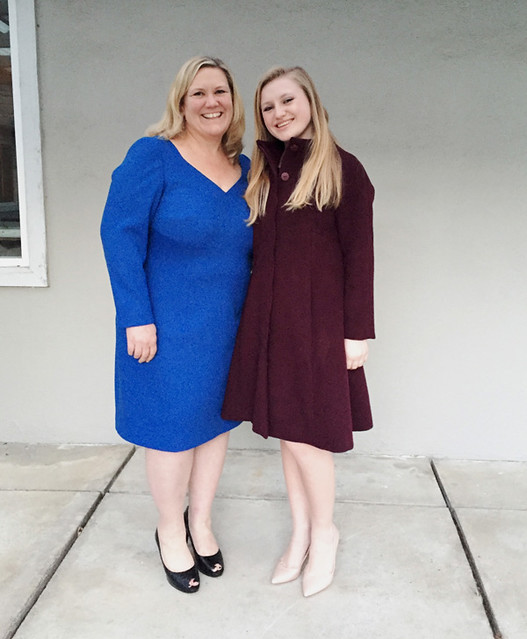
Heather called this her bombshell dress and I agree - she looks fantastic. I kind of wish I need something similar just for the fun of making it. But no fancy events on my calendar right now so it will just have to be an idea saved for later.
Time to get back to my to-do list, the day is ticking by and we lose an hour tonight. But I'm not complaining, more light in the evening, spring is just about here, hurrah!
Up next, I have been trying to make a jacket with some wool I bought at Mood in 2016, the plan is all figured out, I just need to get started. I've been sewing some Bondi dresses from Tessuti patterns as we are doing a
dress class in April at Hello Stitch. We will have all the sizes sewn up so you can try on and figure out what size to sew before cutting into your fabric. Good idea, right? Also on
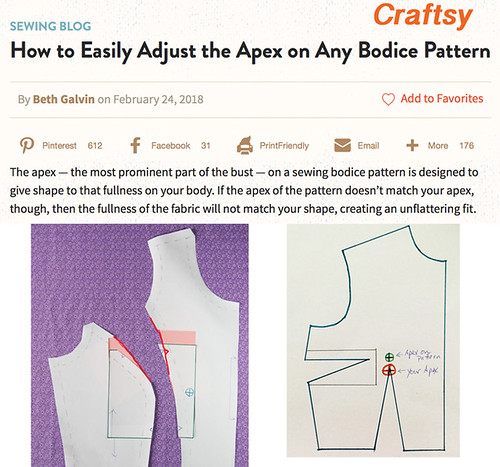
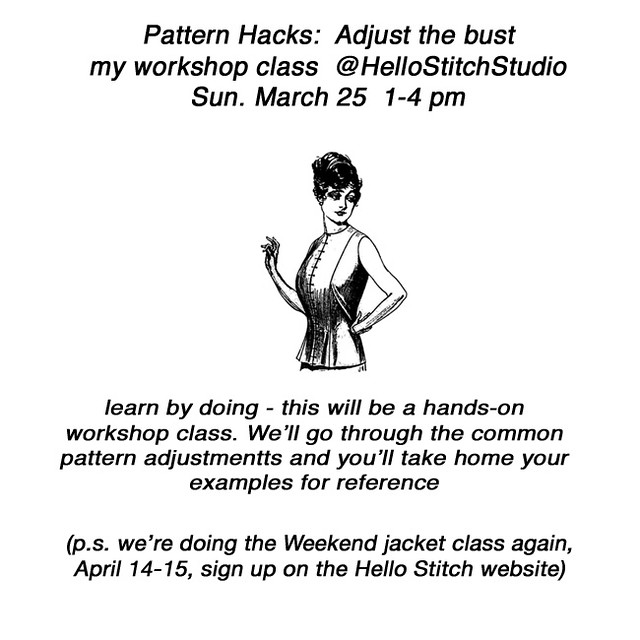
May 25 is Pattern Hacks: Adjust the Bust which will be a hands-on pattern manipulation class where we will go through all kinds of bust adjustments on pattern templates.
Happy Daylight Saving Sewing,
Beth
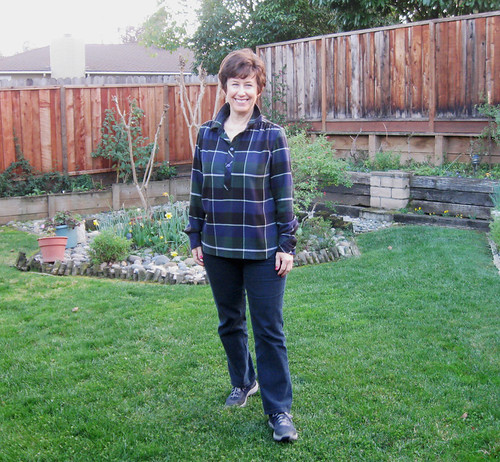
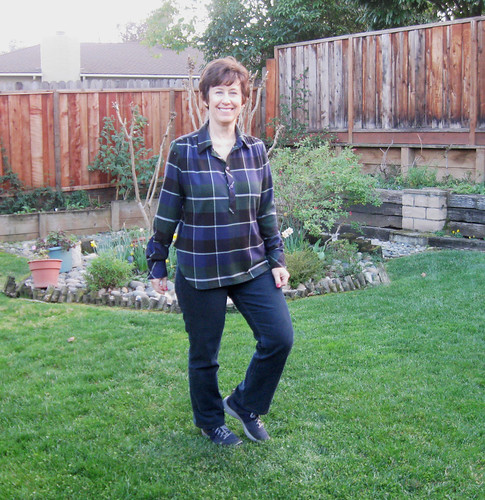
and one more of Heather in her Burda dress with Sara in her Pauline Alice patterns Hemisféric coat.
One more reason I like to sew with wool - the colors are so beautiful.
SaveSave
SaveSave