Time to show the rest of the construction of this coat so I can post the finished look. Here's the first post on this project.
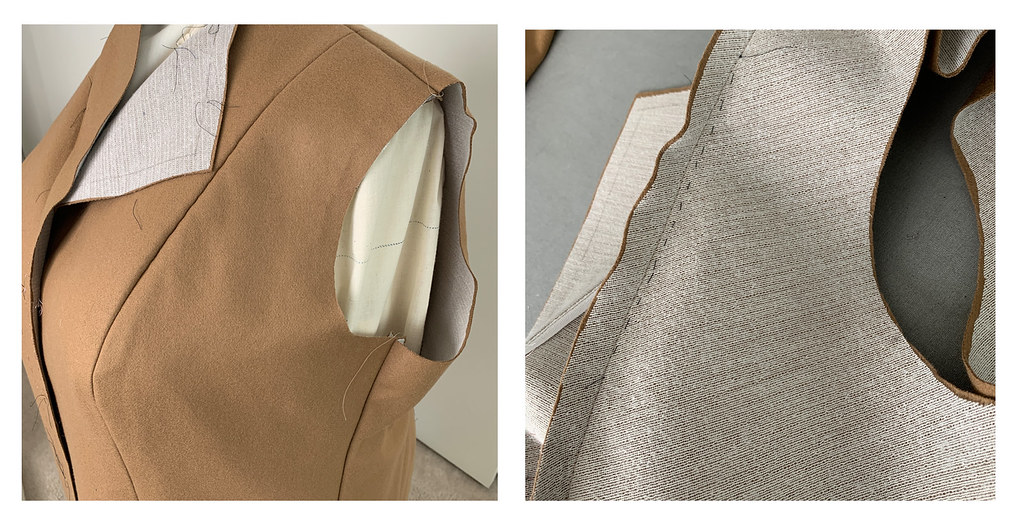
Let's skip ahead to some fit refinements as everyone likes to see those. I did all the interfacing and then machine basted the coat together for a try-on. I find that even if you fit something in muslin then the thickness and weight of the actual fabric plus interfacing does have an effect that differs. Here I thought that the princess seam above the bust was a bit bulky and not laying smoothly on the upper chest so I just changed the seam every so slightly to correct that. I think the left shows it just basted and then on the right is the inside, it's just about 1/8" of an inch in that hollow of the chest but it makes a nice difference in fit.
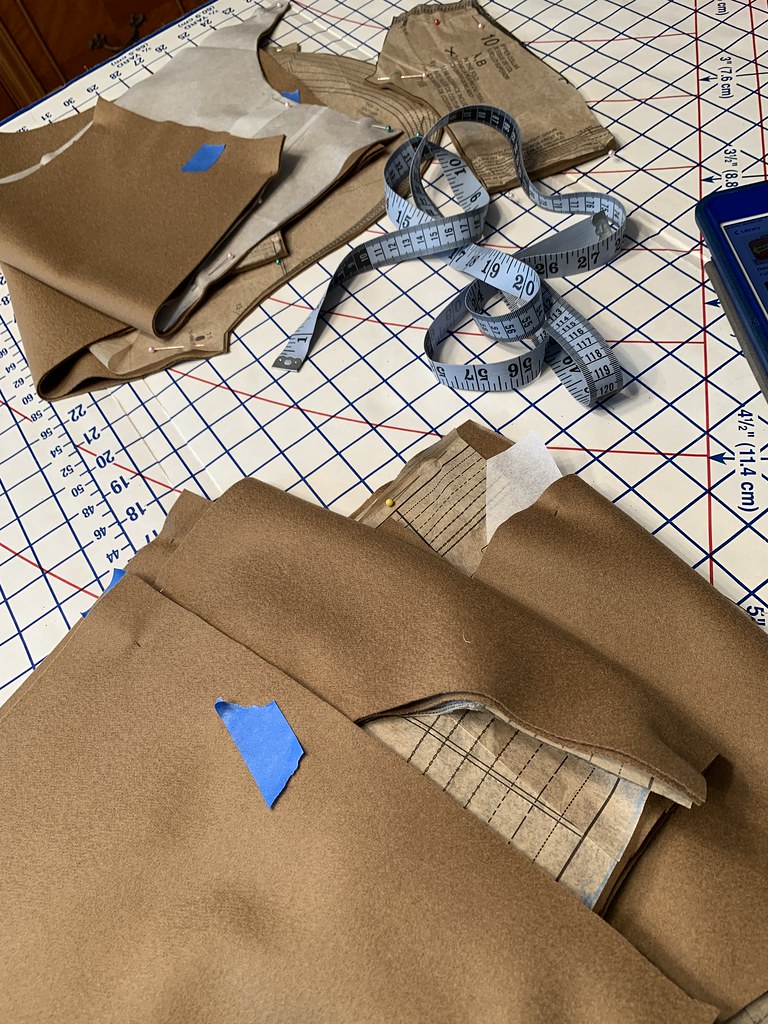
I will say this fabric is a bit fussy, as the two sides are just very slightly different but very hard to distinguish. So I probably went overboard with marking with wax chalk and even spots of blue tape on the wrong side of every piece. I don't know how people use pattern weights - I like to keep the paper pattern piece on my cut out pieces until the minute I need it to sew. And using a projector to cut out sounds like a nightmare. I probably don't understand it and this method works for me.
Sometimes I think making a coat is mostly fusing the interfacing! And wondering when can I get to the actual sewing. I used Fashion Sewing Supply
Pro-Weft Supreme Light for this coat (and basically for all coats and jackets). They have the same in "medium" but I have found that too heavy for most anything I have sewn with jacket or coat fabrics. I think the key to choosing interfacing is to support the garment fabric and not change it substantially (unless that is the intent).
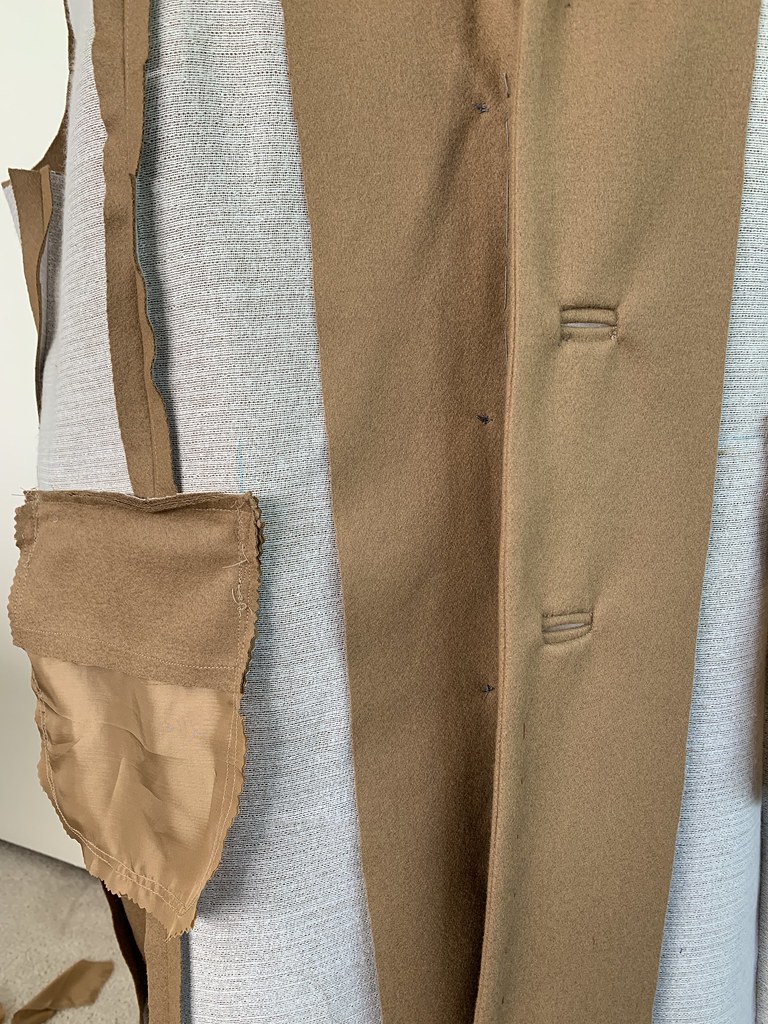
Before I get very far along I have to decide about the buttonholes, because if I am going to have bound buttonholes they need to get made prior to sewing on lapel facing. I will say that I have never made a hand worked buttonhole - it's on my list of things I need to teach myself how to do. But this coat was not the time to try it. And the machine buttonholes just look wimpy on this coating fabric.
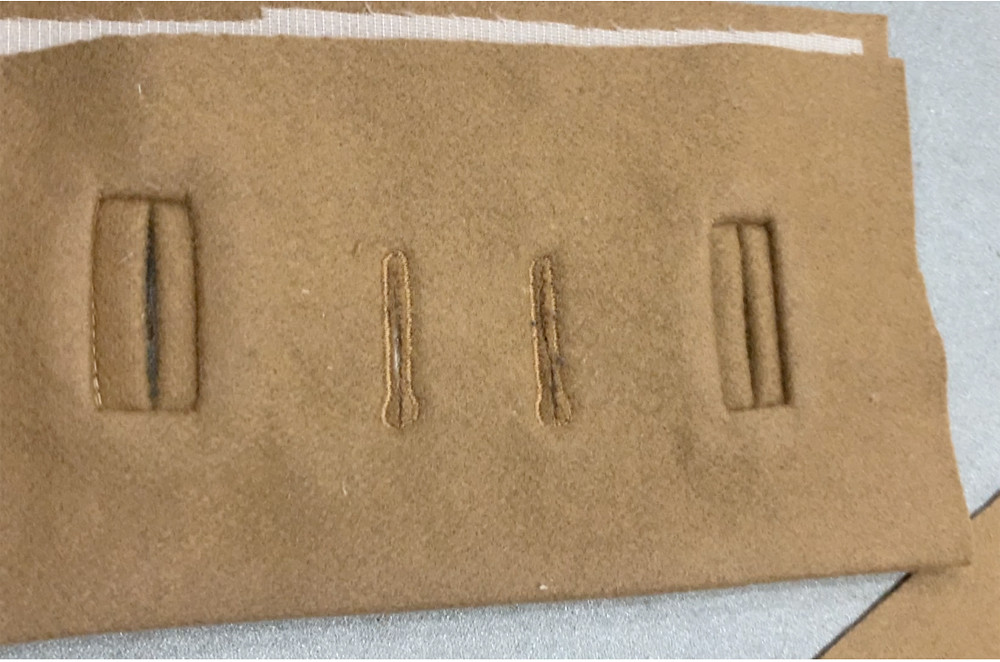

I found these buttons at Stone Mountain and they were exactly what I was looking for. I have written lots of posts previously on doing bound buttonholes on the front of a coat, and if you want to see the details here are a couple of links:
Red coat and scroll down on this
plaid coat post.
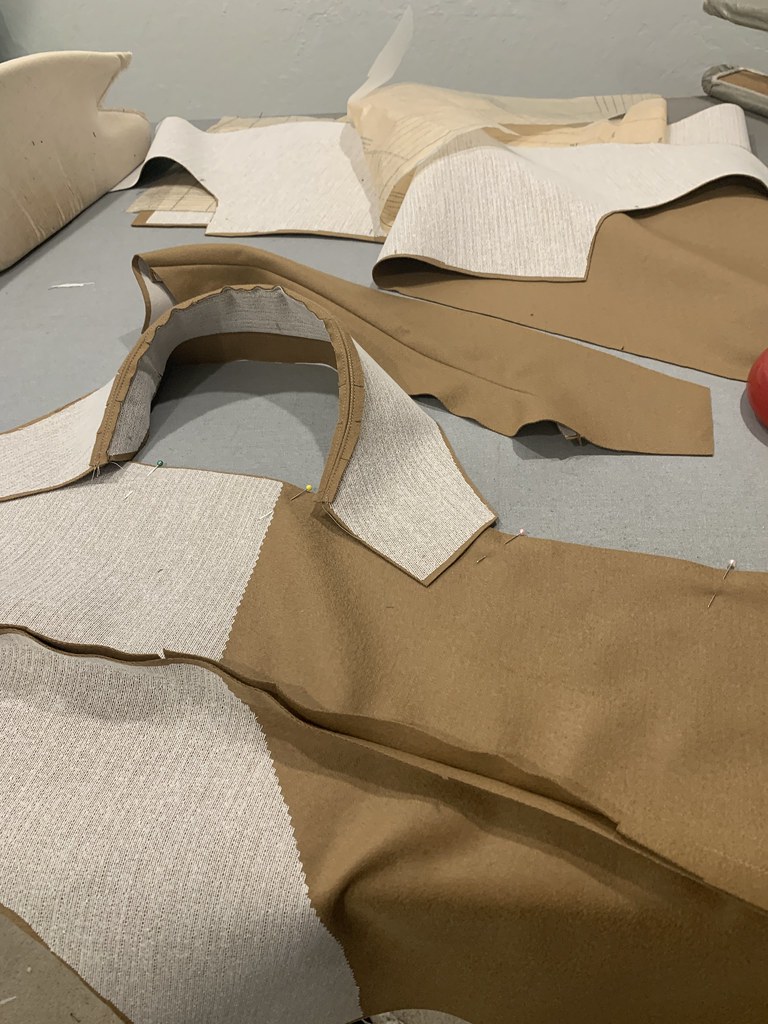
I think it's interesting that most of the coat and jacket patterns I have made recently (at least all the European ones) have this construction of collar with the small stand, and neither piece is cut on the bias. I find it a bit odd although it works fine. This is as compared to a one-piece under collar cut on the bias.

Here are the sleeves ready to go, with interfacing around the armhole and also at the hem. Because I made a muslin and marked the exact sleeve length I could adjust the length and then hem them before attaching to the coat. Also because I sew the lining in by hand as opposed to bagging the lining.

Here's the inside of the coat with just the last steps of attaching the sleeves and then the hem plus lining. The buttons are sewn on because I always complete the front closures before doing the hem, this insures that the front overlaps nicely and the hem is even at the center front. Note this pattern had in-seam pockets but I changed that to welt pockets across the front princess seam.
Still a few steps to finish the sleeves, doing the sleeve heads and putting the shoulder pads.

The next post will be some details on hemming and the finished coat photos.
Since my recent foot surgery (almost at 4 weeks now) I think I will be back to driving later this week although no long trips. And not much work in the garden - it feels ok if I walk very gingerly but I think I need to take it easy for a couple more weeks. I guess that means more sewing!
Up next, I'm making some more corduroy jeans, and then I might squeeze in a wool jacket for myself before the temps warm up. What I really should do is finish my closet cleaning which I promised myself to do during this stuck-at-home time.
Who knows, I might find some gem in my fabric stash, it does seem to suprise me with stuff I forgot all about!
Happy Sewing,
Beth
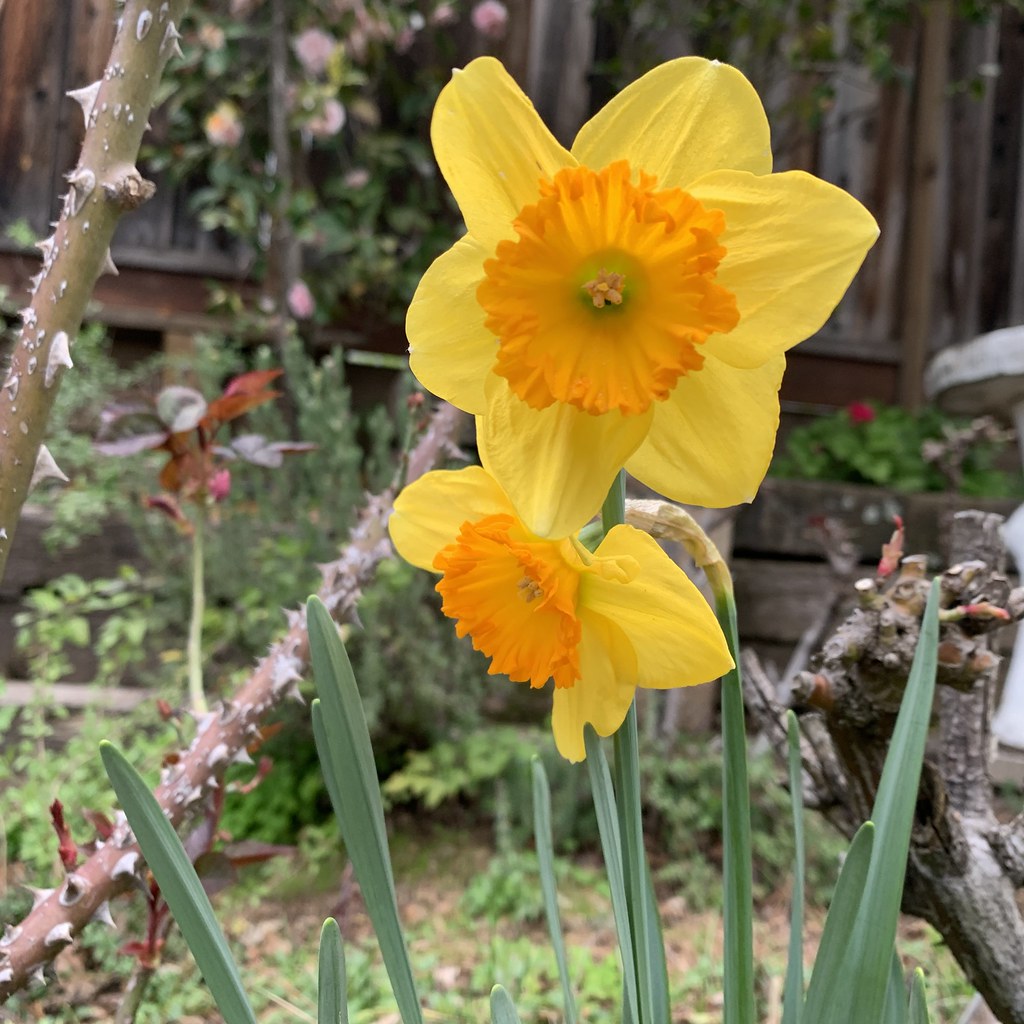
Here's today's garden picture - We have daffodils! as well there should be, I planted about 80 bulbs in the fall and always forget where I put them so it is a happy suprise when they pop up. Also note on that rose bush all those stems popping out. Spring is coming :)


You are so right-those inside details are catnip for us! Can’t wait to see Heather modeling her new coat. I enjoyed our trouser class very much. Mine are on hold a bit since we are in the middle of a housing move. I’m also loving your floral shots. We’ll be having buds soon as this has been the warmest winter I can remember out here.
ReplyDelete