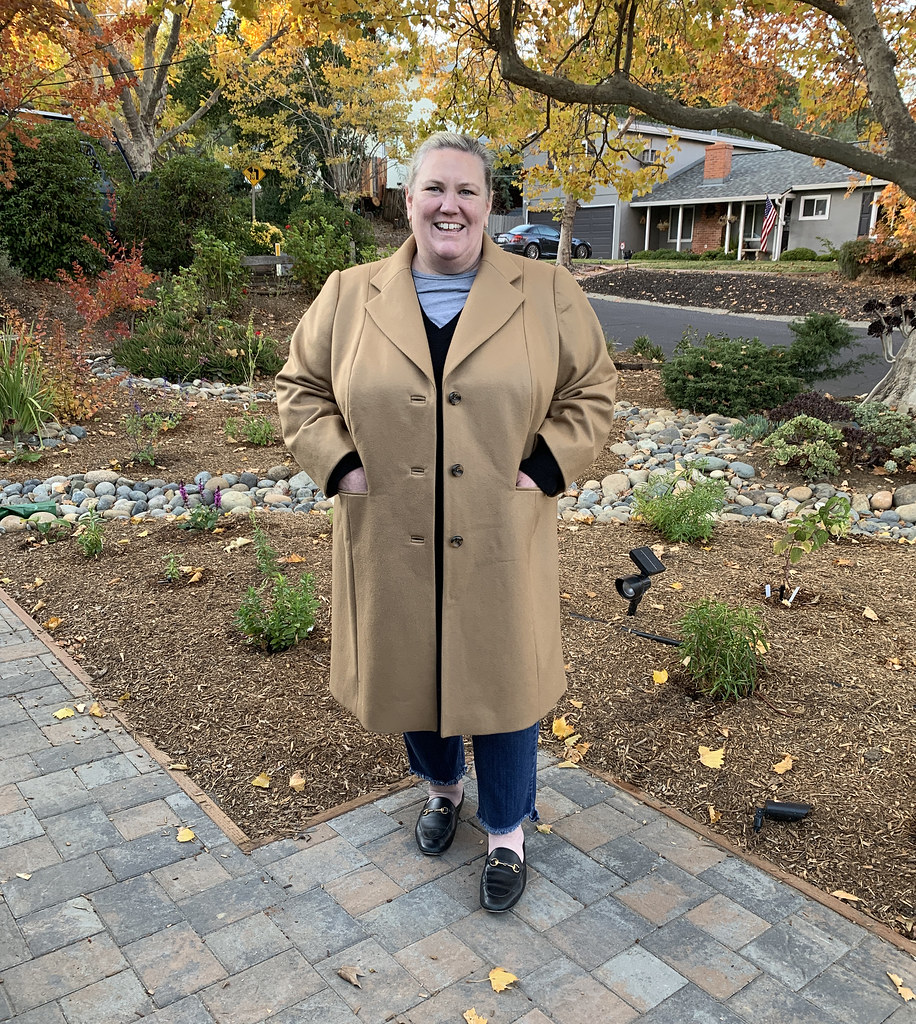
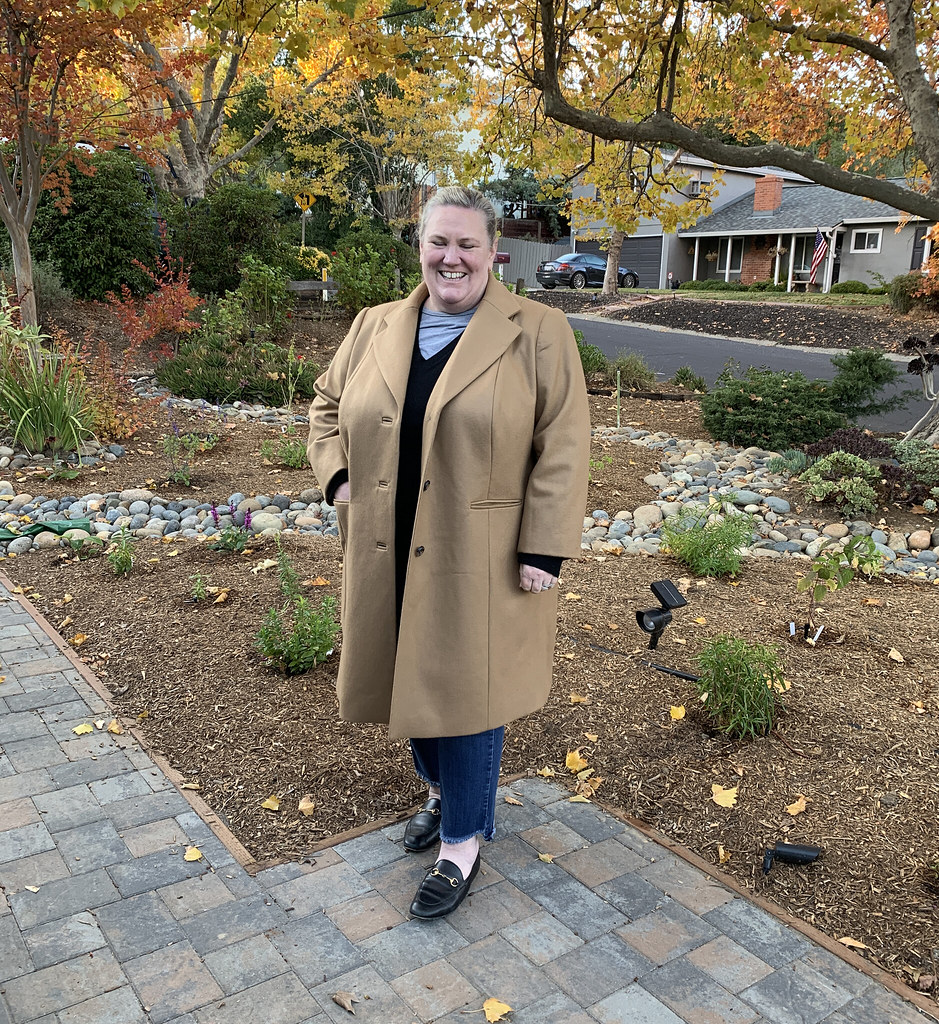
Finally it's time to show the finished coat. And well past time, as I finished it back in November so Heather could take it on a Thanksgiving trip to the east coast. We took some very quick photos on the day she picked it up so they are very casual but I like the autumn feel. Because around here we don't get all that much fall color - but do get plenty of leaves to sweep up.
Here are the previous posts for this coat construction if you are looking for sewing details: First blog post and second blog post.
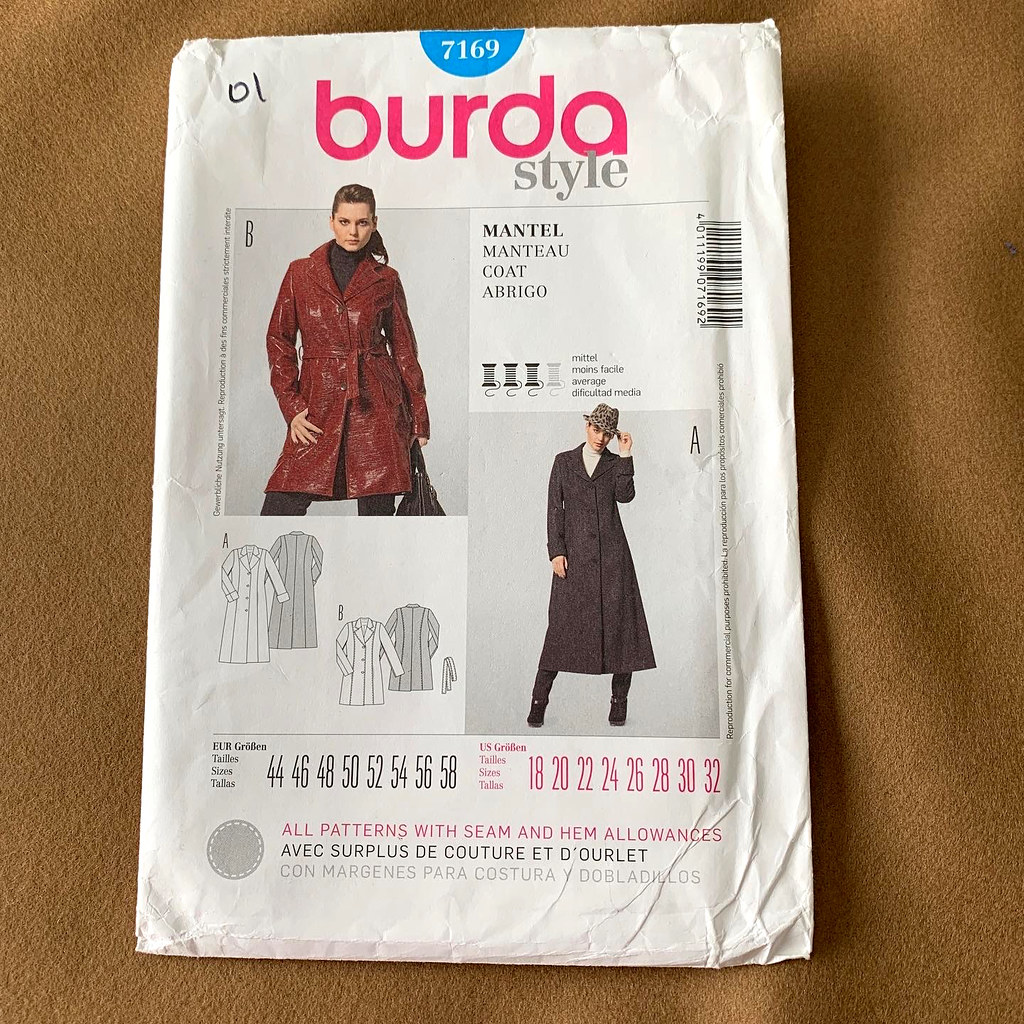
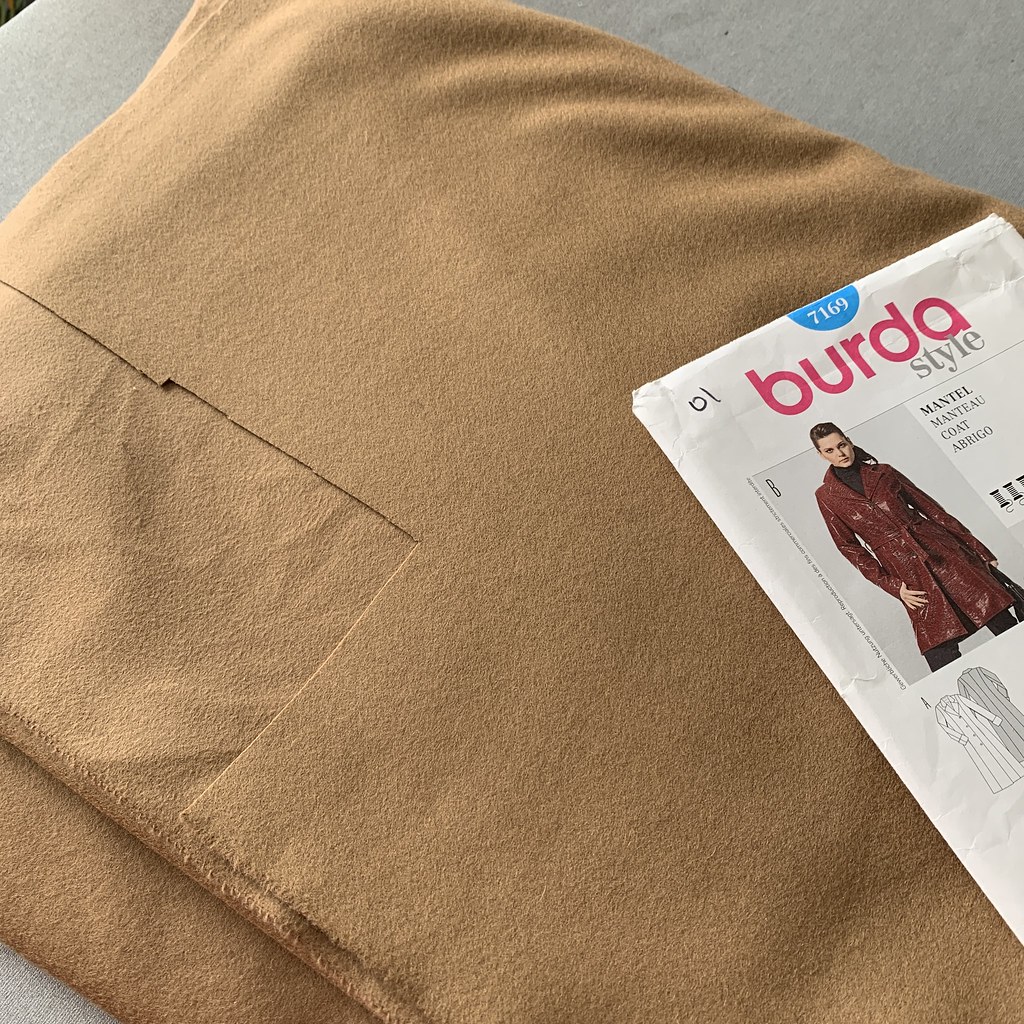
The fabric was from Britex in San Francisco, on that same shopping trip we also bought a navy blue wool. With that fabric I'm making the Auburn blazer from Cashmerette and I hope to get to that project in the next month.
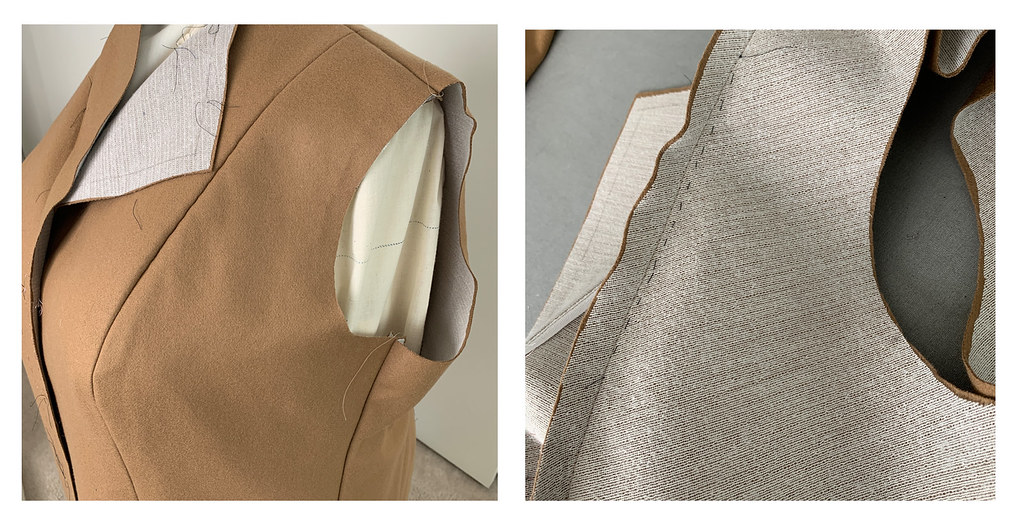
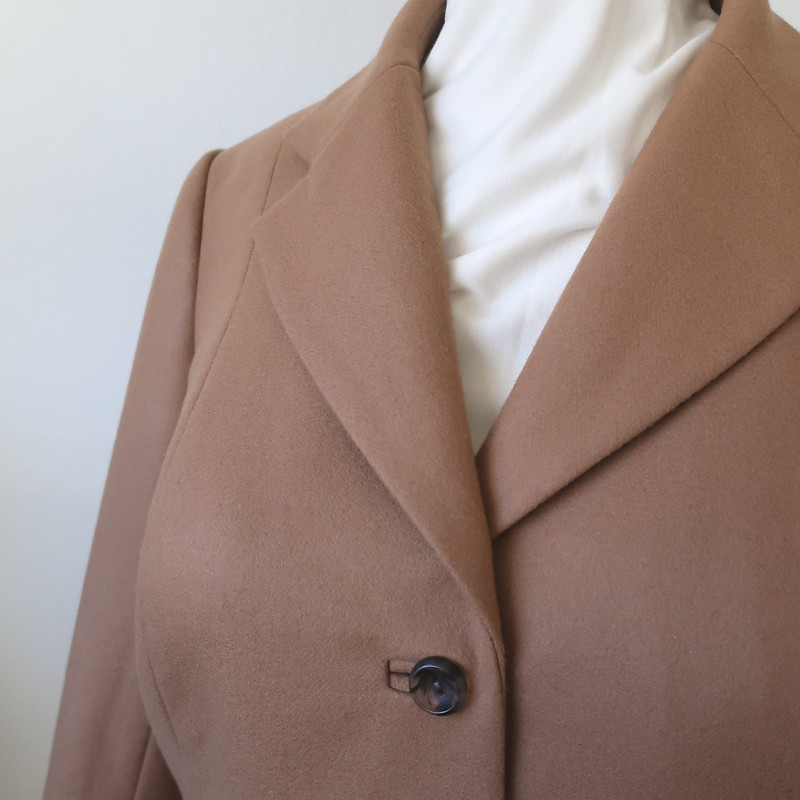
I'm really happy with the lapels on this coat, they came out very nicely and the pattern sewed together so well.

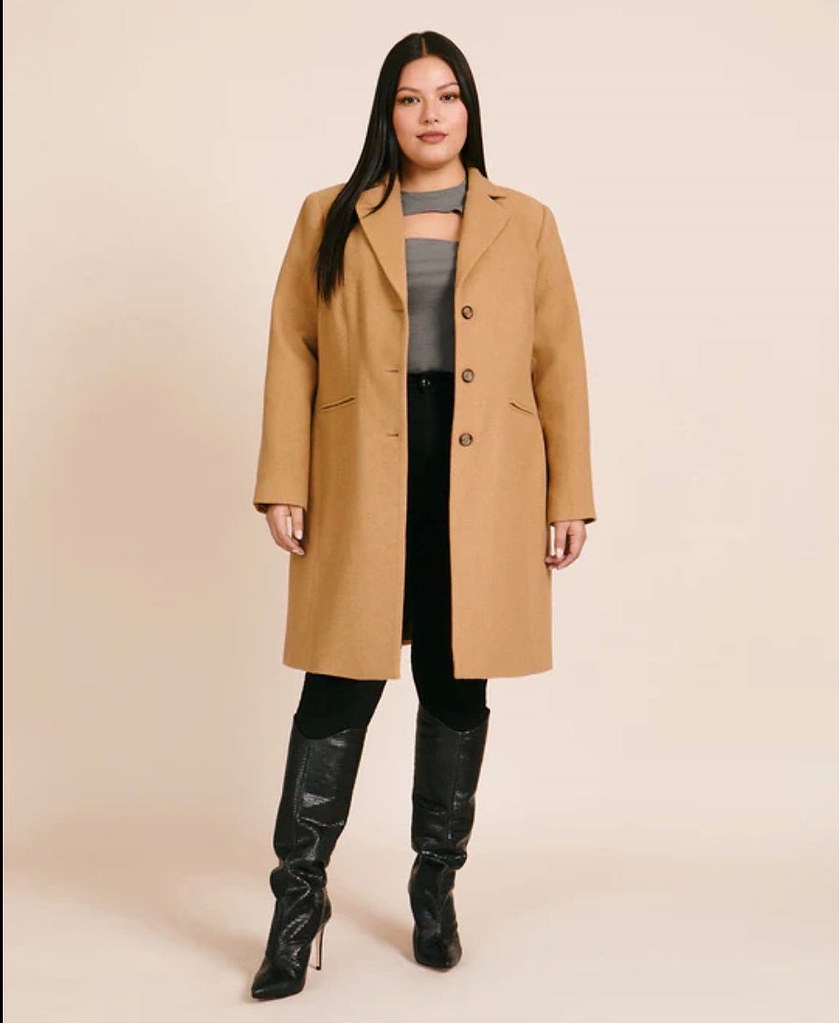
Just as a reminder, here's the coat that that was the inspiration.
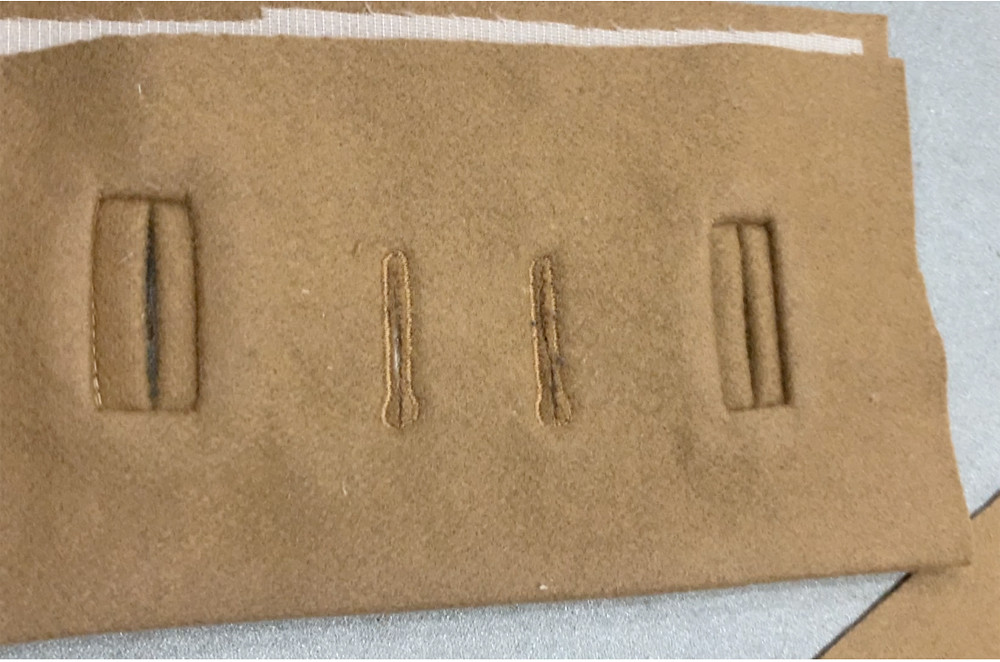
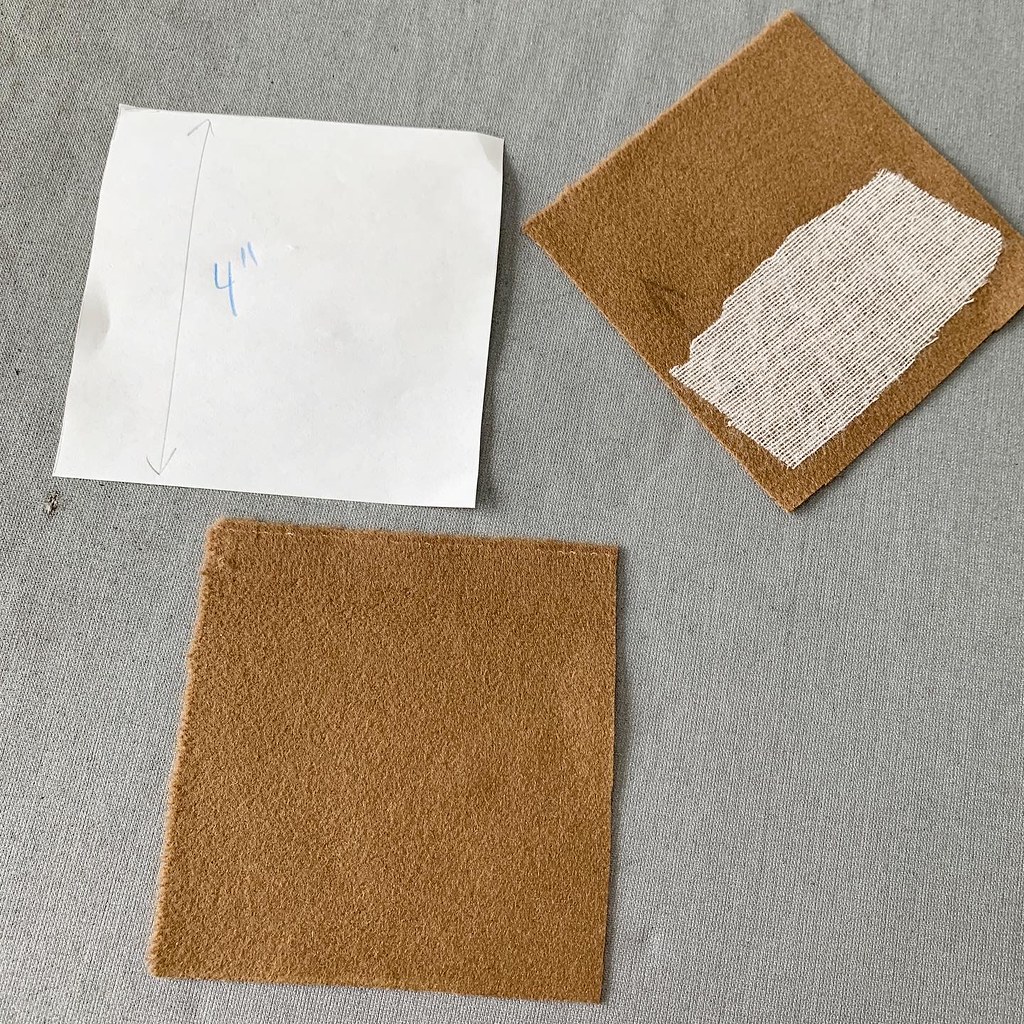
I think with coats it's all about the interfacing. I put weft interfacing on the under collar and coat front and then lightweight interfacing on the upper collar and the lapel facing.
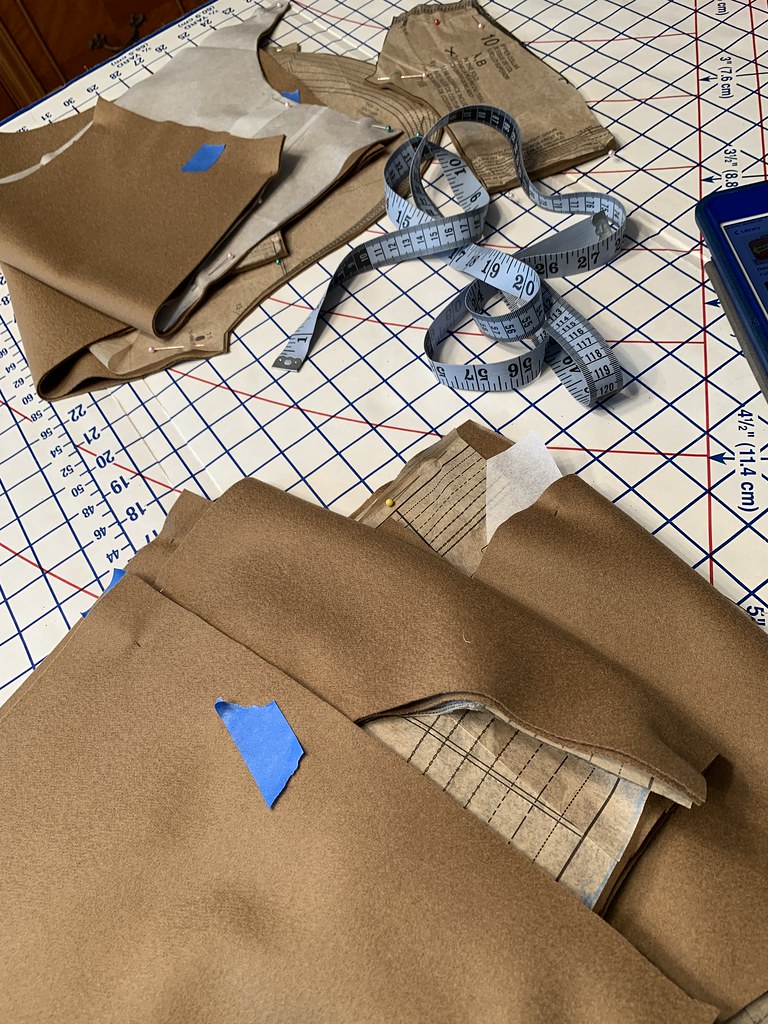
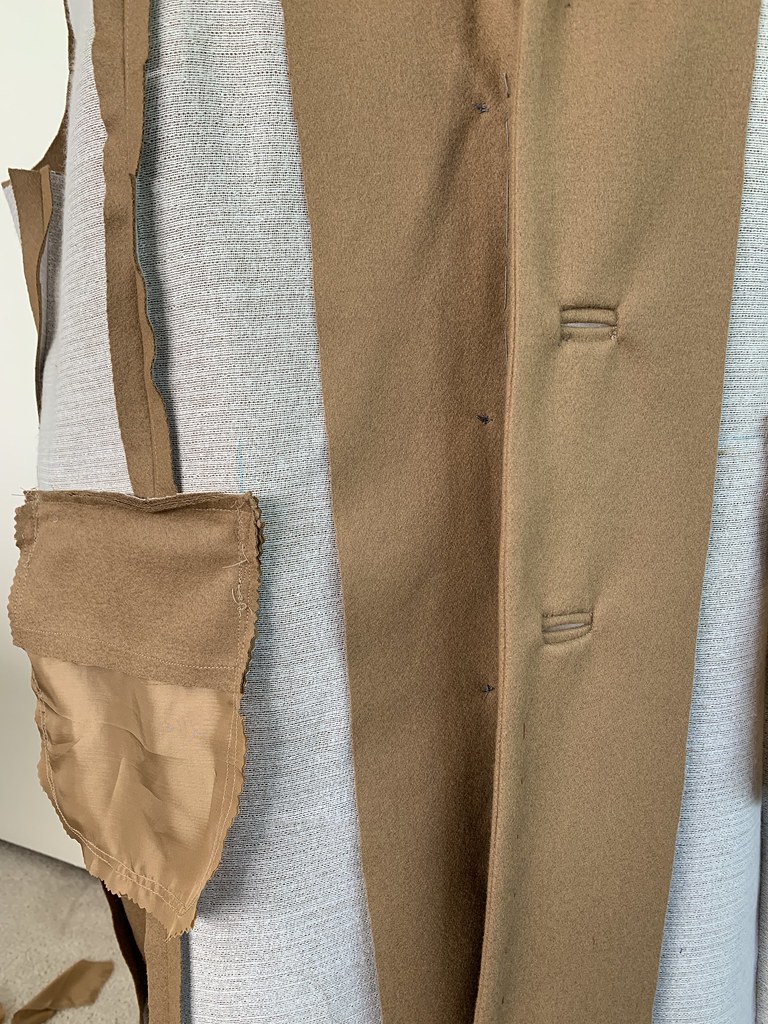
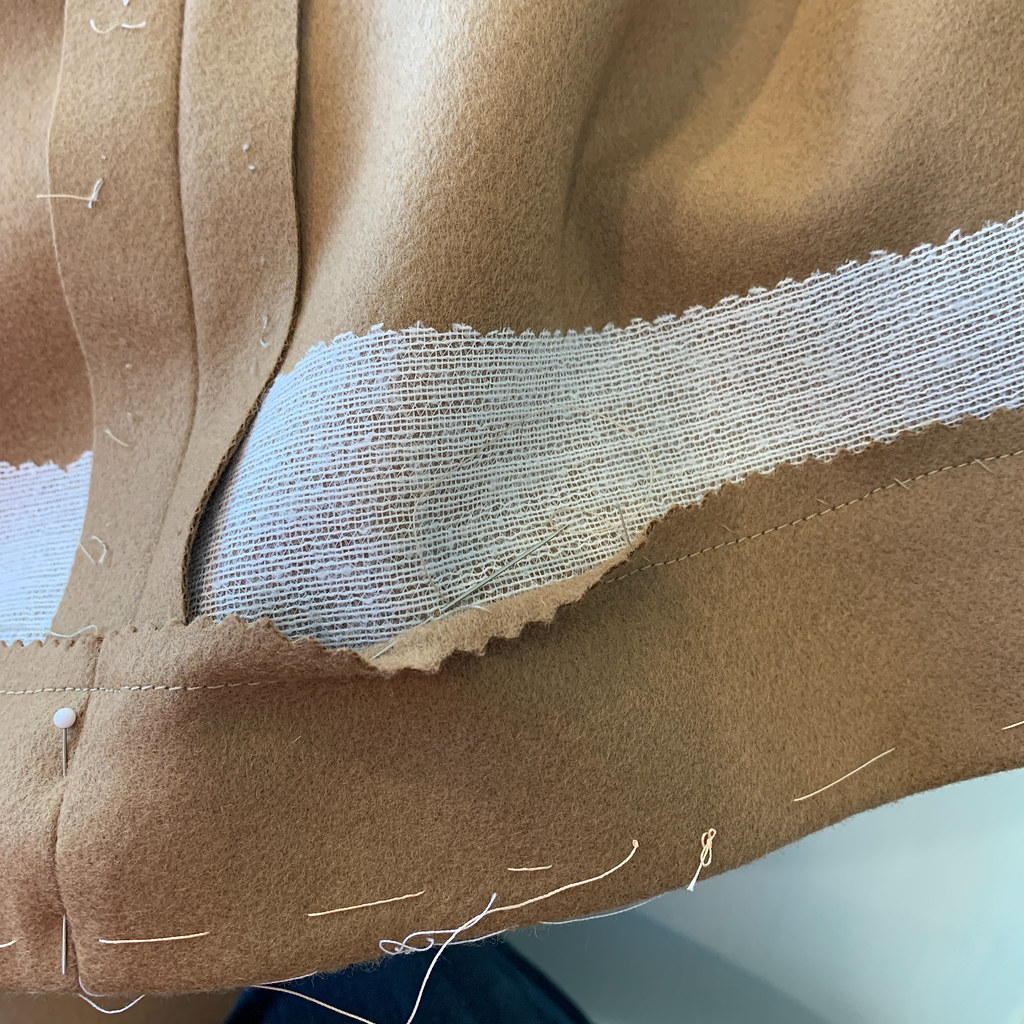
Here's a few more looks at the insides. I put weft interfacing on the bottom edge, cut with pinking shears to soften the edge, and I always have it continue up past where the hem is folded. It means you can hand stitch the hem and pick up the threads of the interfacing with the thread and then the hem stitching will not show on the right side.
I tend to baste hems before I stitch them. They could just be pinned but I like to baste at the hem fold and then I can decide how deep to make the hem and trim to that amount.
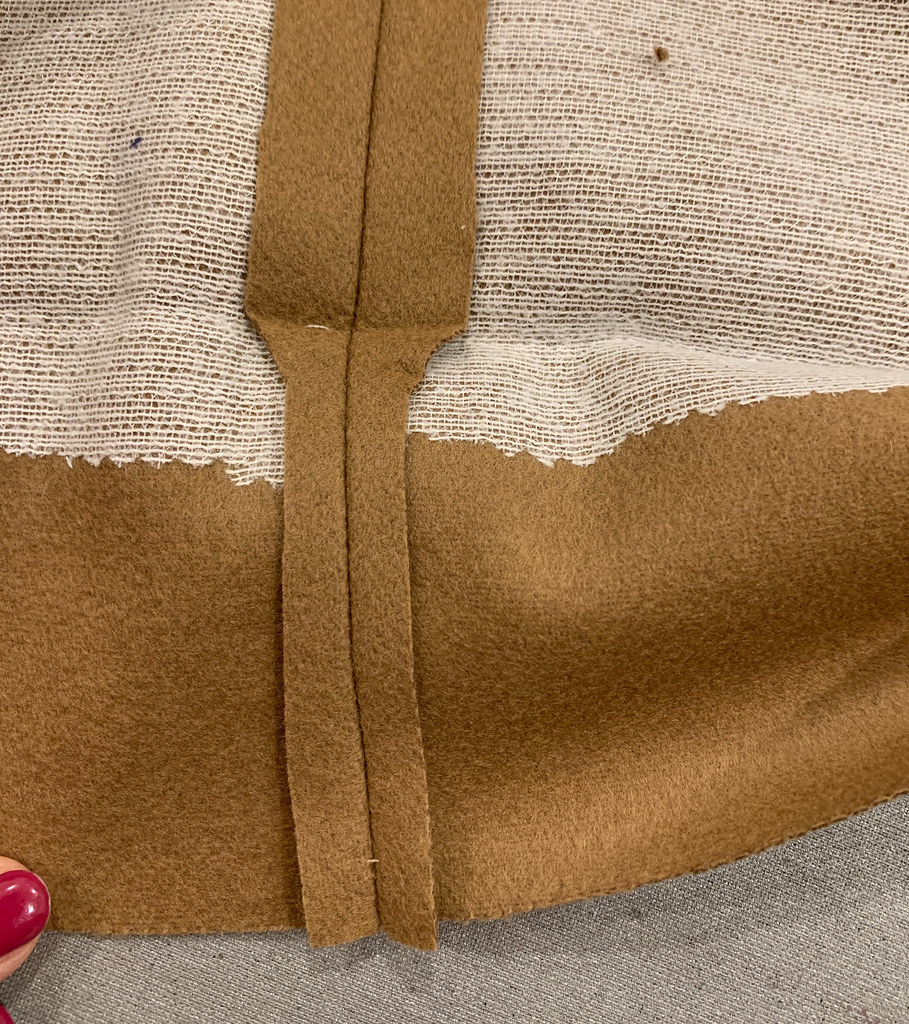
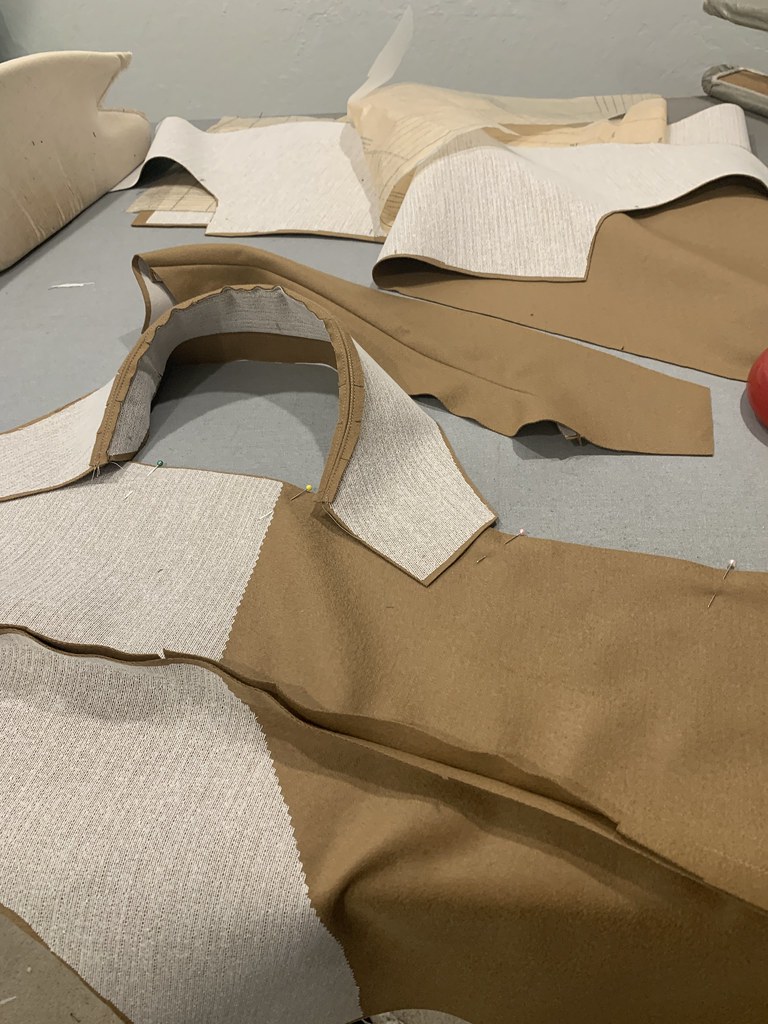
Inside hems on thick fabrics it's helpful to trim the seam allowance back so that as it is folded up and laying against the seam allowance so it's less thick and softens that edge. As mentioned I didn't take a lot of pictures so we have to make do with a blinking one but I think this coat can work as dressy or casual, depending what it's paired with. She wanted it to be roomy so she can wear a thick sweater underneath.

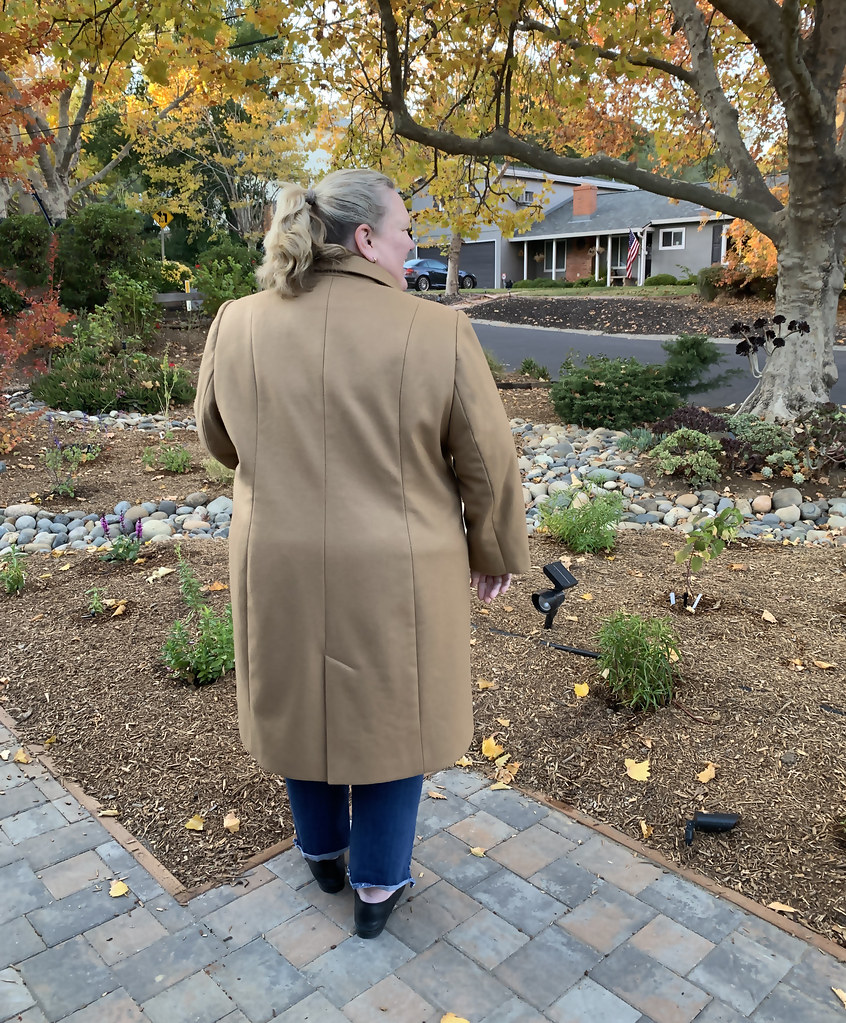
I like the detail of the walking pleat at center back and I generally hem the underneath side every so slightly shorter than the side on the outside so that it never peeks out of the bottom. Eventually these hems are covered with the lining which I hand sewed at the hem.

So that's the latest on this beautiful coat. The fabric is SO soft to touch.
In other sewing news I have sewn another pair of Ash jeans for myself - can't stop, won't stop :) and I think I might make a knit top as a little palate cleanser before I start my next projects. Including the above mentioned Auburn Blazer from Cashmerette. My first time using a Cashmerette pattern and I have Thoughts! which I will share. First impression is quite good but definitely some things that bug me - which applies to any pattern brand, I always find a few things to criticize.
This week we are supposed to have more rain and freezing temps here, so my gardening is still on pause - and we do need the rain despite that deluge in January. But I see some signs of spring and it will be here in an instant.
Happy Sewing,
Beth
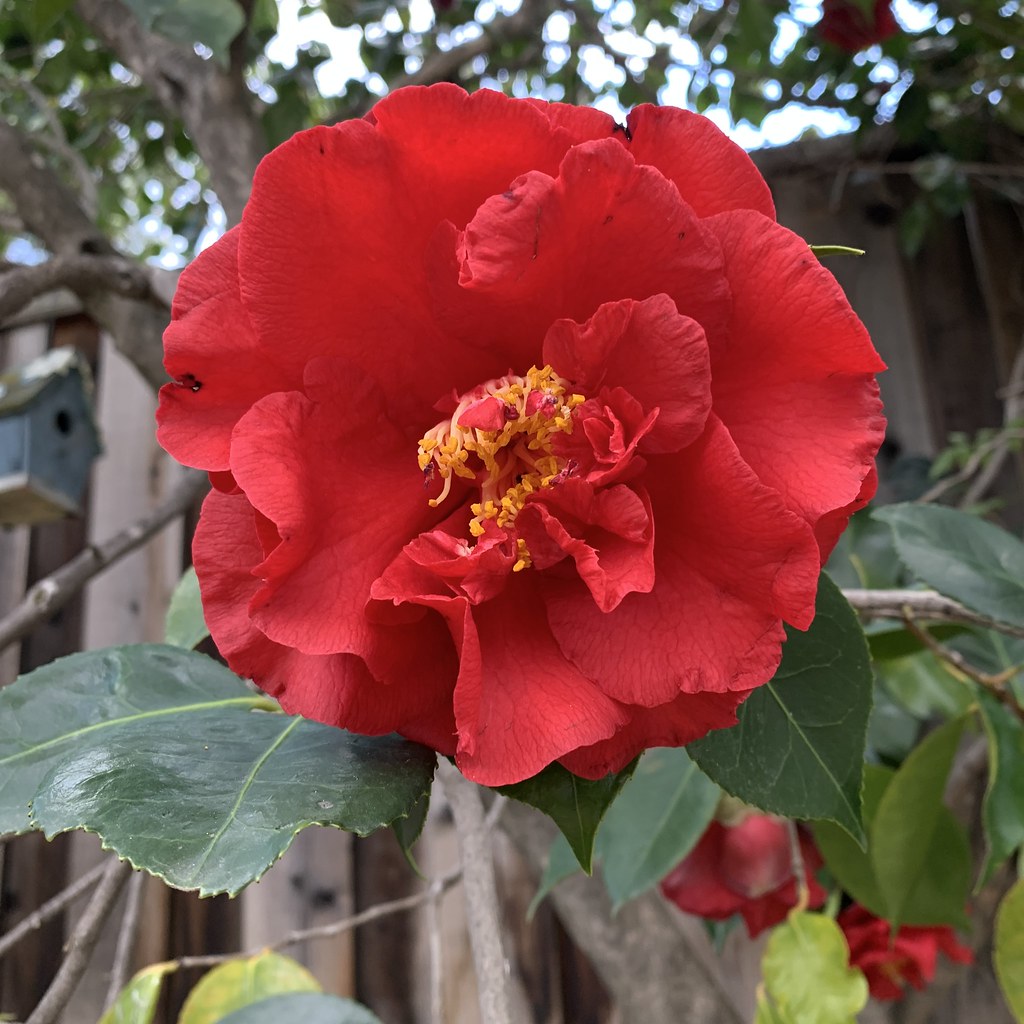
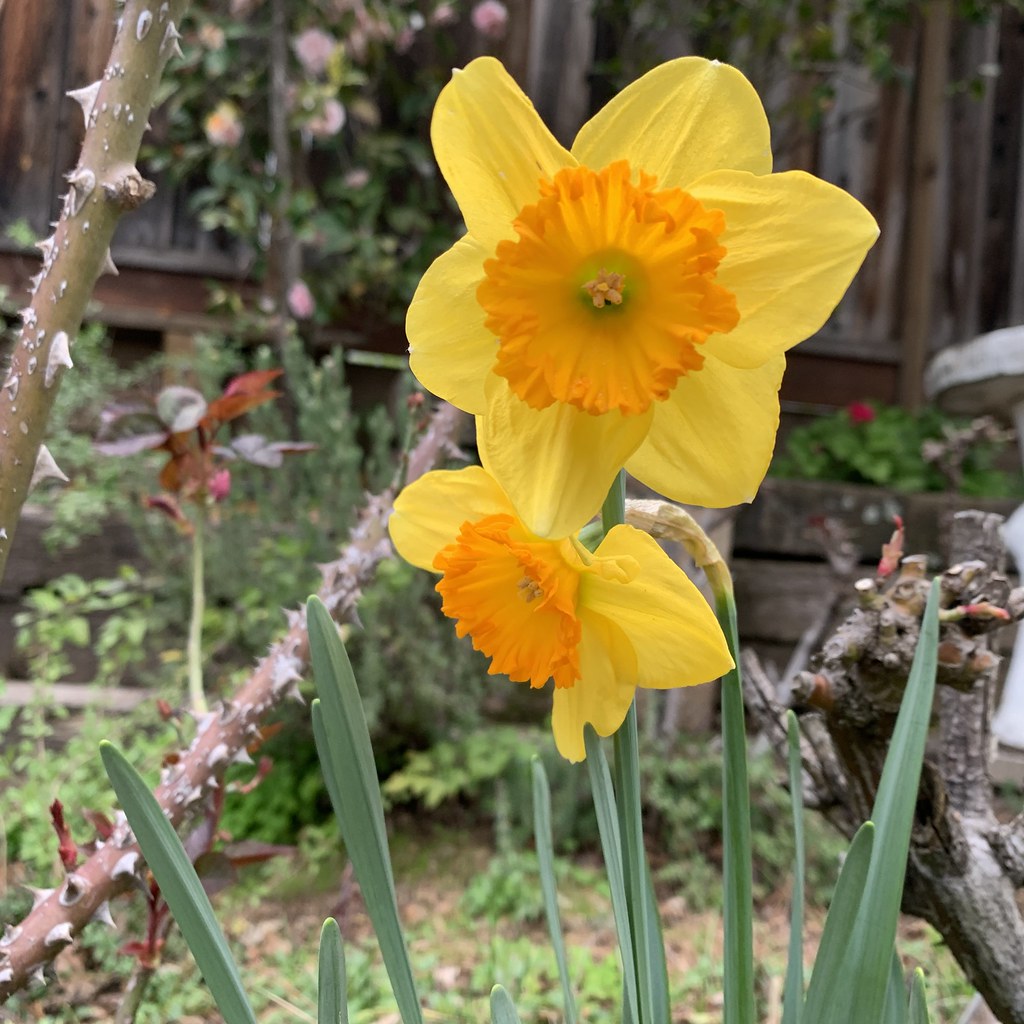
Today's garden photo - the February reliable for N. California is camellias. They were ubiquitous here in previous decades but seem to have gone out of popularity. I can see why they were used often, very tough, green all year and need almost no attention. But they are also very messy (dropping all those flowers which only bloom for a very short time. I've taken out several that might have been here at this house way before me but I've kept a couple. Mostly due to the trouble of removing and also they do bloom when most everything else is doing nothing. Plus this one is filled with sticky nectar and the bees love it.